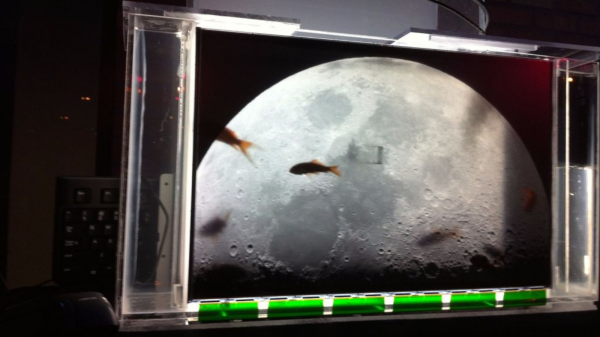
Once in a way we get a hack that makes us wonder – why didn’t we think of that ? [hydronics] tore apart an old LCD monitor and built a fish tank around it. Not sure if the fish notice that they are swimming on the Moon, but it sure makes for an interesting fish tank display.
He starts by ripping apart an old 19″ LCD monitor and built an acrylic fish tank around the display. The backlight of the panel is fixed at the rear side of the fish tank, along with the rest of the electronics from the old monitor.
For an earlier version, he built his own back light, but the second version with the original back light turned out much better. The fish tank pieces were joined together using acrylic glue and left over night to dry, although he still needed to use some silicone to plug leaks.
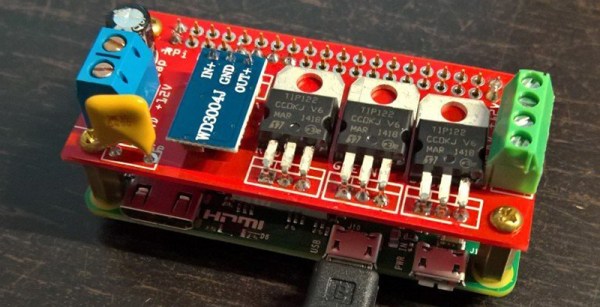
A Raspberry Pi connected to the monitor’s HDMI input provides the background slide show. [Tony Rieker] helped add bubble animations via some OpenCV code running on the Pi. A live feed of the fish is overlaid on the slide show, adding a level of inception to this tricked up fish tank. The project was recently shown off at the Portland Winter Light Festival.