Thermostats can be a pain. They often only look at one sensor in a multi-room home and then set the temperature based on that. The result is one room that’s comfortable and other rooms that are not. Plus, you generally have to get up off the couch to change the temperature. In this day and age, who wants to do that? You could buy an off-the-shelf solution, but sometimes hacking up your own custom hardware is just so much more fun.
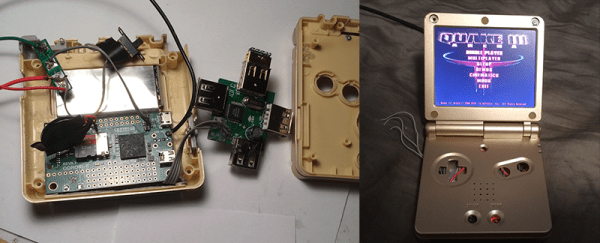
[redditseph] did exactly that by modifying his home thermostat to be controlled by a Raspberry Pi. The temperature is controlled by a simple web interface that runs on the Pi. This way, [redditseph] can change the temperature from any room in his home using a computer or smart phone. He also built multi-sensor functionality into his design. This means that the Pi can take readings from multiple rooms in the home and use this data to make more intelligent decisions about how to change the temperature.
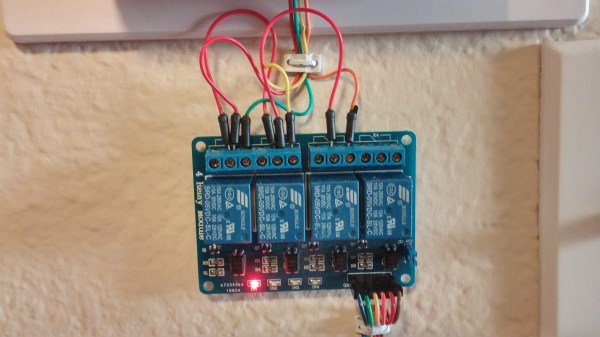
The Pi needed a way to actually talk to the thermostat. [redditseph] made this work with a relay module. The Pi flips one side of the relays, which then in turn switches the buttons that came built into the thermostat. The Pi is basically just emulating a human pressing buttons. His thermostat had terminal blocks inside, so [redditseph] didn’t have to risk damaging it by soldering anything to it. The end result is a functional design that has a sort of cyberpunk look to it.
[via Reddit]