The heat pump which cools [Chris LeBlanc’s] home lacks the sort of control he was looking for. It’s just got a timer, which switches it off automatically. He wanted to the ability to schedule the cooling cycle like you would with a thermostat-driven arrangement. He ended up build his own controller to automate the cooling process.
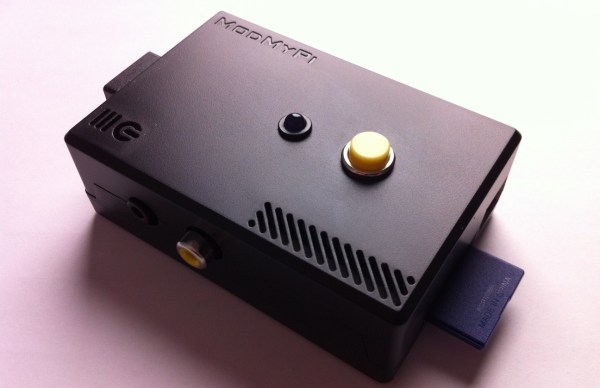
The heat pump came with an IR remote control which provides the access point for the project. [Chris] set out to emulate the remote protocol which saved him the trouble of having to crack open the unit and wire in a controller. He went with the IR Toy from Dangerous Prototypes as this device is able to record and transmit IR signals — it’s basically a universal remote for your USB port. His Raspberry Pi, seen to the left, controls the system. It’s connected to the red IR Toy board via a USB hub which is used to interface a WiFi dongle as well. The system works alongside Google Calendar to allow [Chris] to schedule his home’s cooling just by adding an appointment. A Python script queries the calendar, then selects and sends the appropriate IR command. He shows off the build in the clip after the break.
Continue reading “Developing A Thermostat For A Heat Pump That Only Has A Timer”