[psgarcha]’s modem/router comes straight from his internet provider, is on 24/7, and is built with the cheapest components imaginable. Eventually, this will be a problem and for [psgarcha], this problem manifested itself sooner than expected. Fortunately, there was a soldering iron handy.
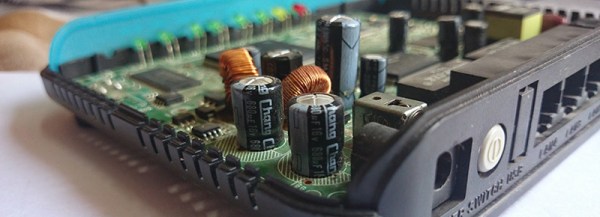
The problems began with a boot loop – starting the router up, watching the blinking LEDs, and watching these lights follow the same pattern forever. Initially thinking this would be a problem with the firmware, [psgarcha] did the only thing he could do – take it apart. Inside, he found some bulging capacitors. Unsheathing his iron and replacing the obviously faulty components, [psgarcha] plugged the router in and had everything work. Great. Until those caps failed again a few months later.
There was obviously something wrong with the circuit, or wrong with the environment. Figuring it was hot out anyway, [psgarcha] replaced those caps again and added a fan and a small heatsink to the largest chip on the board. This should solve any overheating problems, but the real testing must be done in summer (or putting the router in a well-insulated enclosure). It’s an easy fix, a good reminder of exactly how often caps fail, and a great example of reducing the electronic cruft building up in landfills.