What can you do with a very good vacuum pump? You can build an electron microscope, x-ray tubes, particle accelerators, thin films, and it can keep your coffee warm. Of course getting your hands on a good vacuum pump involves expert-level scrounging or a lot of money, leading [DeepSOIC] and [Keegan] to a great entry for this year’s Hackaday Prize. It’s the Everyman’s Turbomolecular Pump, a pump based on one of [Nikola Tesla]’s patents. It sucks, and that’s a good thing.
The usual way of sucking the atmosphere out of electron microscopes and vacuum tubes begins with a piston or diaphragm pump. This gets most of the atmosphere out, but there’s still a little bit left. To get the pressure down even lower, an oil diffusion pump (messy, but somewhat cheap) or a turbomolecular pump (clean, awesome, and expensive) is used to suck the last few molecules of atmosphere out.
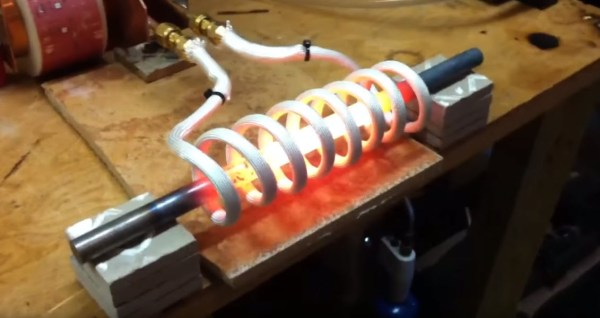
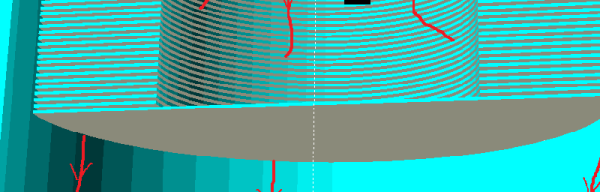
The turbomolecular pump [DeepSOIC] and [Keegan] are building use multiple spinning discs just like [Tesla]’s 1909 patent. The problem, it seems, is finding a material that can be made into a disc and can survive tens of thousand of rotations per minute. It’s a very, very difficult build, and a mistake in fabricating any of the parts will result in a spectacular rapid disassembly of this turbomolecular pump. The reward, though, would be great. A cheap turbomolecular pump would be a very useful device in any hackerspace, fab lab, or workshop garage.