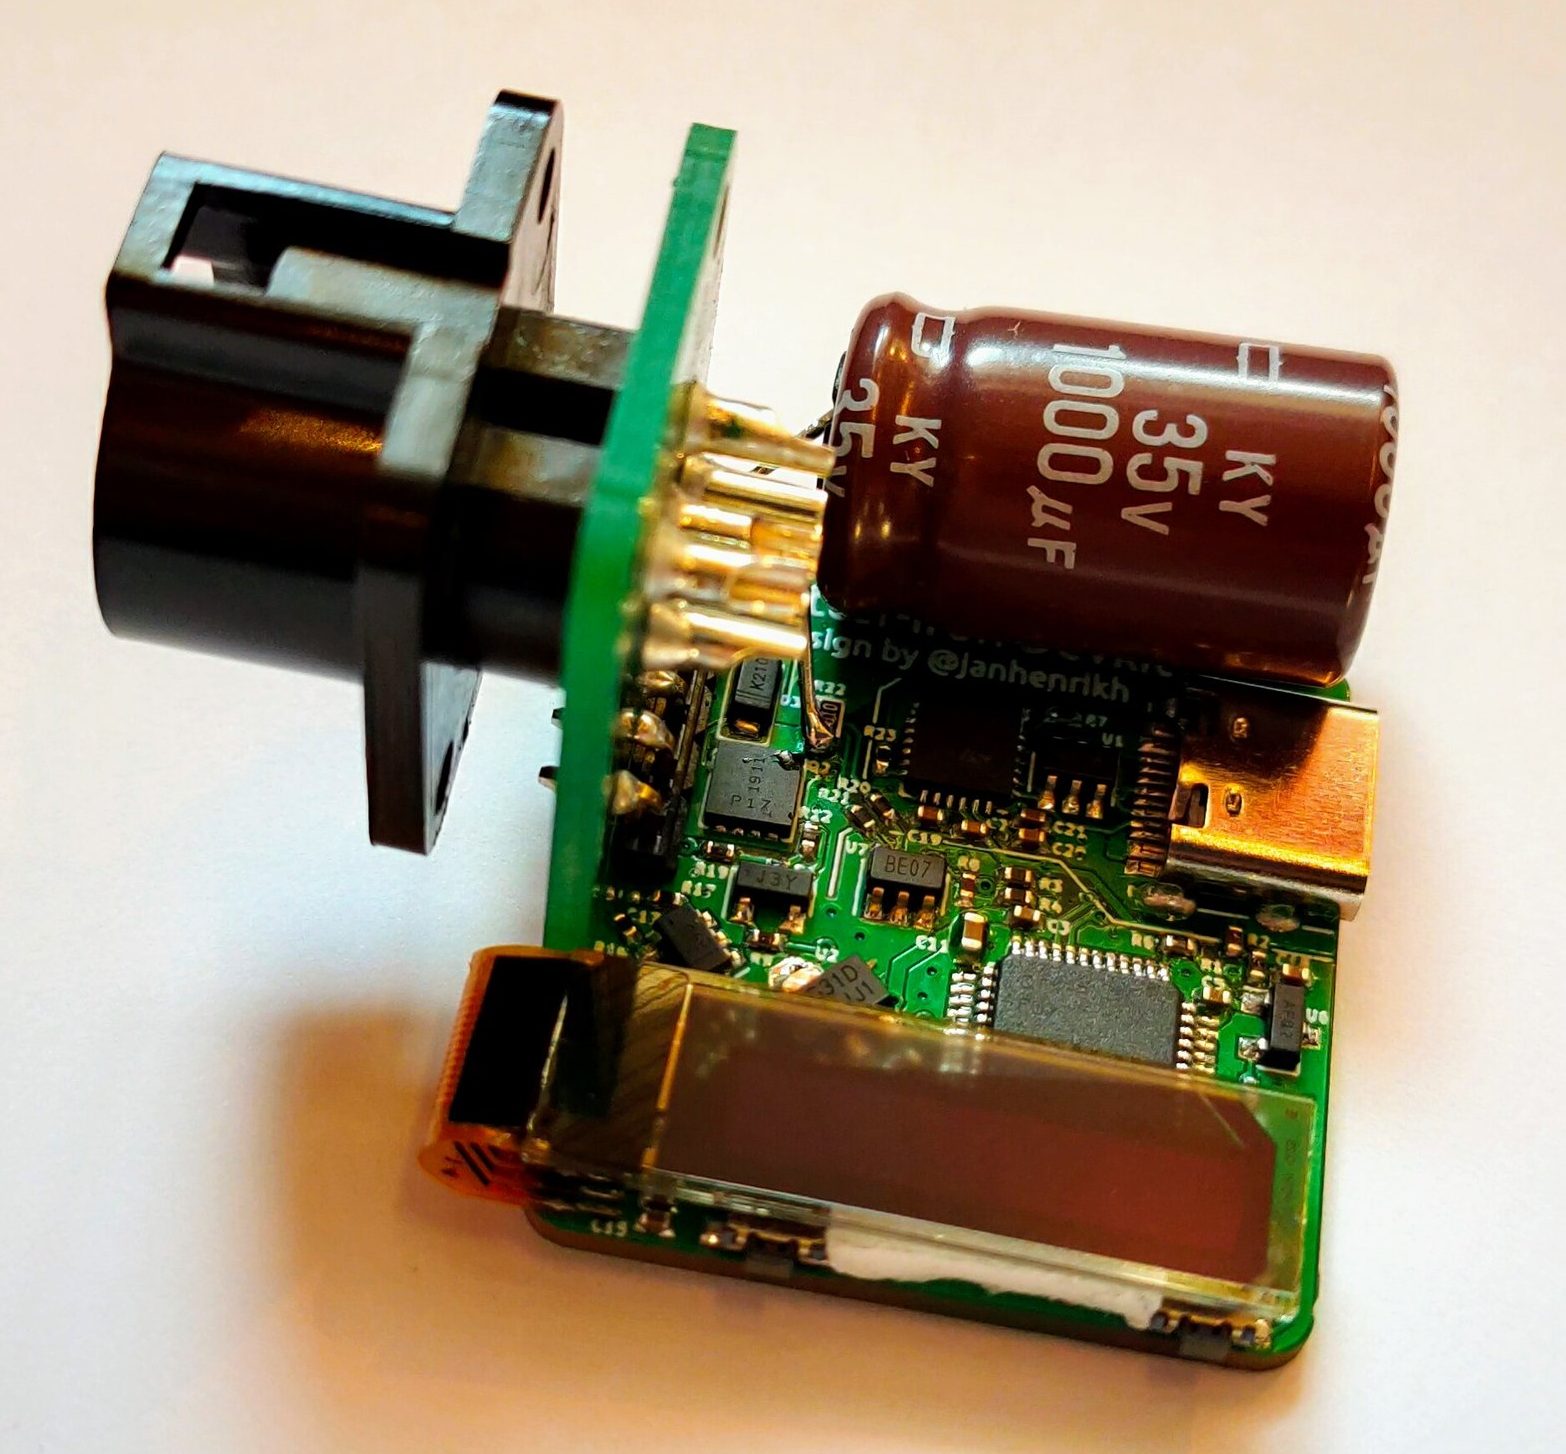
Soldering Your Own Soldering Iron

A device that even DIY enthusiasts don’t usually think to DIY is the humble soldering iron. Yet, that’s exactly what one Hackaday.io user did by building a USB-powered soldering pen with better performance than a $5 Chinese soldering pen.

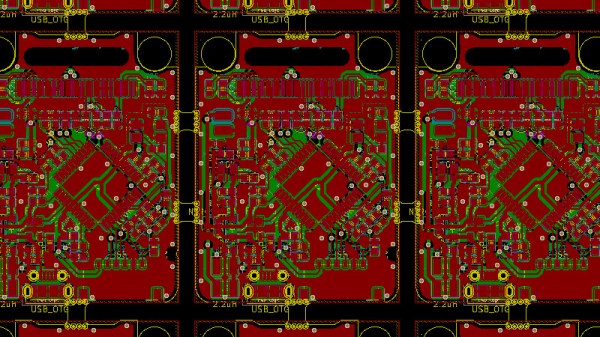
The project draws inspiration from another Weller RT tip-based soldering pen by [vlk], although this project has a simpler display than an OLED. Slovakia-based maker [bobricius] was inspired by the DiXi ATSAMD11C14-based development board. The project uses the same 32-bit ATMEL ARM microcontroller with a USB bootloader, which makes updating the firmware a lot easier.

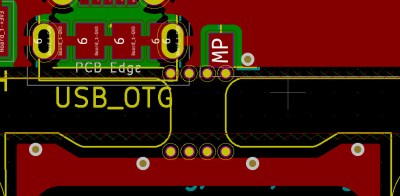
Two buttons control the heat (+/-) and the jack for the Weller RT soldering tip controls the power out with PWM. For the display, 20 Charlieplexed 3014 LEDs are used to show the temperature from 0-399. The last missing LED is left out since 5 GPIO pins can only drive 20 LEDs.

Assuming that the main heating controls stay the same as [vlk]’s project, the pen uses a current sensor and heating controller for PID control of a heating module, which connects to the SMT connector for the Weller RT soldering iron tip. The temperature sensor uses a an op-amp for amplification of the signal from a type K thermocouple.

While there aren’t currently GERBER files for the PCB yet, the project is based on the open-source OLED display soldering pen project by [vlk], whose schematic for the device is published.

Continue reading “Soldering Your Own Soldering Iron”

When Engineering, Fine Art, And ASMR Collide

The success that [Julian Baumgartner] has found on YouTube is a perfect example of all that’s weird and wonderful about the platform. His videos, which show in utterly engrossing detail the painstaking work that goes into restoring and conserving pieces of fine art, have been boosted in popularity by YouTube’s Autonomous Sensory Meridian Response (ASMR) subculture thanks to his soft spoken narration. But his latest video came as something of a surprise to lovers of oil paintings and “tingles” alike, as it revealed that he’s also more than capable of scratch building his own equipment.

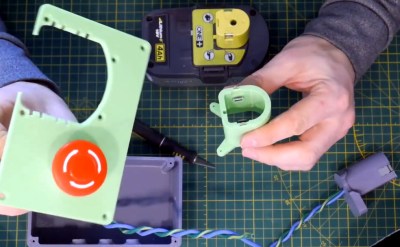
Anyone who’s been following his incredible restorations will be familiar with his heated suction table, which is used to treat various maladies a canvas may be suffering from. For example, by holding it at a sufficiently high temperature for days on end, moisture can be driven out as the piece is simultaneously smoothed and flattened by the force of the vacuum. But as [Julian] explains in the video after the break, the heated suction table he’s been using up to this point had been built years ago by his late father and was starting to show its age. After a recent failure had left him temporarily without this important tool, he decided to design and build his own fault-tolerant replacement.

The table itself is built with a material well known to the readers of Hackaday: aluminum extrusion. As [Julian] constructs the twelve legged behemoth, he extols the many virtues of working with 4040 extrusion compared to something like wood. He then moves on to plotting out and creating the control panel for the table with the sort of zeal and attention to detail that you’d expect from a literal artist. With the skeleton of the panel complete, he then begins wiring everything up.

Underneath the table’s 10 foot long surface of 6061 aluminum are 6 silicone heat pads, each rated for 1,500 watts. These are arranged into three separate “zones” for redundancy, each powered by a Crydom CKRD2420 solid state relay connected to a Autonics TC4M-14R temperature controller. Each zone also gets its own thermocouple, which [Julian] carefully bonds to the aluminum bed with thermally conductive epoxy. Finally, a Gast 0523-V4-G588NDX vacuum pump is modified so it can be activated with the flick of a switch on the control panel.

What we like most about this project is that it’s more than just a piece of equipment that [Julian] will use in his videos. He’s also released the wiring diagram and Bill of Materials for the table on his website, which combined with the comprehensive build video, means this table can be replicated by other conservators. Whether it’s restoring the fine details on Matchbox cars or recreating woodworking tools from the 18th century, we’re always excited to see people put their heart into something they’re truly passionate about.

Continue reading “When Engineering, Fine Art, And ASMR Collide”

How Do Those Component Testers Work?

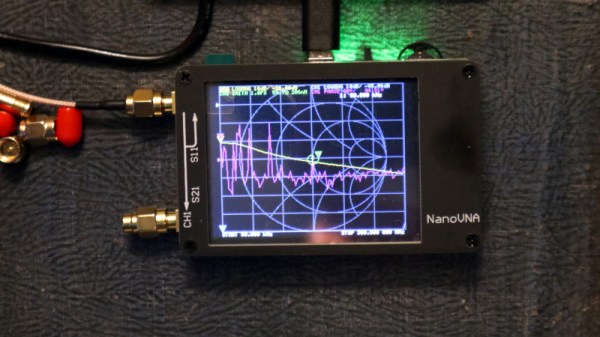
Most people have at least seen those cheap component testers you can buy on the Chinese websites for $10 or so. If you haven’t seen them before, they usually have some kind of multi pin socket. You put a component in the socket and it will identify — with a push of a button — what the part is, which pin is which, and the value of the part. For example, you can insert a resistor, a capacitor, an inductor, a diode, or a transistor and get a readout of which pin is which. It seems like magic, but [Andreas Spiess] did the research on how it all works and summed up his findings in a recent video.

[Andreas] even quotes our earlier post on the topic and, as we did, dug into the original developers of the device which has been cloned over and over by Chinese sellers. Although there have been some divergence with all the different versions, the basic idea is the same. An AVR CPU uses some analog and digital trickery to make a lot of different measurements.

Continue reading “How Do Those Component Testers Work?”

3D Print Your Own Thermal Insert Press

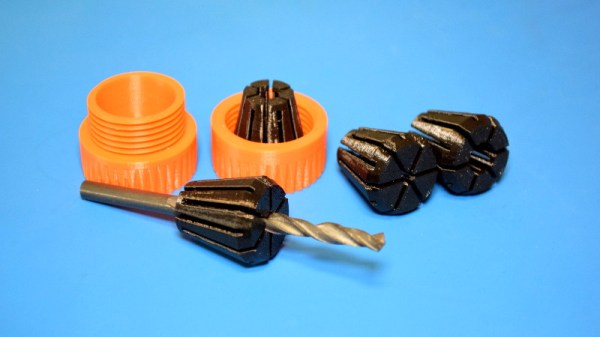
Thermal inserts are a big thing when it comes to engineering with plastic. They make it easy to use threaded fasteners with plastic parts, and they work great with 3D printing too. There’s a bit of a knack to installing them without damaging your workpiece, however, and [John Culbertson] wanted to make using them as easy as possible. Thus, he created a thermal insert press of his very own!

If you’re not using heat-set inserts with your 3D printed parts you’re missing out. Hackaday’s own [Joshua Vasquez] wrote a great guide on thermal inserts which you heat up to securely melt the plastic as they are pushed into a slightly under-sized hole. While it’s possible to install these inserts by hand, using a press means much more consistent results.

This press relies on 3D printed components in combination with off-the-shelf bearings and fasteners. There’s a linear rail as well, to give the soldering iron a  clean, smooth downward motion. This helps make sure that the inserts go in straight and true, first time, every time. We’ve seen other DIY builds before, like this modified arbor press that gets the job done. Continue reading “3D Print Your Own Thermal Insert Press”

USB Armory MkII: A USB-C Thumb Drive Based Linux Computer For Pentesters

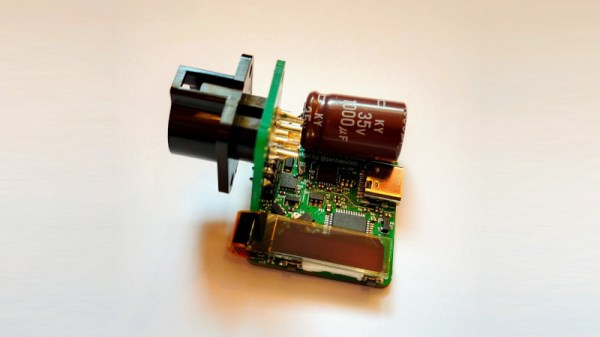
While it might look like a disrobed flash drive or RTL-SDR dongle, the USB Armory Mk II is actually a full-fledged open hardware computer built into the ubiquitous USB “stick” format. But more than just that, it’s optimized for security research and boasts a list of features that are sure to get the attention of any pentesters in the audience. Fine tuned thanks to the feedback developer [Inverse Path] received about the original version of the hardware, the Mk II promises to be the last word in secure mobile computing.

Compared to the original hardware, the most obvious change is the switch to USB-C. The previous USB Armory used traces on the PCB to plug directly into a USB Type-A port, but this time around [Inverse Path] has put a proper male connector on the front of the board. Nominally, the USB Armory is plugged into a host computer to provide it with power and a network connection, though it also has the ability to disguise itself as a storage or input device for more stealthy applications. There’s also a female USB-C port on the Mk II, which can be used to connect additional devices, a feature the previous version lacked.

The USB Armory Mk II is powered by an upgraded 900 MHz ARM Cortex-A7 processor, though it retains the same 512 MB of RAM from the previous version. Like the original, there’s a micro SD slot to hold the Linux operating system, but this time it’s supplemented with an onboard 16 GB eMMC chip. There’s even a physical switch that allows the user to choose which storage device they want to boot from. Other additions for the Mk II include Bluetooth connectivity, and a hardware true random number generator (TRNG).

We first brought you word of the original USB Armory back in 2014, and it’s always good to see an open hardware project thriving and iterating years later. While the $149 price tag arguably puts the MKII out of the tinkering budget for many of us, there’s clearly a market for niche devices like this and we can’t wait to see what [Inverse Path] comes up with next.

A Crane Fit For Any Workshop

Sometimes we will encounter items in our workshops that are a little bigger than we bargained for. An engine block, an anvil, or a particularly substantial machine tool. Lifting these things may be possible, but doing so risks injury, perhaps a hernia or worse. For these moments a particularly well-appointed workshop will include a small crane, and [Workshop from scratch] has posted a video that we’ve placed below the break showing the construction of a particularly nice model.

The fabrication of a crane is not in itself a difficult task, in that most metalwork-minded readers could probably make one. What’s appealing about this video is the sense of gratification at watching metalwork being done well, and that while he does use a bandsaw and a drill press there’s not a lot in the video that couldn’t be done with more basic tools. The result is a handsome item that is probably better than many commercial offerings, though the gut feeling here is that the pivot points would have been better made with a sleeve and pin rather than a threaded bolt. The lifting effort comes from an off-the-shelf hydraulic ram.

Cranes feature here surprisingly rarely, but at least we’ve brought you a balcony crane.

Continue reading “A Crane Fit For Any Workshop”

Modular Fixture Plates Perfect For Small Production Runs

If you’ve ever done any small production runs of anything that needs a bit of assembly, you know that jigs and fixtures are a huge time saver. However, these usually need to be mounted, which means you end up drilling holes in your workbench or making one-off mounting plates. [Jim Smith] is no stranger to this problem, and created the Pact Plate, an affordable modular fixture plate and is running a Kickstarter campaign to get it produced.

Each plate 150 mm × 150 mm in size with a 25 × 25 mm grid of holes with M4 threaded inserts. This allows quickly and easily mounted to and removed from the plate without the need to drill additional holes. Plates can be bolted together to form larger plates. The demo video shows him using a variety of 3D printed jigs, toggle clamps, PCB and part holders (available for download) and even a robot to quickly set up small assembly stations. This could also save a lot of time during the prototyping and development phases to hold parts in place.

[Jim]’s prototypes are all 3D printed, but want’s to get tooling made to produce the plates using injection moulding. He doesn’t say what material he intends to use, but it’s likely some type of fibre reinforced plastic. He claims the rigidity is close to that of die-cast aluminium. One addition we would like to see is some plugs for the unused hole to prevent small components from falling into them.

Continue reading “Modular Fixture Plates Perfect For Small Production Runs”