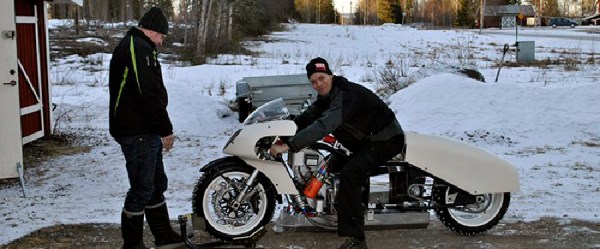
[Anders] is going to beat the land speed record for a turbine-powered motorcycle. It’s a project he’s been working on for years now, and just this week, he put the finishing touches on the latest part of the build. He successfully cast the compressor for a gas turbine engine that’s twice as powerful as the one he has now.
This compressor piece was first 3D printed, and this print was used as a positive for a sand – or more specifically petrobond – mold. The material used in the casting is aluminum, fluxed and degassed, and with a relatively simple process, [Anders] came away with a very nice looking cast that only needs a little bit of milling, lathing, and welding to complete the part.
In the interests of accuracy, and just to make sure there’s no confusion, this ‘jet’ engine is actually a gas turbine, of which there are many configurations and uses. The proper nomenclature for this engine is a ‘turboshaft’ because the power is directed to a shaft which drives something else. This is not a new build; we’ve been covering [Anders]’ build for the better part of two years now, and although [Anders] intends to break the world record at the Bonneville salt flats eventually, he won’t be beating the ultimate land speed record – that title goes to a car – and he won’t be beating the speed record for all motorcycles. Instead, [Anders] plans to break the record for experimental propulsion motorcycles, or motorcycles powered by electric motors, steam, jet engines, or in this case, ‘turboshafts’.
It should also be noted that [Anders] frequently does not wear hearing or eye protection when testing his gas turbine engine. That is an exceedingly bad idea, and something that should not be attempted by anyone.
As an additional note for safety, in the video below of [Anders] pouring aluminum into his mold, the ground looks wet. This is terrifically dangerous, and steam explosions can kill and maim even innocent bystanders. This is not something that should be attempted by anyone, but we do thank [Anders] for sharing his project with us.
Continue reading “Casting Turbines For A World Speed Record Motorcycle” →