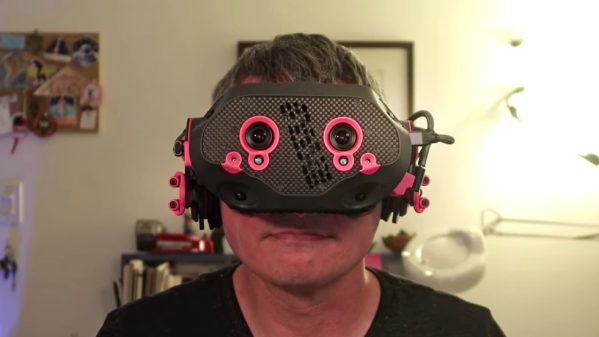
The Bigscreen Beyond is a small and lightweight VR headset that in part achieves its small size and weight by requiring custom fitting based on a facial scan. [Val’s Virtuals] managed to improve fitment even more by redesigning a facial interface and using a 3D scan of one’s own head to fine-tune the result even further. The new designs distribute weight more evenly while also providing an optional flip-up connection.
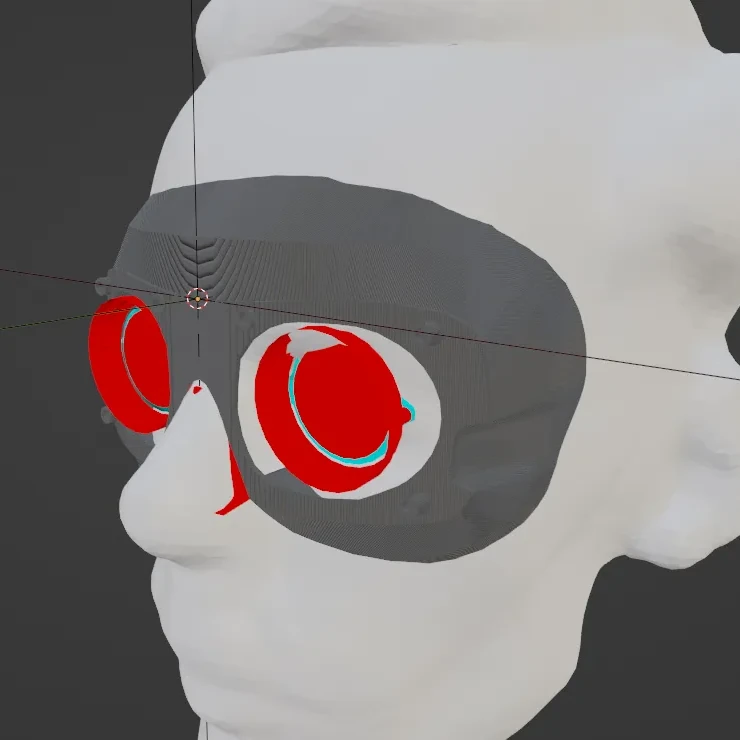
It may be true that only a minority of people own a Bigscreen Beyond headset, and even fewer of them are willing to DIY their own custom facial interface. But [Val]’s workflow and directions for using Blender to combine a 3D scan of one’s face with his redesigned parts to create a custom-fitted, foam-lined facial interface is good reading, and worth keeping in mind for anyone who designs wearables that could benefit from custom fitting. It’s all spelled out in the project’s documentation — look for the .txt file among the 3D models.
We’ve seen a variety of DIY approaches to VR hardware, from nearly scratch-built headsets to lens experiments, and one thing that’s clear is that better comfort is always an improvement. With newer iPhones able to do 3D scanning and 1:1 scale scanning in general becoming more accessible, we have a feeling we’re going to see more of this DIY approach to ultra-customization.