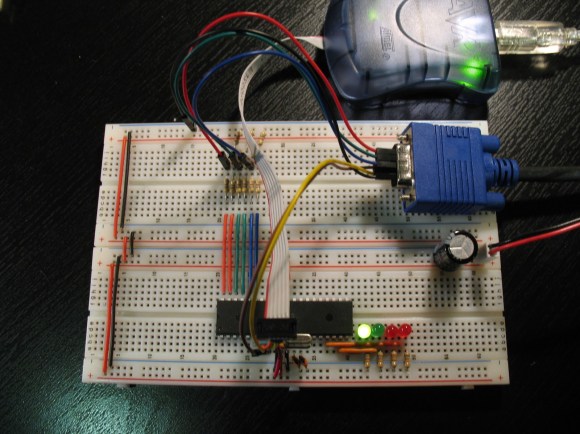
This simple circuitry makes up the hardware for [Andrew’s] AVR-based VGA generator. He managed to get an ATmega1284 to output a stable VGA signal. Anyone who’s looked into the VGA standard will know that this is quite an accomplishment. That’s because VGA is all about timing, and that presented him with a problem almost immediately.
The chip is meant to run at a top speed of 20 MHz. [Andrew] did manage to get code written that implemented the horizontal and vertical sync at this speed. But there weren’t enough clock cycles left to deal with frame buffering. His solution was to overclock the chip to 25 MHz. We assume he chose that because he had a crystal on hand, because we think it would have been easier to use a 25.174 MHz crystal which is one of the speeds listed in the specification.
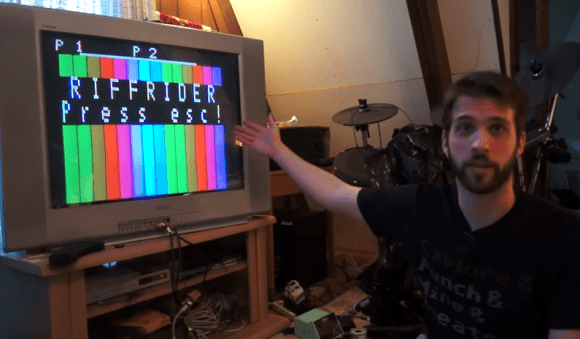
Red, green, and blue each get their own two-bit range selected via a set of resistors for a total of 64 colors. As you can see in the video after the break, the 128×96 pixel video is up and running. [Andrew] plans to enlarge the scope of the project from here to make it more versatile than just showing standard images. The code (written in assembly) is available at his GitHub repository.