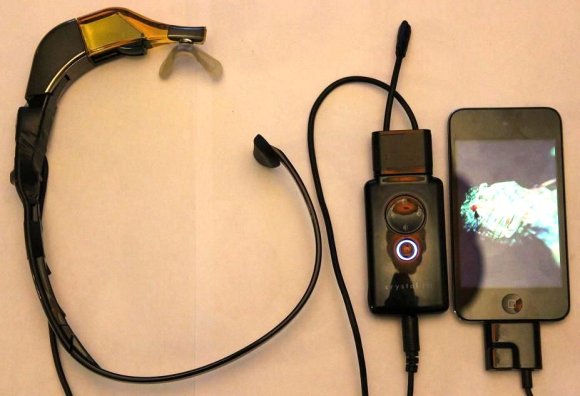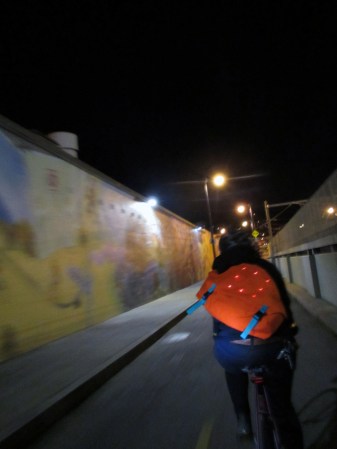
[Chris] has been hard at work building a Heads Up Display into some Snowboarding goggles. We’re used to seeing the components that went into the project, but the application is unexpected. His own warning that the display is too close to your face and could cause injury if you were to fall highlights the impractical nature of the build. But hey, you’ve got to start somewhere when it comes to prototyping. Perhaps the next iteration will be something safe to use.
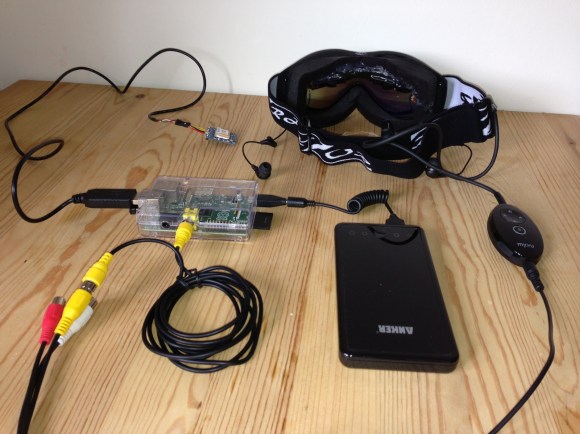
A set of MyVu glasses were added to the top portion of the goggles, which lets the wearer view the LCD output by looking slightly up. The display is fed by a Raspberry Pi board which connects to a GPS module, all of which is powered by a USB backup battery. In the video after the break you can see that the display shows time of day, speed, altitude, and temperature (although he hasn’t got a temperature sensor hooked up just yet). His bill of materials puts the project cost at about £160 which is just less that $250.
Continue reading “Snowboard Goggle HUD Displays Critical Data While Falling Down A Mountain”