Model railways are a deep and rewarding hobby, and the mechanisms involved can be both surprisingly intricate and delightful. A great example that may surprise the unfamiliar is that of model train carriages, such as coal cars, that are capable of both receiving and dumping a load at various points on a model layout. This adds realism and, if we’re honest, just plain old fun.
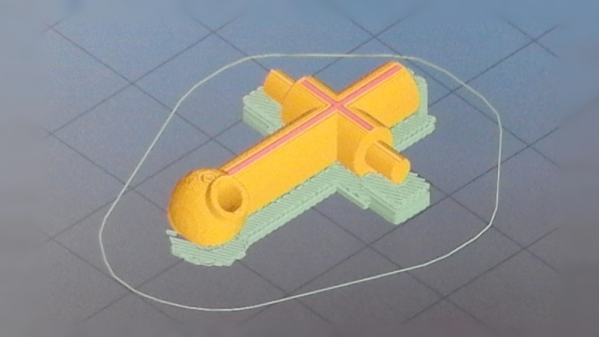
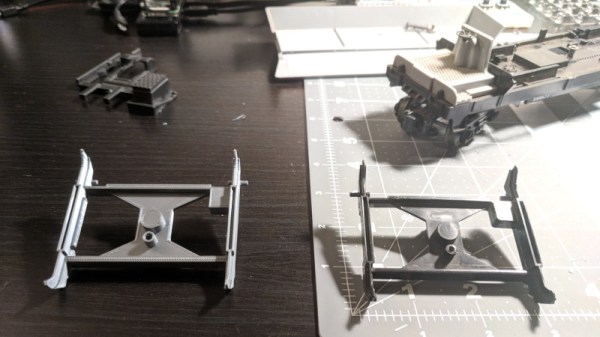
When [Phil]’s father received his Lincoln coal car from eBay, it was unfortunately damaged, and incapable of dumping properly. Instead of throwing it away, a replacement part was developed and 3D printed. The part was iterated on until the coal hopper could dump and retract smoothly.
This is the perfect example of a tidy repair executed through 3D printing. The broken part was extremely detailed and would be difficult and expensive to repair or fabricate through other measures. However, through the power of 3D printing, all that’s required is a 3D modelling job and a few hours to print it.
It’s a great entry into our Repairs You Can Print challenge, and covers the fundamentals of modelling and iterative design well. Got a neat repair you’ve done yourself? Document it on Hackaday.io and enter yourself!