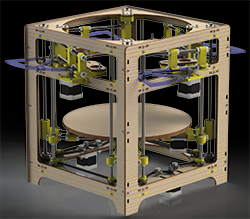
 The early 3D printers of the 80s and 90s started off as cartesian bots, and this is what the RepRap project took a cue from for the earliest open source 3D printer designs. A bit later, the delta bot came on the scene, but this was merely a different way to move a toolhead around build plate. We haven’t really seen a true polar coordinate 3D printer, except for [Tyler Anderson]’s incredible Theta printer.
[Tyler]’s theta printer is designed to print in as many different materials as possible, without the reduction in build volume that comes with multiple toolheads on more traditional printers. It will be able to lay down different colors of plastic in a huge build volume, and even some of the weirder filaments out there, all in a single print.
The theta printer is based on a polar coordinate system, meaning instead of moving a hot end around in the X and Y axes, the build plate rotates in a circle, and the extruders move along the radius of the circle. This spinning, polar coordinate printer is the best way we’ve seen to put multiple extruders on a printer, and has the added bonus of being a great platform for a 3D scanner as well.
With four extruders, four motors to control the position of each extruder, a rotation motor, and the Z axis (that’s 10 steppers if you’re counting), this is very likely the greatest number of motors ever put in a 3D printer. Most electronics boards don’t support that many stepper drivers, and the one that will won’t be ready for the end of The Hackaday Prize. Right now, [Tyler] is running a fairly standard RAMPS board, running two extruders and R axes in parallel. Still, it’s good enough for a proof of concept.
One interesting aspect of [Tyler]’s design is something even he might not have realized yet: with a single bed and four extruders, he’s effectively made a 3D printer geared for high-volume production; simply by printing the same part with all the extruders, he’s able to quadruple the output of a 3D printer with the same floor space as a normal one. This may not sound like much, but when you realize Lulzbot has a bot farm producing all their parts, the Theta printer starts to look like a very, very good idea.
Videos of [Tyler]’s Theta below.
 The project featured in this post is a semifinalist in The Hackaday Prize.
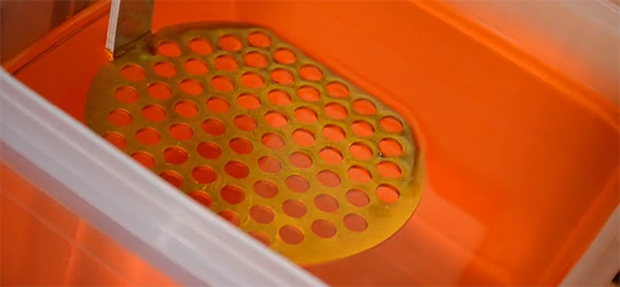
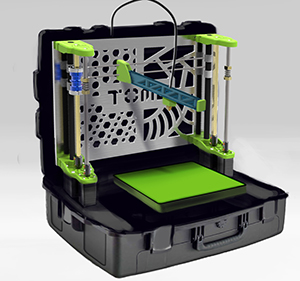 Alright, 3D Printers exist. They’re machines you can simply buy for a few hundred dollars, set them on your desk, and have them start churning out plastic parts. A little pedestrian, isn’t it? How about something you can take into the field for a client, and print out some new parts right there? How about sending a printer to the latest humanitarian crisis? After all, all those humanitarian uses for 3D printers we’ve been hearing about won’t do any good without a 3D printer.