Courtesy of [david.reid]

Bent PETG Fills A Nixie Gap

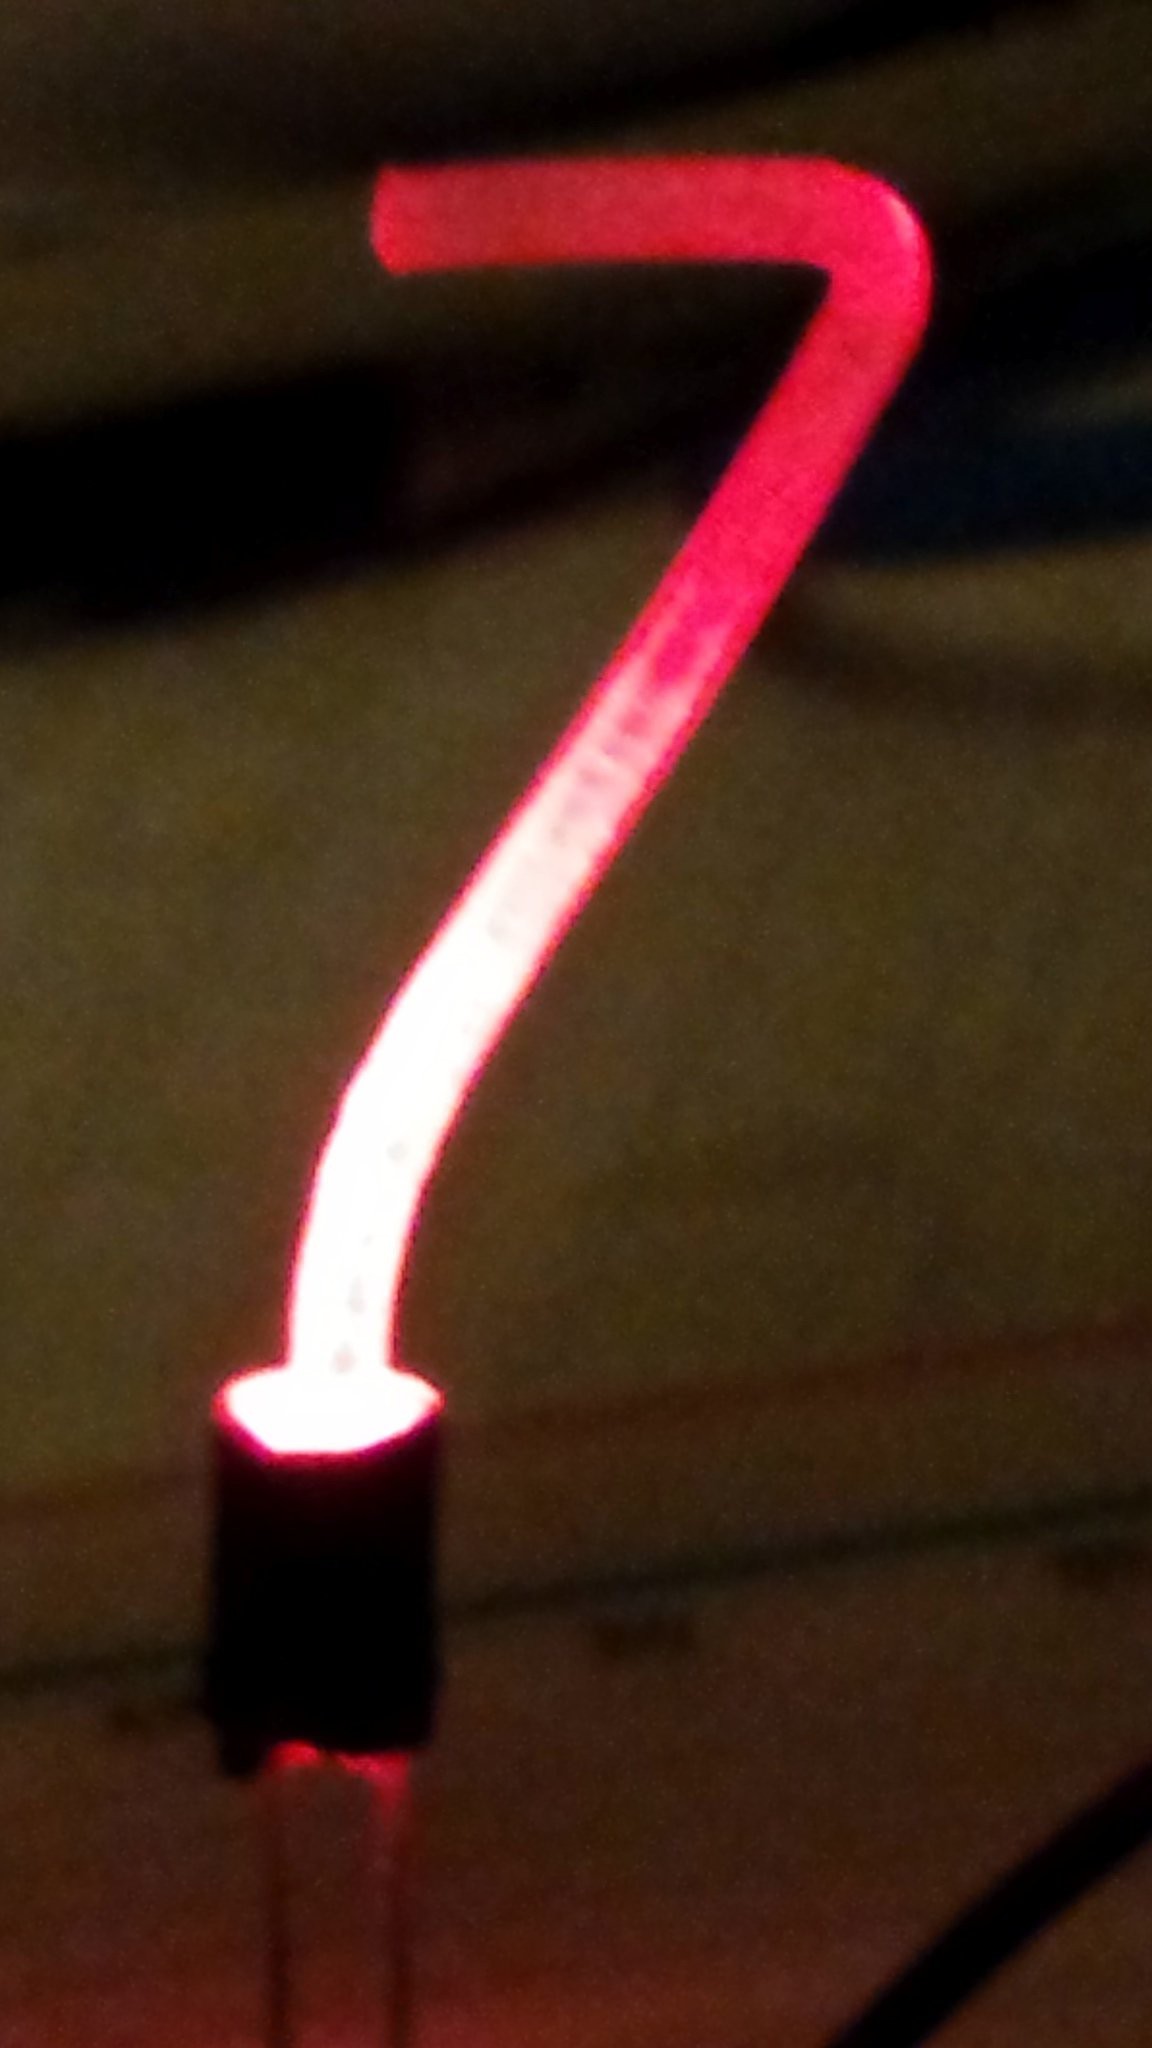
Have you ever thought that Nixie tubes are cool but too hard to control with modern electronics? And that they’re just too expensive? [david.reid] apparently thought so and decided to create his own version of a Nixie tube, and it doesn’t get much cheaper than this.

PETG Nixie Tube

While working on a 3D printed locomotive with his son, [david.reid] used clear PETG (Polyethylene Terephthalate Glycol) 3D printer filament to move light from LEDs to various parts of the locomotive. He found this was a success, but roughed up the outside of the filament to see what would happen. Lo and behold, a warm glow appeared on the surface of the tube! Like any good hacker, his next thought was of Nixie tubes, as you have seen in many clocks.

His basic idea is that with a little heat you can bend the filament into any shape that you like ([david.reid] uses custom molds). You then use some sandpaper to roughen up the outside wherever you’d like light to show, and add an LED at the bottom to light it up!

[david.reid] isn’t the first person to modernize Nixie Tubes. Over the years, we’ve seen them combined with Wi-Fi boards, individual LED segments, or even laser cutters & WS2812s!

Now’s a great time to get started on a project for the Hackaday Prize! If you’re looking for somewhere to start, we’d love to at least see your own take on a clock!

Converting A 3D Printer From 3mm To 1.75mm

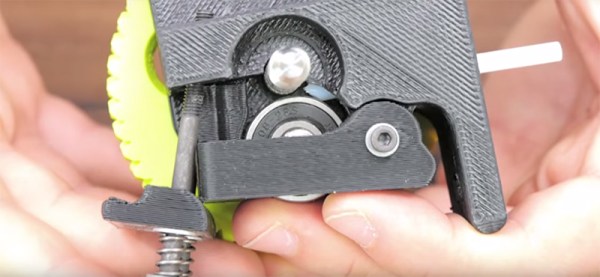
A few weeks ago, I published a post discussing the filament diameters common in 3d printing. For no reason whatsoever, consumer 3D printers have settled on two different sizes of filament. Yes, there are differences, but those differences are just a function of engineering tradeoffs and historical choices. [Thomas], YouTube’s 3D printing guru, took this post as a challenge: what does it take to convert a printer to accept different sizes of filament? Not much, actually.

The printer [Thomas] is changing out to accept 1.75mm is the Lulzbot Mini, one of the most popular printers that would ever need this modification. The only required materials is a new hot end suitable for 1.75mm filament, a 4mm drill, and a few wrenches and allen keys. It would be a smart idea to get a hot end that uses the same thermistor as the old one, but that’s not a deal-breaker as the problem can be fixed in the firmware.

Disassembly was easy enough, and after mounting the PTFE tubing, cutting the old wires, soldering in the new hot end, thermistor, and fan, [Thomas] had everything set up and ready to go.

It should be noted that changing a 3mm hot end to 1.75mm doesn’t really do anything. Just about every filament is available in both sizes, although it may not be convenient to buy 3mm filament locally. It would be a good idea to change out the hot end so can standardize your workshop or hackerspace on a single diameter of filament.

Continue reading “Converting A 3D Printer From 3mm To 1.75mm”

Custom Filaments With A Filastruder

A while ago, when 3D printing was the new hotness, a few people looked around and said, ‘our printers are open source, why can’t we just build the machines that make our 3D printing filament?’ There was a $40,000 prize for the first person to build an open source filament extruder, resulting in a few filament fabrication machines being released into the wild. [Rupin] over in the Mumbi hackerspace has one of these filament extruders – a Filastruder – and decided to take a look at what it could do.

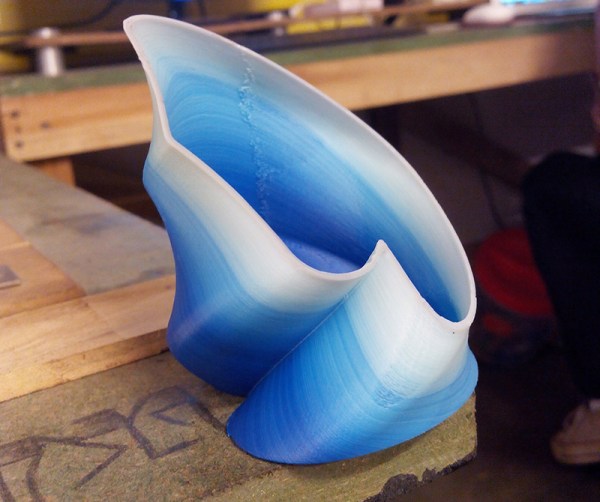
The experimentations began with a few kilograms of ABS pellets he found at the market, with bags of red, blue, green, and white masterbatch pellets showing up at the Hackerspace. Experimenting with these pellets, [Rupin] was able to create some very nice looking filament that printed well and changed color over the course of a print.

There were a limitations of the process, though: the filastruder has a long melt zone, so colors will invariably mix. If you’re thinking about doing a red to blue transition with filament created on a Filastruder, you’ll end up with a filament with a little bit of red, a little bit of blue, and a lot of a weird purple color. The time to create this filament is also incredibly long; over the course of two days, [Rupin] was able to make about half a kilo of filament.

Still, the results look fantastic, and now that [Rupin] has a source for masterbatch and ABS pellets, he’s able to have a steady supply of custom color filament at the hackerspace.

Straw Based Filament?

Straw Based Filament

PLA (polyactic acid) is often toted as one of the most environmentally friendly and safe filaments for consumer printing, since it is derived from corn products — not fossil fuels. But there’s a new contender on the market, and that is a type of straw-based plastic filament — which also promises to cost around half as much!

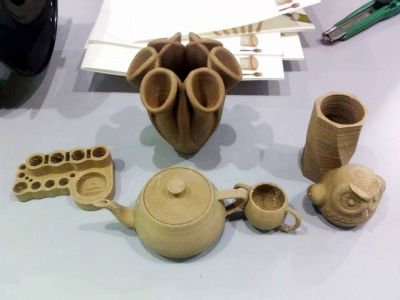
Designed by a Chinese company called Jinghe, the material is made by grinding up various dried crops like wheat, rice, and cotton, which in China is typically burned to get dispose of. The sawdust is then mixed with additives like polypropylene, silane coupling agent, and ethylene bis(stearamide). It is then extruded into a pellets of uniform size to allow for easier processing. From there it can be used for injection molding (melting temperature between 160-180°C), or further extruded into filament form. The filament  and resulting prints are a woody color with an interesting fiber-like surface finish, with decent part strength.

The company has signed a $320,000 USD contract with the Shantou city government to produce this type of plastic for toys in the European market — If production ramps up, it could well become one of the cheapest filaments available!

We like to cover all these alternative filaments as they come out, and there is becoming quite a selection! If you hear of any new materials used for printing, don’t forget to send them in to the tips line!

[Via 3ders.org]