These days, it’s a lot easier to get attention online if your lovely music comes with some kind of visual accompaniment. Of course, shooting a full-scale music video can be expensive, so lyric videos have become a more affordable, approachable avenue that are growing in popularity. [prash] whipped one up recently with the help of a 3D printer.
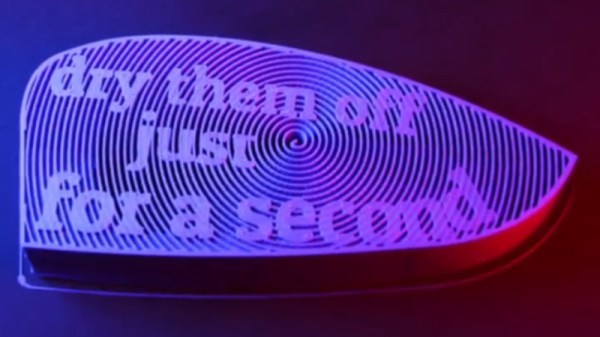
The video is a timelapse of a 3D print, something we’re very familiar with around these parts. [prash] embedded words in the various layers of the objects to be printed. Thus, as the prints are laid down on the build plate, the words are revealed to the camera shooting the time lapse. The scene is further improved by shaping the prints to reference the lyrics of the song, and using attractive infill designs like spirals and stripes. There are even some strategically placed clouds and pretty lighting to improve the effect.
It’s a neat use of 3D printing, and an artful one at that. We’re pretty confident that [prash] has put together a highly unique lyric video, and it’s much more impressive than the dodgy 3D printing [Will.i.am] featured in his not-quite-a-Britney song a decade ago. Video after the break.