3D Printing With Visible Light

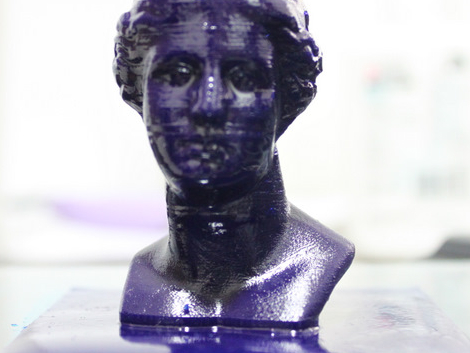
This 3D printer manages some pretty fantastic resolution, and these are just the early results of [Junior Veloso’s] build. He put together a machine that prints objects in resin that cures in visible light. To print, a thin layer of raw liquid resin self-levels across a printing surface and a DLP-based projector shines light from below, onto the portion to be hardened. The z-axis then pulls that layer up and the next to be printed will become the newest bottom layer. Horizontally the printer yields 1024×768 resolution with a layer thickness as small as 0.01 mm. No wonder he’s turning out this kind of quality.

The model above took 5 hours to print, with eight-second exposure for each layer, and 0.1mm layer thickness. There is lots of good information on his blog, from the early planning, to the finished hardware so take some time to learn about this fascinating project.

Update: Thanks to reader [Nave.notnilc] for pointing out that we’ve seen a chemical 3D printing technique before.

Use A 3D Mouse With Eagle CAD

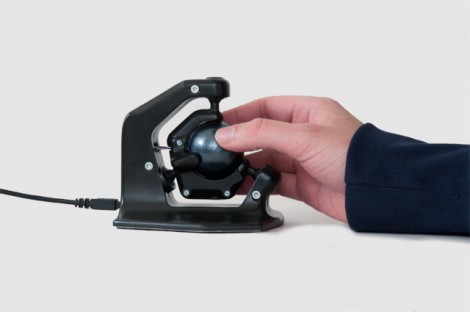
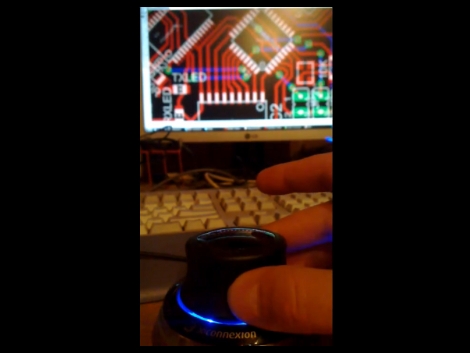
[Sebastian] made a 3D mouse work with Eagle CAD. He was inspired after using a 3DConnexion device to manipulate the views in a copy of Solid Edge 3D CAD modeling software. The system uses the 3D mouse in one hand with the regular mouse in the other.

It turns out that 3DConnecxion offers a lot of tools to get their devices working with your software. [Sebastian] downloaded the .NET example and modified it to read in data from the device. With the use of hot-keys he manages to get zoom, pan, and centering to work (see for yourself after the break). The only drawback to his implementation is that he can’t pan while dragging parts. But that’s just a small issue waiting for you to find a solution.

Continue reading “Use A 3D Mouse With Eagle CAD”

Graffiti Analysis

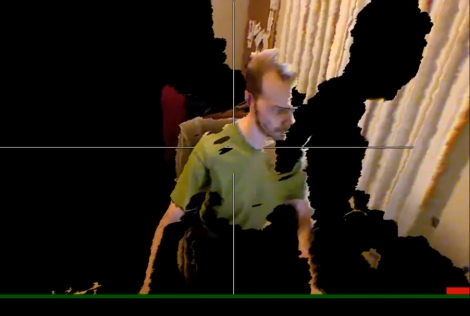
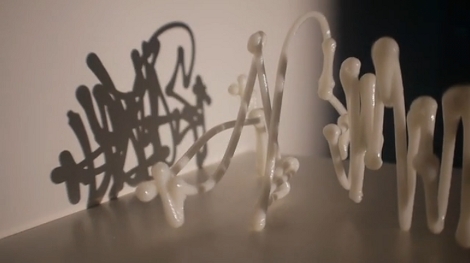
Here’s a fascinating project that started with a great idea and piled on a remarkable amount of innovation. Graffiti Analysis is a project that captures gestures used to create graffiti art and codifies them through a data-type called Graffiti Markup Language (GML). After the break you can watch a video showing the data capture method used in version 2.0 of the project. A marker taped to a light source is used to draw a graffiti tag on a piece of paper. The paper rests on a plexiglass drawing surface with a webcam tracking the underside in order to capture each motion.

The newest iteration, version 3.0, has some unbelievable features. The addition of audio input means that the markup can be projected and animated based on sound, with the example of graffiti interacting with a fireworks show. The 3D tools are quite amazing too, allowing not only for stereoscopic video playback, but for printing out graffiti markup using a 3D printer. The collection of new features is so vast, and produces such amazing results it’s hard to put into words. So we’ve also embedded the demo of the freshly released version after the break.

Continue reading “Graffiti Analysis”

Build A Tetrahedral Ambisonic Microphone

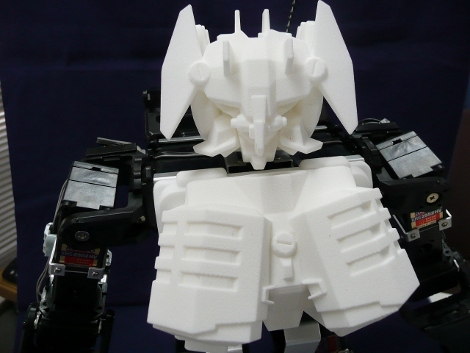
[Dan Hemingson’s] been refining a design for building a tetrahedral ambisonic recording system. This is a set of four microphones used to record audio that can later be mixed down for a three-dimensional listening experience. His goal is an easy and inexpensive build while maintaining the highest fidelity standards possible. Lucky for us he’s made a set of extremely detailed build instructions you can use to make your own. In addition to the mounting bracket seen above he has also developed a pre-amp module that connects to the four mics; it’s part of the build instructions with schematic and board layout files available as well.

[Thanks Isaac]

3D Digital Light Art Using IPad And Camera Trickery

This light art is created by a moving display playing an animated image through several camera exposures. In this case the display they’re using is an iPad, but that really doesn’t matter as it’s just a high-quality screen and it’s portable. 3D animations are generated in software and then sliced into cross sections. As the camera rolls, the cross sections are displayed in order and the location of the screen is moved. Very much like light painting with an LED or a Roomba, the bright image remains and can be strung together for the 3D effect seen in the video after the break.

Using the cross sections of the video reminds us of what a three-dimensional object looks like to a two-dimensional being. If you have no idea what that means you should take a look at this video on imagining the tenth dimension.

Continue reading “3D Digital Light Art Using IPad And Camera Trickery”

Steroscopic Rig Requires Only One Camera

[courtervideo] shares an instructible with us on how to build a mirror rig to take stereoscopic pictures with one camera. We’ve had the thought “couldn’t you just do that with some mirrors?” when looking at a dual camera rig. Well, as we all suspected, you can. There are some advantages here, a single click gives you your 3d image or video without any post processing, and unless you just happen to have an extra camera lying around you can save money there. You do however lose some resolution compared to two separate cameras. This setup could actually add some steps if you were wanting to interlace your images for viewing on a 3d tv.

Digital View-Master

Who could forget the stereoscopic goodness of a View-Master? [Tuttle] put a modern flair on the classic optical device by adding two 1.5″ LCD screens. The screens replace the film disk of the original, showing slightly different images to produce a 3D effect. No word on a camera rig used to take the original images, but for our money this a great way to make something out of those useless key chain picture frames.