During the development of the greatest member of the Apple II family, the Apple IIgs, someone suggested to [Woz] that a sort of universal serial bus was needed for keyboards, mice, trackballs, and other desktop peripherals. [Woz] disappeared for a time and came back with something wonderful: a protocol that could be daisy-chained from keyboard to a graphics tablet to a mouse. This protocol was easily implemented on a cheap microcontroller, provided 500mA to the entire bus, and was used for everything from license dongles to modems.
The Apple Desktop Bus, or ADB, was a decade ahead of its time, and was a mainstay of the Mac platform until Apple had the courage to kill it off with the iMac. At that time, an industry popped up overnight for ADB to USB converters. Even today, there’s a few mechanical keyboard aficionados installing Teensies in their favorite input devices to give them a USB port.
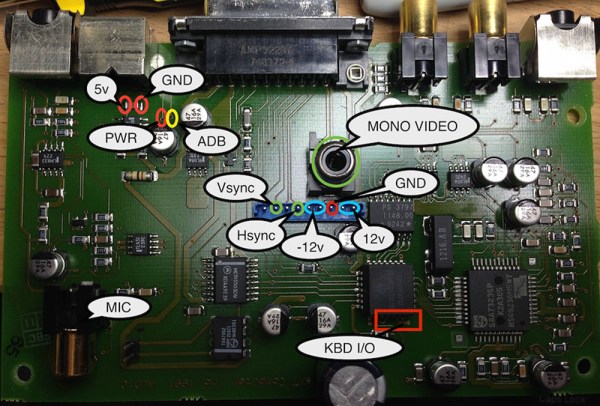
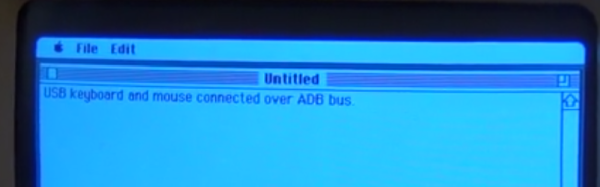
While plugging an old Apple keyboard into a modern computer is a noble pursuit — this post was written on an Apple M0116 keyboard with salmon Alps switches — sometimes you want to go the other way. Wouldn’t it be cool to use a modern USB mouse and keyboard with an old Mac? That’s what [anthon] thought, so he developed the ADB Busboy.
Continue reading “Bringing USB Devices To The Apple Desktop Bus”