Iron Man Arc Reactor Clock Is A Stylish Piece

Iron Man was the film that kicked off the Marvel craze, and is widely regarded to be better than a lot of the movies that followed. If you’re a big fan of the OG, you’re probably already drowning in Iron Man helmets and arc reactor doo-dads, but here’s one more for you. After all, you probably don’t have an arc reactor clock yet.

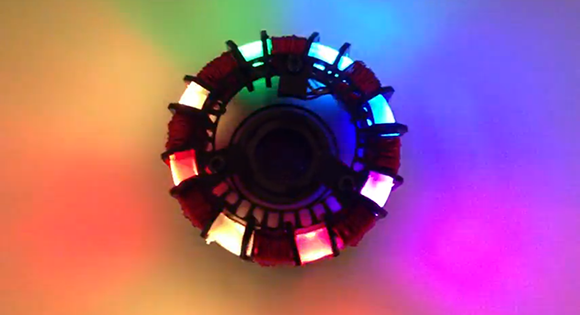
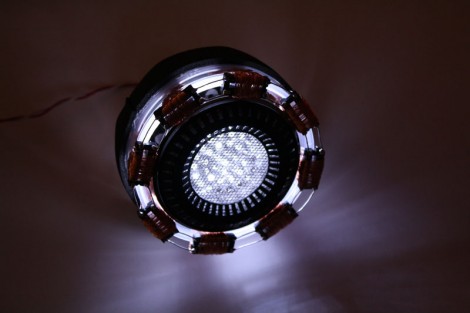
The build comes to us from [jerome95]. It starts with an off-the-shelf ring of addressable LEDs, which serves as the basic defining dimension for the project. The ring gets a 3D printed support structure and some non-functional copper coils to complete the basic “arc reactor” look. Inside the center sits a small 7-segment display which displays the time under the command of an ESP32. It uses a network time server so it’s always on the dot.  Meanwhile, if you’re not a fan of the 7-segment version, you can always try the OLED variant of the build instead.

It’s not a complicated build; that could have been easily achieved, though. The builder could have displayed the time by making the LEDs flash different colors, instead of using a 7-segment display. However, that would have made a far more confounding clock. As it is, this design would make an excellent gift for any Marvel fan. Particularly those that acknowledge the supremacy of the film that started it all.

Continue reading “Iron Man Arc Reactor Clock Is A Stylish Piece”

Sci-Fi Contest Roundup: I Am Iron Man

Back when Iron Man 2 and The Avengers were out in theaters, the Hackaday tip line couldn’t go a week without an arc reactor build being submitted. In keeping with the Internet’s fascination with blinkey glowey things, we expected a huge influx of arc reactors for our Sci-Fi contest. We were pleasantly surprised: all the submissions from the Marvel universe are top-notch, and the two Iron Man entries we have are simply amazing.

Motorized Helmet

1[James Bruton] is working on a replica of the Iron Man movie helmet, complete with a motorized face plate, light up eyes, and an OLED display for a reasonable facsimile of the horribly unrealistic on-screen heads-up display.
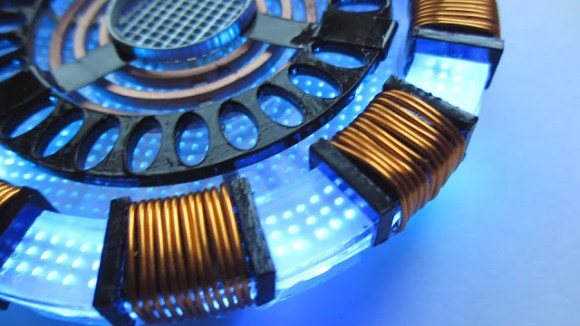
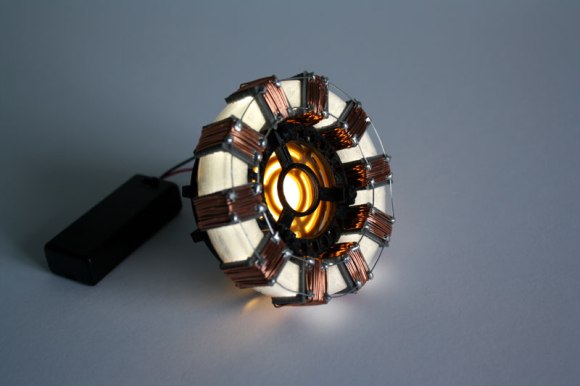
While a few bits and bobs of the mechanics were 3D printed, [James] is making the majority of the helmet just as how the on-screen version was made. The helmet was first carved out of sheet foam, then molded and cast into very strong rigid fiberglass. [James] put up a great tutorial series on how he did this and other parts of his Iron Man costume.

Anamatronic

2The other Iron Man costume from [jeromekelty] and [Greg Hatter] doesn’t stop at just the helmet. They’re doing everything: shoulder-mounted rocket pods, hip pods, forearm missiles, back flaps, and boots with a satisfying electronic kerthunk sounding with every step.

Inside the custom molded suit are at least four Arduinos, four XBees, an Adafruit WaveShield, and at least 20 servos for all of the Iron Man suit components. The mechanics are actuated via RFID with a tag in a glove; when the wearer waves their hand over some part of the suit, one of the mechanical features are activated.

It’s impressive to say the least, and one of the best documented projects we’ve seen in the Sci-Fi contest.

There’s still time to put together your own Sci-Fi project for the contest. Grab your soldering iron and fiberglass resin, because there’s some seriously great prizes up for grabs.


Laser Cut Arc Reactor Replica

laser-cut-arc-reactor

We’re starting to become a repository for Arc Reactor replica projects. The one shown above uses mostly laser cut components. We missed it back in May when [Valentin Ameres] tipped us off the first time. But he sent it in again after seeing the 3D printed version earlier this month.

Our biggest gripe is that we don’t have our own laser cutter to try this out on. Everything has been cut from 2mm thick acrylic. The black, silver, and copper colored components were painted to achieve this look. Many of the clear parts also had a dot matrix etched into them to help with light diffusion.

Basic assembly just required the parts be glued together. The finishing touches include wire-wrapping the slots of the outer ring and adding LEDs and current limiting resistors.

The plans are not freely available, but the 3D printed version linked above doubles as a 123D tutorial. That should help get you up to speed designing your own if you are lucky enough to have time on laser cutter.

Continue reading “Laser Cut Arc Reactor Replica”

3D Printed Arc Reactor Replica

3d-printed-arc-reactor-replica

[James] just keeps cranking on the idea of the perfect arc reactor replica. This time around he’s made most of the parts using a 3D printer. His write-up covers the basics of the build, but he also used this opportunity to make some tutorial videos on designing the parts using Autodesk 123D.

This is definitely an improvement on his last prop, which was built out of dollar store parts. When designing the components he tried to be as true to the original movie design as possible, while keeping in mind the limitations of using a home 3D printer; he printed them on a Lolzbot AO-101.

The videos below give you a good idea of what it’s like to model parts using 123D. The tool set is pretty simple compared to something like Blender 3D. But [James] uses them in such a way that the components get complex fairly quickly. The second video includes some footage of the parts being printed, as well as the assembly process that adds wrapped wire for looks, and LEDs for illumination.

Continue reading “3D Printed Arc Reactor Replica”

Arc Reactor Replica Could Have Been Crafted In A Cave

arc-reactor-replica

Following in the footsteps of [Tony Stark] this Arc Reactor replica was hand crafted using almost no power tools. From what we can tell in his build gallery, a cordless drill was his only departure from using pure elbow grease.

[DJ Maller] started his build by cutting out a disc of acrylic for the base plate. While we might have reached for a hole saw, he grabbed a framing square and laid out a center point and square cuts on the stock. Kudos for his use of an awl (we often take the Luddite approach of hammer and nail) to make an impression for his compass point to rest in. After using a coping saw to rough out the shape he sands the round up to the line with the drill and a sanding wheel.

After drilling holes and inserting LEDs he begins to build up the replica piece by piece. What looks like a recessed handle for a sliding closet doors makes up the center. The spring-like copper coils was produced by wrapping wire around a pen then stretching to the desired shape. He added a bicycle spoke wrench wrapped with copper for some additional visual appeal before finishing the decoration off with some storm door clips.

[via Reddit]

Man Proposes To Girlfriend With An Arc Reactor

arc

Thinking long and hard about how to propose to his girlfriend, [Ed] hit upon a great idea: use an arc reactor as the ring box, with enough LED lights to outshine all but their love, and servos to present the ring and tug at the heartstrings.

[Ed] set about giving his now-fiancé from his arc reactor heart by building a simple circular arrangement of adafruit RGB LED strip and an Arduino. There are two modes for this arc reactor: a light up mode that simply looks awesome, and a ‘ring mode’ that uses two servos to open the front cover and bring the engagement ring into view.

After [Ed]’s fiancé said yes, the cover in the center of the arc reactor closes for its continued use as a desk ornament. You can check out [Ed]’s proposal contraption in action after the break.

Continue reading “Man Proposes To Girlfriend With An Arc Reactor”

Dollar Store Arc Reactor Build

Some people have a real knack for sourcing parts at the dollar store. [James] is one of those people, having built this Arc Reactor replica using mostly dollar store goods.

The light source is an LED disk light that was removed from its enclosure. A sink strainer, the plastic holder from a package of sewing pins, and some wire mesh go together to make the first layer of the bezel. The push-pin holder is what has the ring of narrow rectangles around the bright center. It was painted black and attached to the sink strainer which provides the concentric holes in the center of the device.

For the detail around the outside [James] went with some clear-plastic drinking cups. By cutting off the top centimeter of each and stacking three together he gets the clear base he was after. The rest of the parts were gathered from his electronics supplies. DIP sockets straddle the drinking glass rims, and are wound with copper wire for the look seen here.

We put this near the top of the dollar store builds along with this Blade Runner umbrella.