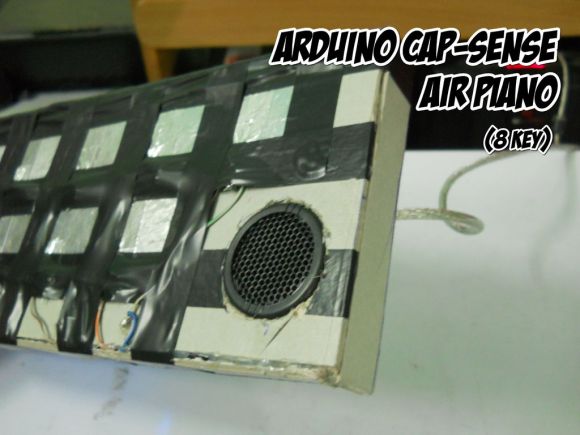
You don’t have to have high-quality parts to play around with electronics and here’s a great example. [Vishal] used junk to play around with CapSense, the touch sensitive Arduino library. What he ended up with is this touch-based piano keyboard.
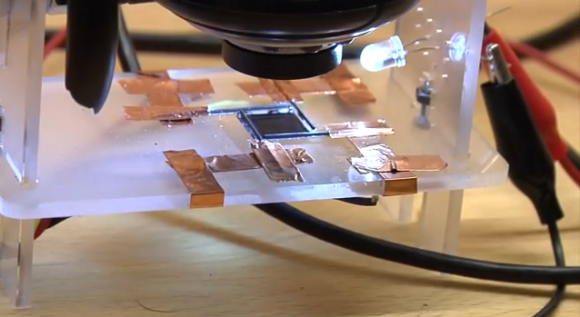
We’ve featured the CapSense library in the past, but even that example uses a very meticulously crafted test rig of foil tape, protoboard, and some resistors. If you still haven’t given it a try follow this example of using aluminum foil, electrical tape, and a cardboard box.
[Vishal] just sandwiched the end of jumper wire between two pieces of foil to make each ‘key’. We believe the other end of the wire is soldered to the bias resistors where they connect to a couple of pin headers. The headers were hot-glued in place through holes in the bottom of the box, making the entire rig simple to plug into the Arduino board driving it. After adding in a small speaker and flashing the code he’s finished. It certainly makes for a short afternoon project which you won’t feel bad about taking apart later since you didn’t sink a ton of time or resources into the build.