Designing A Pressure Sensitive Floor

ccm_activefloor8

[Sean] and his team at Adobe were asked to build “something new” for the Children’s Creativity Museum in San Francisco, so in several months they managed to build a digital/physical environment for kids called “Sense It”.

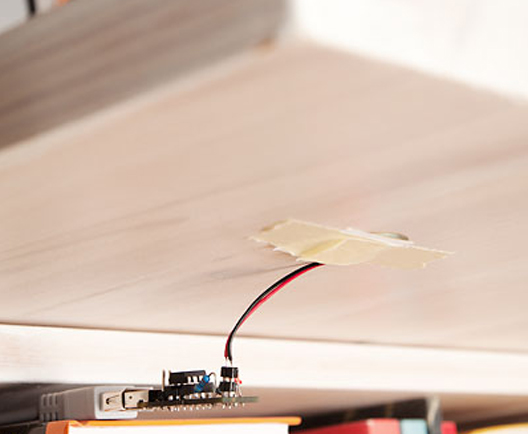
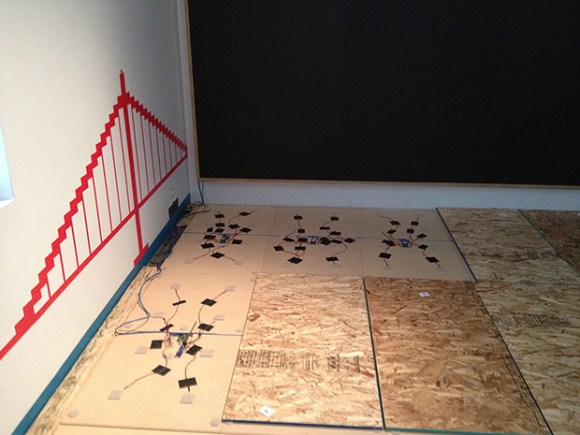
Part of this project involved designing and building a pressure-sensitive electronic floor which could detect if children were sitting, walking or running. As a camera based detection system couldn’t give them the type of precision they wanted, [Sean] decided to use pressure-sensitive resistors placed under MDF panels.

There are a total of twenty-one 2’x4′ tiles, each one including 8 pressure-sensitive resistors and an ATtiny84 based platform. All the microcontrollers digitize their 8 sensor signals and send their conversion results to a beaglebone over a shared i2c bus in a RJ45 CAT5 cable. As it is [Sean]’s first project, we will cut him some slack but several design mistakes have been made in our opinion:

  • Using i2c instead of RS485 / CAN for long distance data transmission
  • Digitizing the sensor voltages so far from them, as noise is added before the ADC
  • Sending the +5V required by the ATtiny in the RJ45 cable instead of a higher voltage (which would involve putting an LDO on the platforms)
  • Separating the digital and analog ground planes as the platform current consumption is low and transmission speeds slow

But the children who can now play with the complete system certainly won’t care. And you… what do you think of [Sean]’s work? Don’t hesitate to let us know in the comment section below.

Lots Of Seven Segment Displays With A Single ATtiny

7seg

These days they’ve been replaced with character LCD displays or even brightly colored graphical displays, but if you’re trying to display data on one of your projects, there’s nothing like the classic red glow of a red seven segment display. [five volts] got his hands on a few ancient segmented displays, but controlling even one took up more microcontroller pins than he was ready to spare. The solution to this problem was to use a shift register and control multiple segment displays with an 8 pin microcontroller.

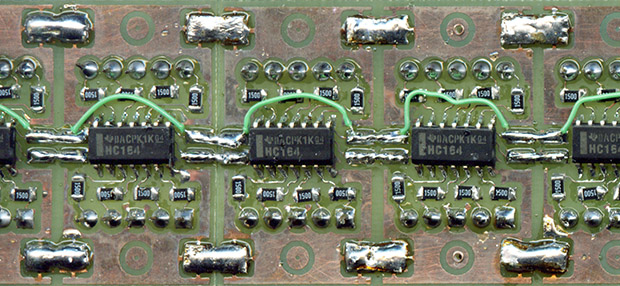
[volts] is using an ATtiny13 to control six seven segment displays. Each display is mounted on a hand-etched board, with a shift register and a handful of resistors soldered to the back. By having the microcontroller shift bits down the line, [volts] created an extremely easy to interface 6-digit segment display, and the entire device can be expanded even more.

The board files and schematics are available on [volt]’s project page. A great project if you’re just starting out to etch your own boards.

Giving Toys An Electronic Voice

sound

Whether it’s a Furby or Buzz Lightyear’s button that plays, ‘To infinity and beyond’, most digital audio applications inside toys are actually simple affairs. There’s no Arduino and wave shield, and there’s certainly no Raspi streaming audio from the Internet. No, the audio inside most toys are one or two chip devices capable of storing about a minute or so of audio. [makapuf] built an electronic board game for his kids, and in the process decided to add some digital audio. The result is very similar to what you would find in an actual engineered product, and is simple enough to be replicated by just about anyone.

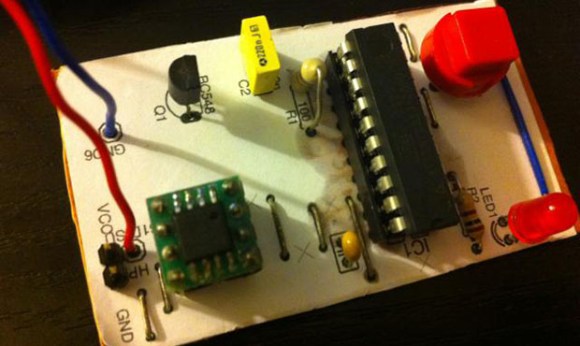
[makapuf]’s game is based on Game of the Goose, only brought into the modern world with electronic talking dice. An ATtiny2313 was chosen for the microcontroller and an AT45D 4 Megabit Flash module provided the storage for 8 bit/8khz audio.

The electronic portion of the game has a few functions. The first is calling out numbers, which is done by playing recordings of [makapuf] reading, ‘one’, ‘two’, ‘three’, … ‘twelve’, ‘thir-‘, ‘teen’ and so on. This data is pumped out over a pin on the ATtiny through a small amplifier and into a speaker. After that, the code is a simple matter of keeping track of where the players are on the board, keeping score, and generating randomish numbers.

It’s an exceptional exercise in engineering, making a quite complicated game with a bare minimum of parts. [makapuf] estimated he spent under $4 in parts, so if you’re looking to add digital audio to a project on the cheap, we can’t imagine doing better.

You can see a video of [makapuf]’s project after the break.

Continue reading “Giving Toys An Electronic Voice”

Programming Microcontrollers With A Raspi

rasduino

The advent of the Arduino brought the world of microcontrollers to hobbyists, students, and artist the world over. Right now we’re in the midst of a new expansion in hobbyist electronics with the Raspberry Pi, but we can’t expect everyone to stay in the comfortable, complex, and power-hungry world of Linux forever, can we? Eventually all those tinkerers will want to program a microcontroller, and if they already have a Raspberry Pi, why not use that?

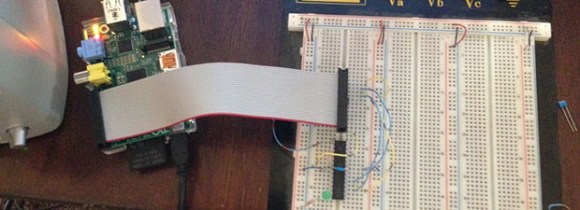
[Kevin] wanted to turn his Raspi into an AVR development workstation, without using any external programmers. He decided to use the Raspi’s SPI port to talk to an AVR microcontroller and was able to make the electrical connections with just a few bits of wire an a handful of resistors.

For the software, [Kevin] added support for SPI to avrdude, available on his git. Theoretically, this should work with any AVR microcontroller with the most popular ATMegas and ATtinys we’ve come to love. It doesn’t support the very weird chips that use TPI programming, but it’s still extremely useful.

Beginner Project: Color Sensing With RGB LEDs And A Photocell

I’ve seen the concept art for “real world eyedroppers” several times. I haven’t noticed any of the products come to market though. It isn’t the technology stoping them, color sampling can be done a million ways. I picked one of the easiest ways and tossed something together pretty quickly.

Continue reading “Beginner Project: Color Sensing With RGB LEDs And A Photocell”

70 Watt Amp Uses An ATtiny

If you’re looking for a DIY amplifier project made with a minimum of parts, this is the build for you. [Rouslan] created a 70 watt class D amplifier using an ATtiny45 and just a few dollars worth of additional components.

A class D amplifier simply switches transistors of MOSFETs on and off very rapidly. By passing the signal produced by these MOSFETs through a low pass filter and connecting a speaker, a class D amp is able to amplify a signal very efficiently. Usually, these sort of amp builds use somewhat esoteric components, but [Rouslan] figured out how to use a simple ATtiny microcontroller to drive a set of MOSFETs.

In [Rouslan]’s circuit, the audio signal is passed into the analog input of an ATtiny45. Inside this microcontroller, these analog values are sent to the MOSFETs through a PWM output. [Rouslan] threw in a few software tricks (explained in revision 2 of his build) to improve the sound quality, but the circuit remains incredibly simple.

[Rouslan] posted a video going over the function of his ATtiny amp, and from the audio demo (available after the break), we’re thinking it sounds pretty good. Amazingly good, even, if you consider how minimalistic this 70 watt amp actually is.

Thanks [Alec] for sending this one in.

Continue reading “70 Watt Amp Uses An ATtiny”

Hackaday Links: June 3, 2012

When pigs fly…. close enough.

There are too many jokes to be made about this one. It’s a quadcopter made out of a dead cat. [Bert Jansen], the artist behind this, calls him Orville. He died from natural causes, and what better way to remember a feline friend that liked chasing birds?

Refurbishing an Apple ][

That thirty year old computer in your parent’s attic isn’t going to clean itself, is it? [Todd] put up a series of videos tearing down a 1982 Apple ][ plus, cleaning everything along the way, and doing a very nice demo of AppleSoft BASIC. This is where the revolution started, people.

Ohm sweet Ωhm

Cross stitch isn’t for grandmothers anymore. Adafruit put up a cross stitch tutorial to go along with their resistor color code cross stitch kit. Now down to Hobby Lobby to find black cross stitch cloth and make the ‘ol skull ‘n wrenches.

Welcome! To the world of yesterday!

Boing Boing found an amazing cyberpunk photo spread that appeared in the Mondo 2000 ‘zine back around 1992 or 1993. Even when keeping in mind that this is a self-parody, it’s still incredible. Hackers have laser pointers? And pagers?

Making Arduino projects smaller

[Scott] caught wind of a way to shrinkify Arduino projects, so he turned an Arduino protoboard into an ATtiny85 programmer. As a neat bonus, [Scott] can use the attached breadboard to build circuits around the ’85.