Jaromir Sukuba: The Supercon 2018 Badge Firmware

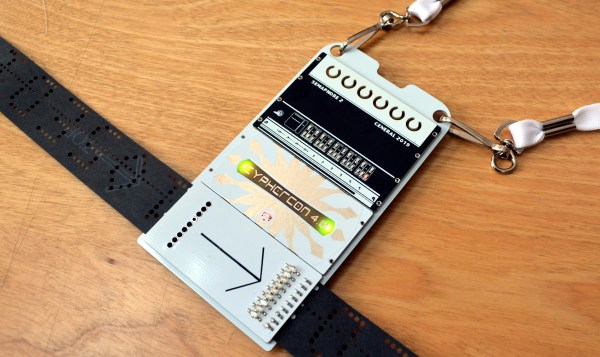
If you missed it, the Hackaday Supercon 2018 badge was a complete retro-minicomputer with a screen, keyboard, memory, speaker, and expansion ports that would make a TRS-80 blush. Only instead of taking up half of your desk, everyone at the conference had one around their neck, when they weren’t soldering to it, that is.

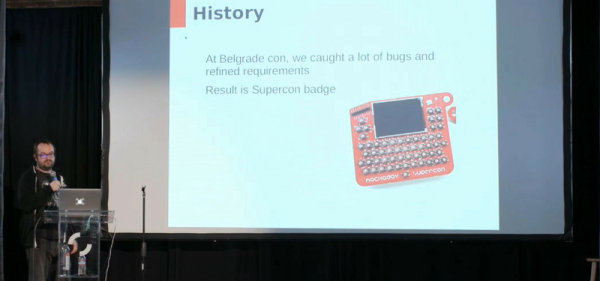
The killer feature of the badge was its accessibility and hackability — and a large part of that was due to the onboard BASIC interpreter. And that’s where Jaromir comes in. Once Voja Antonic had finalized the design of the badge hardware for our conference in Belgrade in the spring of 2018, as Jaromir puts it, “all we needed was a little bit of programming”. That would of course take three months. The badge was battle-tested in Belgrade, and various feature requests, speed ups, and bugfixes were implemented (during the con!) by Jaromir and others.

Firmware work proceeded over the summer. Ziggurat29 helped out greatly by finding ways to speed up the badge’s BASIC interpreter (that story is told on his UBASIC and the Need for Speed project page) and rolled into the code base by Jaromir. More bugs were fixed, keywords were added, and the three-month project grew to more like nine. The result: the badge was in great shape for the Supercon in the fall.

Jaromir’s talk about the badge is supremely short, so if you’re interested in hacking a retrocomputer into a PIC, or if you’ve got a badge and you still want to dig deeper into it, you should really give it a look. We don’t think that anyone fully exploited the CP/M machine emulator that lies inside — there’s tons of software written for that machine that is just begging to be run after all these years — but we’re pretty sure nearly everyone got at least into the basement in Zork. Dive in!

Continue reading “Jaromir Sukuba: The Supercon 2018 Badge Firmware”

Hands-on: Hacker Hotel 2019 Badge Packs ESP32, E-Ink, And A Shared Heritage

When you go to a hacker conference, you always hope there’s going to be a hardware badge. This is an interactive piece of custom electronics that gets you in the door while also delighting and entertaining during the con (and hopefully far beyond it).

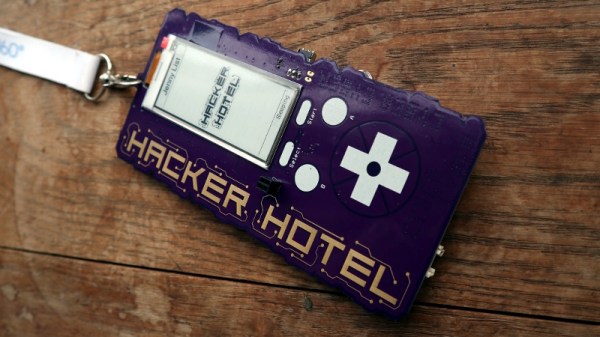
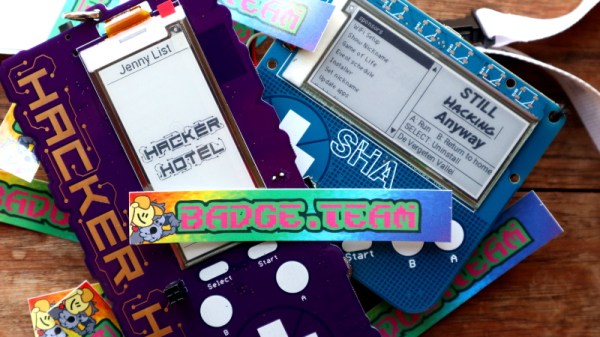
Hot off the presses then is the Hacker Hotel badge, from the comfortable weekend hacker camp of that name in a Netherlands hotel. As we have already noted, this badge comes from the same team that created the SHA2017 hacker camp’s offering, and shares that badge’s display, ESP32 processor, battery, and firmware. The evolution of that firmware into the badge.team platform is an exciting development in its own right, but in the context of this badge it lends a very familiar feel to the interface for those attendees who were also at the 2017 event.

Continue reading “Hands-on: Hacker Hotel 2019 Badge Packs ESP32, E-Ink, And A Shared Heritage”

Badge.Team: Badges Get A Platform

Electronic conference badges are now an accepted part of the lifeblood of our community, with even the simplest of events now sporting a fully functional computer as an eye-catching PCB on a lanyard. Event schedules and applications are shipped on them, and the more sophisticated ones have app libraries and support development communities of their own.

The trouble is that so often those badges fail to live up to their promise, and one reason behind that stems from the enormity of the task facing a badge team when it comes to firmware for a modern badge. There is some fascinating news from the Netherlands  that might reduce some of those firmware woes though, badge.team is a freshly-launched project that provides a ready-made badge firmware with the promise of both stability and long-term support. If you’re making a badge, or even a one-off device using the ESP32, this is a project worth checking out.

Continue reading “Badge.Team: Badges Get A Platform”

Down The Rabbit Hole Of Electronics Manufacturing

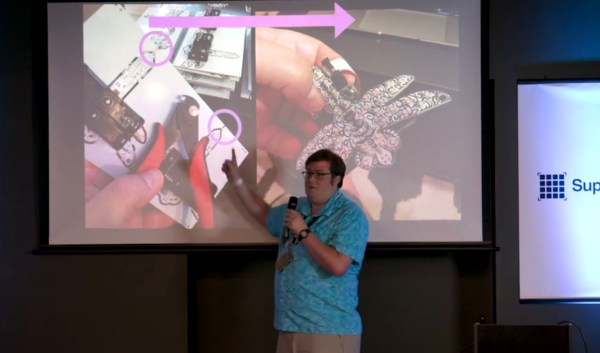
If you want to build hundreds of a thing (and let’s face it, you do) now is a magical time to do it. Scale manufacturing has never been more accessible to the hardware hacker, but that doesn’t mean it’s turn-key with no question marks along the way. The path is there, but it’s not well marked and is only now becoming well-traveled. The great news is that yes, you can get hundreds of a thing manufactured, and Kerry Scharfglass proves that it’s a viable process for the lone-wolf electronics designer. He’s shared tips and tricks of the manufacturing process in a prefect level of detail during his talk at the 2018 Hackaday Superconference.

Kerry is the person behind the Dragonfly badge that was sold at DEF CON over the last two years. Yes, this is #badgelife, but it’s also a mechanism for him to test the waters for launching his own medium-run electronics business. And let’s face it, badge making can be a business. Kerry treats it as such in his talk.

Continue reading “Down The Rabbit Hole Of Electronics Manufacturing”

Program This Badge In Lisp

This hardware badge is a computer programmed with Lisp. You can write your own programs right on the badge using the built-in keyboard, as long as you know Lisp.

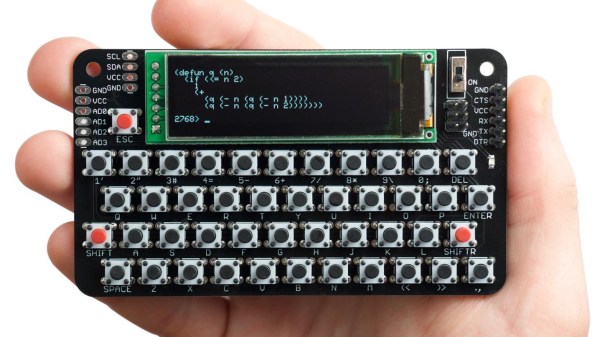
If there’s one thing we really like to see, it’s people advancing their own projects based on inspiration from others. The Lisp Badge by [David Johnson-Davies] is a perfect example. With an interface inspired by [Voja Antonic’s] hardware design for the 2018 Hackaday Belgrade Conference Badge, this version is an upgrade of an earlier single-board Lisp machine, now sporting an integrated keyboard.

Unlike the Belgrade badge, which is programmed in BASIC, this new badge is programmed in uLisp, a subset of common lisp designed for microcontrollers. Let’s face it, BASIC is retro, but Lisp is even more so, only pre-dated by FORTRAN as the oldest high-level language. So, if you’re into retro-style programming on small devices (physically small, that is), you should consider building one of these.
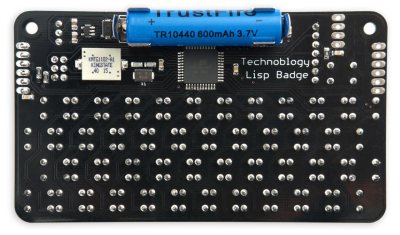
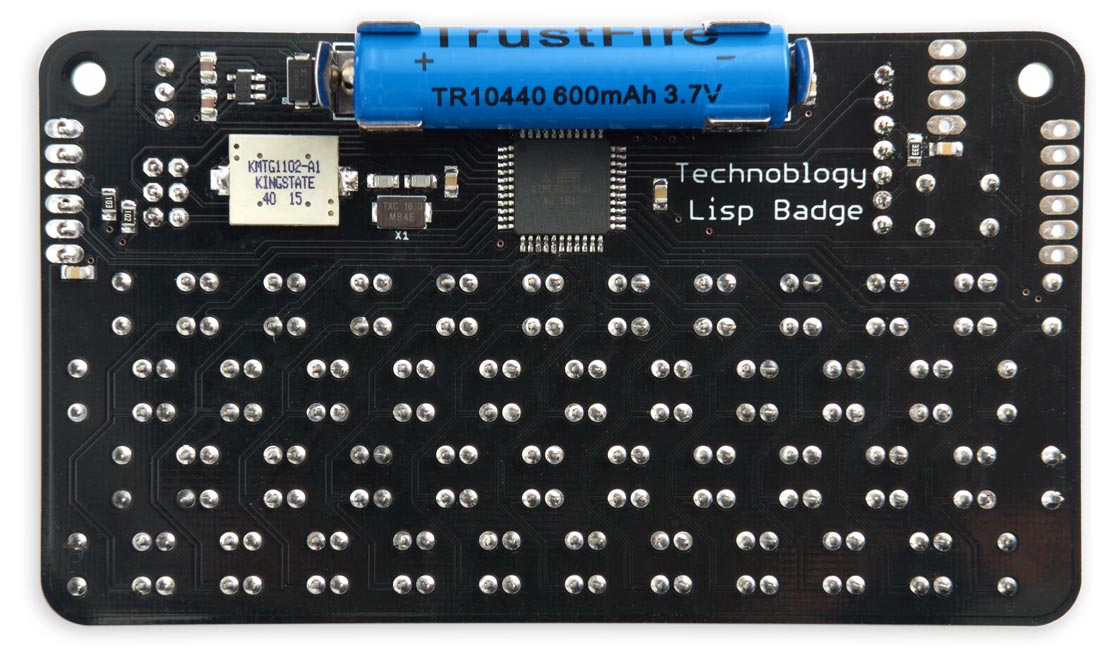
A 16 MHz ATmega 1284P serves as the badge’s brain, allowing storage for 2,816 Lisp cells, while the 256×64 pixel OLED display shows 8 lines of 42 characters in 16 gray levels. A full complement of I/O connections includes four analog inputs, two analog outputs, I2C, SPI, serial, and a handful of GPIOs for interfacing with just about anything. Power comes from a LiPO battery, which at a nominal voltage of 3.7 V doesn’t quite meet the datasheet requirements for running the processor at 16 MHz, although it seems to work fine in practice. Really cautious builders could opt for a 12 MHz crystal transplant to avoid any possibility of problems.

The keyboard layout is optimized for uLisp programming: unnecessary keys have been removed and the all-important parenthesis are afforded their own dedicated keys on the bottom row. This is presumably for convenience of use, but we suspect this will also make it easier to replace the parenthesis key switches when they inevitably wear out from overuse [obligatory Lisp/parenthesis joke].

As far as entering uLisp programs, you can simply use the keyboard. The built-in editor buffers a full screen of text, and includes parenthesis matching that highlights each pair as you type. We’re guessing that we won’t see Emacs implemented in the near future, so this bracket management is a great feature for a badge-based editor. If you find the keyboard difficult to type on, you can also enter programs over the serial port.

The other thing we really like to see is open-source projects. [David] doesn’t let us down on this point, either. The Eagle design files for the PCB as well as the source code for the badge are available on GitHub. The PCB is also shared on OSH Park, and there are detailed instructions for installing the bootloader and uploading the code.

If programmable badges is your thing, also check out the 2018 Hackaday Supercon Badge, the successor the Belgrade design.

Thanks to [Sven] for the tip!

Advances In Flat-Pack PCBs

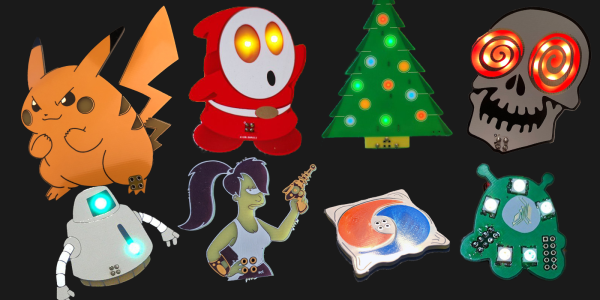
Right now, we’ve got artistic PCBs, we’ve got #badgelife, and we have reverse-mounted LEDs that shine through the fiberglass substrate. All of this is great for PCBs that are functional works of art. Artists, though, need to keep pushing boundaries and the next step is obviously a PCB that doesn’t look like it has any components at all. We’re not quite there yet, but [Stephan] sent in a project that’s the closest we’ve seen yet. It’s a PCB where all the components are contained within the board itself. A 2D PCB, if you will.

[Stephen]’s project is somewhat simple as far as a #badgelife project goes. It’s a Christmas ornament, powered by two coin cells, hosting an ATTiny25 and blinking two dozen LEDs via Charlieplexing. The PCB was made in KiCAD, with some help from Inkscape and Gimp. So far, so good.

Castellated edges, containing a part

The trick is mounting all the components in this project so they don’t poke out above the surface of the board. This is done by milling a rectangular hole where every part should go and adding castellated pads to one side of the hole. The parts are then soldered in one at a time against these castellated pads, so the thickness of the completed, populated board is just the thickness of the PCB.

The parts used in this project are standard jellybean parts, but there are a few ways to improve the implementation of this project. The LEDs are standard 0805s, but side-emitting LEDs do exist. If you’d like to take this idea further, it could be possible to create a sandwich of PCBs, with the middle layer full of holes for components. These layers of PCBs can then be soldered or epoxied together to make a PCB that actually does something, but doesn’t look like it does. This technique is done in extremely high-end PCBs, but it’s expensive as all get out.

Still, this is a great example of what can be done with standard PCB processes and boards ordered from a random fab house. It also makes for a great Christmas ornament and pushes the boundaries of what can be done with PCB art.

Adding Vector Art To Your Eagle Boards

Badgelife and the rise of artistic PCBs are pushing the envelope of what can be done with printed circuit boards. And if you’re doing PCB art, you really want to do it with vectors. This is a surprisingly hard problem, because very few software tools can actually do DXFs and SVGs properly. Never fear, because [TallDarknWeirdo] has the solution for you. It’s in Eagle, and it uses Illustrator and Inkscape, but then again this is a hard problem.

The demonstration article for this example is just a Christmas tree. It’s somewhat topical green soldermask is standard, FR4 looks like wood, and silver and gold and all that. [TallDarknWeirdo] first split up this vector art into its component pieces — soldermask, bare FR4, and copper — then imported it into Inkscape to make the SVGs. This was then thrown into an online tool that creates something Eagle can understand. The results are better than importing bitmaps, resulting in much cleaner lines in the finished board.

Quick word of warning before we get into this, though: if you’re reading this in 2019 or later, this info might be out of date. Autodesk should be releasing a vector import utility for Eagle shortly, and we’re going to be taking a deep dive into this tool and complaining until it works. Until then, this is the best way to get vector art into Eagle.

Oh, and [TallDarknWeirdo] is none other than [Bradley Gawthrop], who’s put more time in crimping wires than anyone else we know.