Why did [Hales] end up hacking the BIOS on a 10 year old laptop left over from an Australian education program? When your BIOS starts telling you you’re not allowed to use a particular type of hardware, you don’t have much of a choice.
Originally [Hales] planned on purchasing a used Lenovo X260 to replace his dying laptop, but his plans were wrecked. A pandemic-induced surge in demand that even the used laptop market caused prices to bloat. The need for a small and affordable laptop with a built in Ethernet port led to the purchase of a Lenovo Thinkpad x131e. Although the laptop was older than he liked, [Hales] was determined to make it work. Little did he know the right-to-repair journey he was about to embark on.
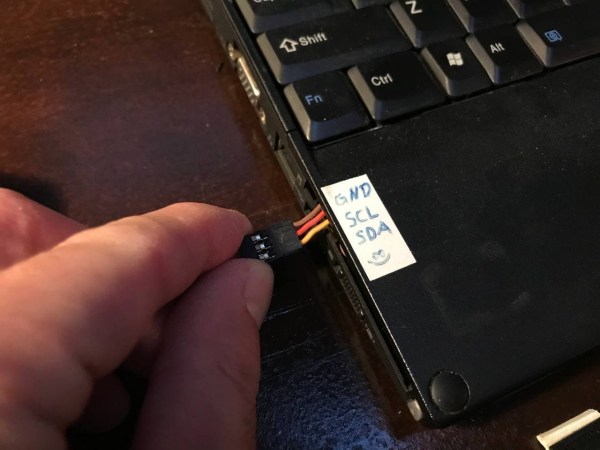
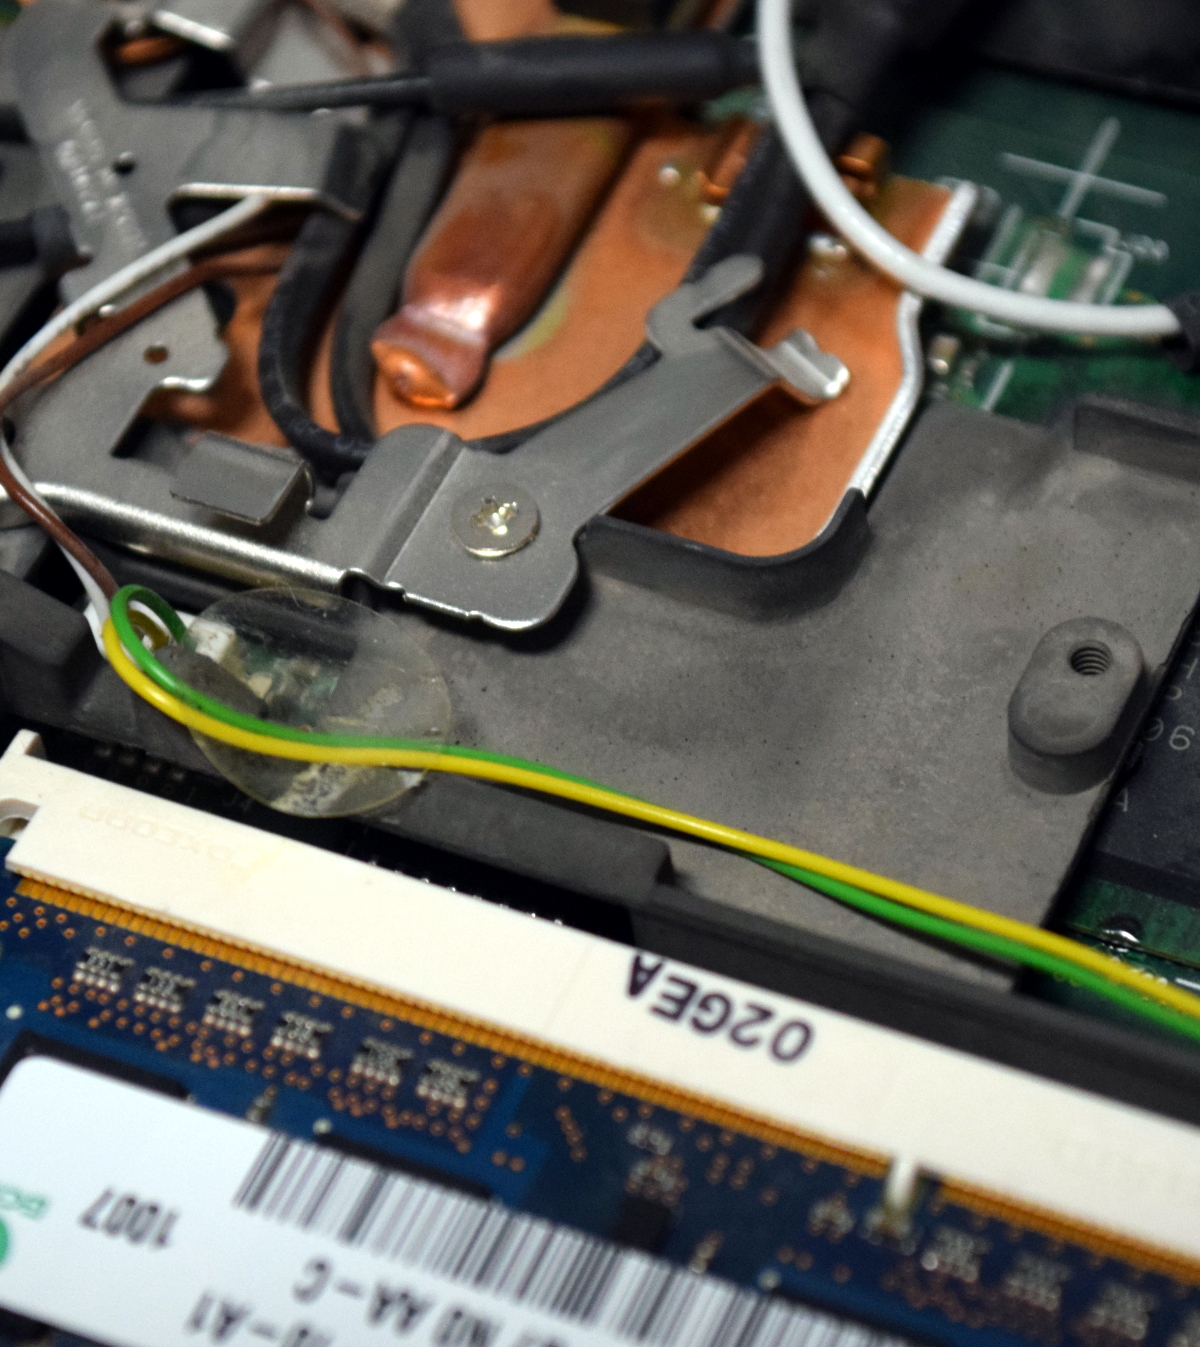
Problems first arose when the Broadcom WiFi adapter stopped working reliably. He replaced it, but the coaxial antenna cable was found to be damaged. Even after replacing the damaged cabling, the WiFi adapter was still operating very poorly. Recalling past problems with fickle Broadcom WiFi adapters, it was decided that an Intel mPCIe WiFi adapter would take its place. When power was re-applied, [Hales] was shocked to find the following message:
Unauthorized network card is plugged in – Power off and remove the miniPCI network card
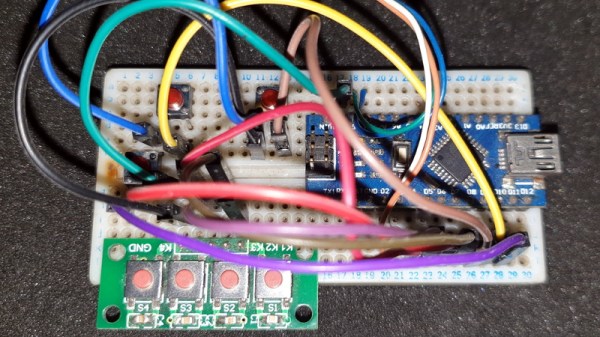
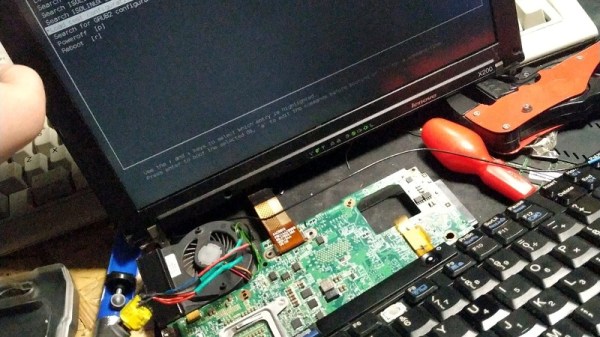
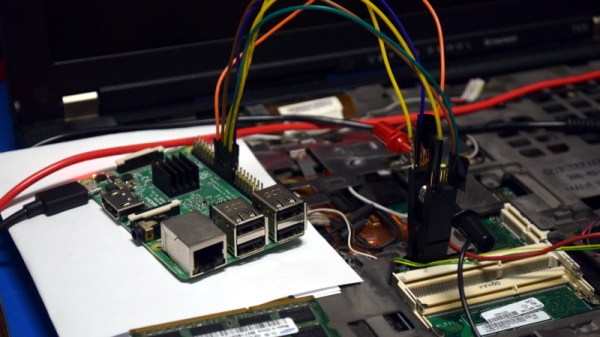
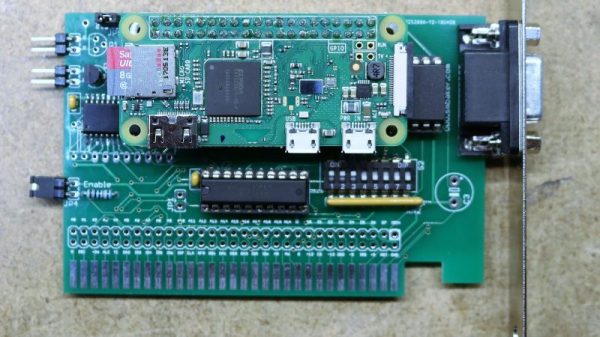
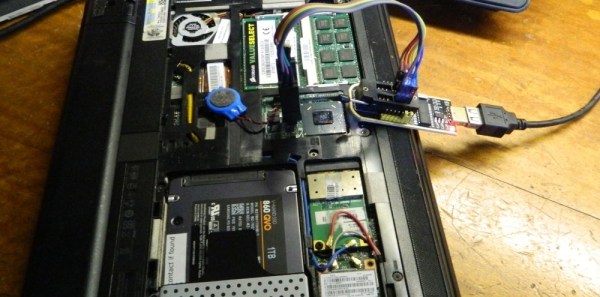
And this is where things got interesting. With off the shelf SOIC8 clips and a CH340 programmer, [Hales] dumped the BIOS from the laptop’s flash chip to another computer and started hacking away. After countless hours of researching, prodding, hacking, and reverse engineering, the laptop was useful once again with the new Intel WiFi adapter. His site documents in great detail how he was able to reverse engineer the BIOS over the course of several days.
But that’s not all! [Hales] was also able to modify the hardware so that his slightly more modern mPCIe WiFi adapter would come back on after the computer had been put in Hibernation. It’s an elegant hack, and be sure to check [Hales’] site to get the full details. And at the end, there’s a nice Easter egg for anybody who’s ever wanted to make their laptop boot up with their own logo.
We applaud [Hales] for his fine efforts to keep working equipment out of the landfill. We’ve covered many hacks that had similar goals in the past. Do you have a hack you’d like to share? Submit it via the Tips Line.