It didn’t take long for us to get an answer to the question nobody was asking: Can you use toilet paper as solder wick? And unsurprisingly, the answer is a resounding “No.”
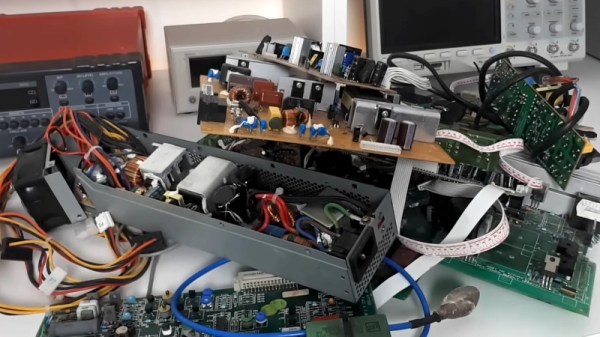
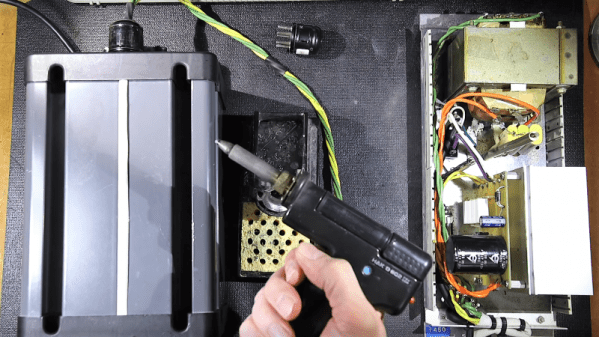
Confused? If so, you probably missed our article a few days ago describing the repair of corroded card edge connectors with a bit of homebrew HASL. Granted, the process wasn’t exactly hot air solder leveling, at least not the way PCB fabs do it to protect exposed copper traces. It was more of an en masse tinning process, for which [Adrian] used a fair amount of desoldering wick to pull excess solder off the pins.
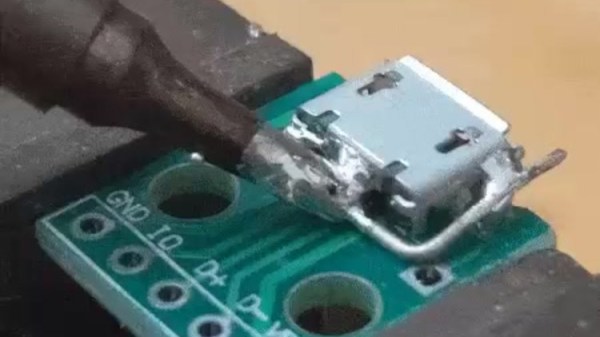
During that restoration, [Adrian] mentioned hearing that common toilet paper could be used as a cheap substitute for desoldering wick. We were skeptical but passed along the tip hoping someone would comment on it. Enter [KDawg], who took up the challenge and gave it a whirl. The video below shows attempts to tin a few pins on a similar card-edge connector and remove the excess with toilet paper. The tests are done using 63:37 lead-tin solder, plus and minus flux, and using Great Value TP in more or less the same manner you’d use desoldering braid. The results are pretty much what you’d expect, with charred toilet paper and no appreciable solder removal. The closest it comes to working is when the TP sucks up the melted flux. Stay tuned for the bonus positive control footage at the end, though; watching that legit Chemtronics braid do its thing is oddly satisfying.
So, unless there’s some trick to it, [KDawg] seems to have busted this myth. If anyone else wants to give it a try, we’ll be happy to cover it.