More EL Chemistry: Luminescent Ink

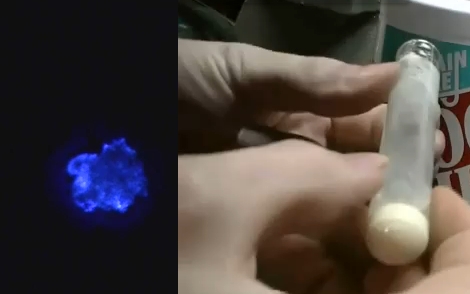
[Jeri Ellsworth] continues her experiments with electroluminescence, this time she’s making EL ink. The ink she’s looking for is Zinc Sulfate in a solution. The process she chose is to re-dope some glow powder so that it can be excited by the field around an AC current. In her video (embedded after the break) she talks about the chemical properties she’s after by detailing a cubic lattice of zinc and sulfur atoms with an added copper atom (adding that atom is a process called doping).

The quick and dirty synopsis of the experiment starts by washing the glow powder with dish soap to acquire zinc sulfide crystals. Then she combined copper sulfate and zinc shavings from the inside of a modern penny to yield copper metal and zinc sulfate suspended in solution. That was mixed with the zinc sulfide from the glow powder washing and doped with a little more copper sulfate. The excess liquid is poured off, the test tube is capped with glass frit, and the whole thing hits the kiln to start the reaction. The result glows when excited by alternating current, but could have been improved by adding chlorine atoms into the mix.

We’re excited every time we see one of [Jeri’s] new chemistry hacks. We’d love to see more so if you’ve come across interesting chemistry experiments during your Internet travels, please let us know about them. Just make sure you have some idea of what you’re doing when working with chemicals… safety first.

Continue reading “More EL Chemistry: Luminescent Ink”

Build A Simple Switch

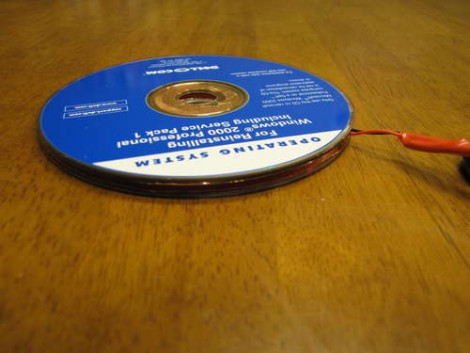
Forget hacking an easy button, grab a couple of those outdated CD-Rs and build your own switch for that next project. This was developed with handicapped accessibility in mind; assembled easily with common products and it’s fairly robust. In fact, our junk box has everything you need except the adhesive backed copper foil. Combine two old CD’s, covered in copper on facing sides, separated by two strips of Velcro to separate the conductors. When pressure is applied, one CD flexes to make contact with the other and complete the circuit. So easy, yet we never thought of it. We’ll add it to our list of homebrew input devices.

[Thanks Michael]

PCB Toner Transfer With Dowel

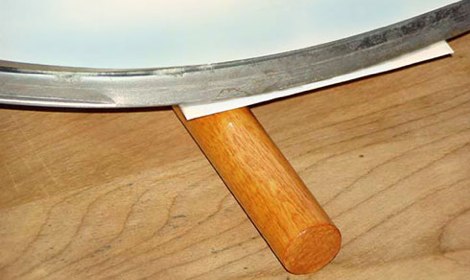
Pulsar Professional FX has a neat tip on their site for getting a really even toner transfer when making your own PCBs. First, the PCB is cut to size, and the paper is tacked to the board. Then, the PCB is placed paper up onto a dowel and rolled back and forth with the iron. Since the board bends slightly over the dowel the toner sticks evenly to the copper. After that, just remove the paper as usual and etch with your preferred method.

Etch PCBs With Ferric Chloride And A Sponge

F7Z9JTTFX23V5VV

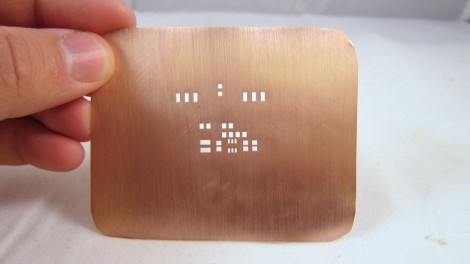
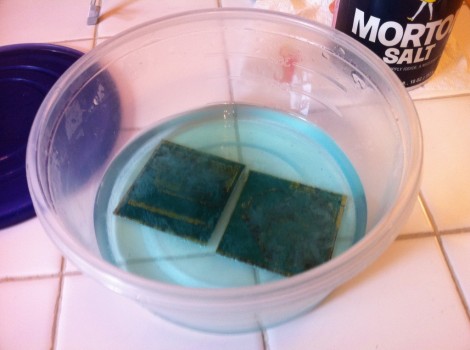
Etching a printed circuit board generally takes a bit of time and uses a lot of etchant. [TechShopJim] posted a method that uses a sponge to reduce the amount of etchant used while speeding up the entire process. First, a resist is applied using either a sharpie or the toner transfer method. Using gloves to handle everything, he soaked a sponge in ferric chloride and continually wiped a copper-clad board until all the exposed copper was removed. This technique moves the etchant around more, keeping “fresh” etchant closer to the copper. If you can’t procure ferric chloride, you can also use our method that uses 2 household chemicals: hydrogen peroxide and hydrochloric acid.

Ferric Chloride Etching Chemistry

[ladyada] has republished an interesting snippet from the synthDIY mailing list. [David Dixon] discusses the actual chemistry behind ferric chloride based home circuit board etching. He concludes that ferric chloride is essentially a ‘one-shot’ oxidant. It can’t be regenerated and can be difficult to dispose of properly. The use of acidified copper chloride is a much better path and becomes more effective with each use, as long as you keep it aerated and top up the acidity from time to time. This etchant solution is actually the result of initially using hydrogen peroxide as an oxidant along with muriatic acid. You can see us using this solution in our etching how-to and while creating the board for our RGB lock. For more information on using hydrogen peroxide, check out [Adam Seychell]’s guide and this Instructable.

Aside: [ladyada] has added the receiver code to the Wattcher project page.

Scratch Built RFID Tags

rfid

[nmarquardt] has put up an interesting instructable that covers building RFID tags. Most of them are constructed using adhesive copper tape on cardstock. The first version just has a cap and a low power LED to prove that the antenna is receiving power. The next iteration uses tilt switches so the tag is only active in certain orientations. The conclusion shows several different variations: different antenna lengths, conductive paint, light activated and more.

How-To: Etch A Single Sided PCB

Making a PCB is very simple; it does not consume a lot of time and the results look professional. After reading this How-To and watching the step by step video, you will be able to make your own PCB in your workshop using just a few inexpensive materials.

Many people use protoboard and point-to-point wire everything, but needing multiple copies of the same circuit is the reason that forces many away from using protoboard. After making your first circuit board, you might not point-to-point wire anything again!

Continue reading “How-To: Etch A Single Sided PCB”