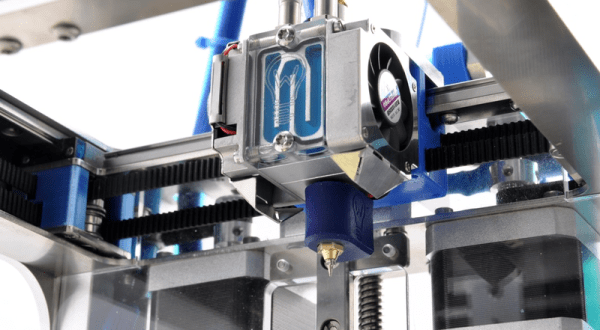
Classy CoreXY Build Breaks Down The Design Pinchpoints

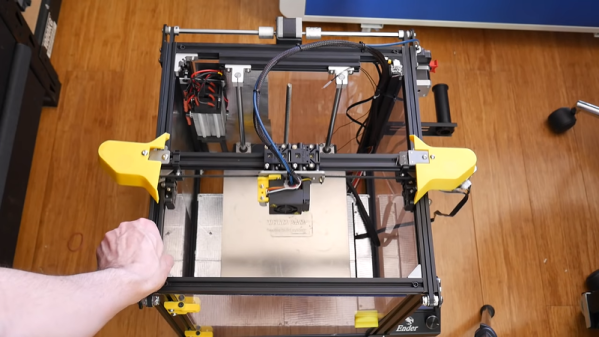
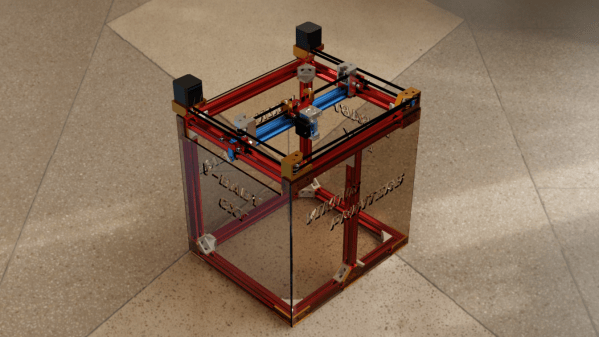
Ever since [Ilan Moyer] published the design, CoreXYs have been exploding in the homebrew 3D Printer community. Nevertheless, not all designs are created equal, and a solid design means adhering to some unspoken constraints. Fear not, though. [Mark Rehorst’s] blog post pulls the lid off these constraints and puts them up-front-and-center.  For anyone looking to succeed with their own CoreXY build, this thoughtful critique will keep us away from stray design paths.

[Mark’s] blogpost centers around the xy-stage of his UMMD printer. Here, he walks through the constraints of where belts should be located to guarantee dimensional accuracy of parts. Engineering doesn’t always result in designing the parts ourselves, but rather picking them from a list of options. This geometry-constraint breakdown gives us a more acute set of eyes the next time we pick a CoreXY frame to download and clone off of a place like Thingiverse.

What’s more, for all the antagonizing forces acting on our xy-stage like thermal expansion and frame flexing, [Mark] comes in with a countermeasure. Belts are thickened. Moving stages are constrained correctly, and pulley blocks are reinforced for a stage that is both precise and accurate. Given that it’s so easy to get another printer to start producing parts, lessons learned here will guide us on what underlying measures they need to counteract for a successful print stage.

It’s hard not to love [Mark Rehorst’s] foray into at-home printer builds. Not only do we see new ideas that constantly reinvent how we design printers, each build comes bundled with a wealth of tips and drawbacks. [Mark] gives us a tested design and a critical set of eyes on it that better helps us explore the space if we so choose. For more thoughtful additions to your next 3D printer, check out [Mark’s] CPAP-style remote cooling fan and belt-driven z axis.

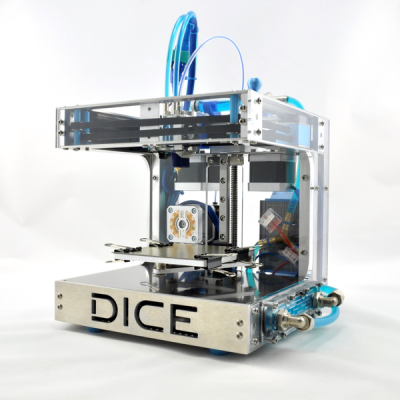
Sexiest Tiny Metal Core-XY 3D Printer

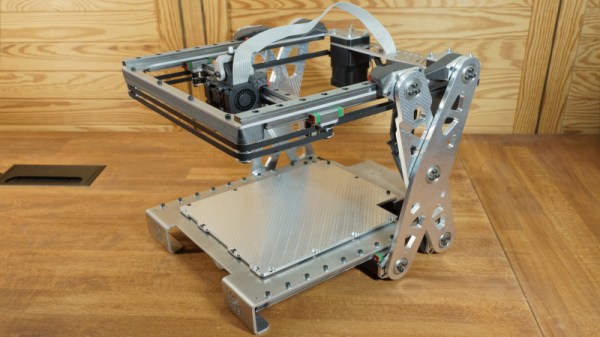
That’s a lot of qualifications, but we’re pretty sure that you can’t accuse us of hyperbole in the title: this is one of the tightest little 3D printer builds we’ve ever seen. Add in the slightly esoteric CoreXY kinematics and the thick aluminum frame, and it’s a speed demon in addition to being a looker.

[René] had built a few 3D printers before, so he had a good feel for the parameters and design tradeoffs before he embarked on the DICE project. Making a small print volume, for instance, means that the frame can be smaller and thus exponentially more rigid. This means that it’s capable of very fast movements — 833 mm/s is no joke! It also looks to make very precise little prints. What could make it even more awesome? Water-cooled stepper motors, magnetic interchangeable printheads, and in-built lighting.
The build looks amazing, and there is video documentation of the whole thing on [René]’s site, including a full bill of materials and designs. It’s certainly not the cheapest 3D printer we’ve ever seen, and the tiny build platform makes it a bad choice for a general-purpose machine, but if you need a second printer and you want one with style, the DICE looks hard to beat.

Thanks [Laimonus Mockus] for the tip!

Design Analysis: Core XY Vs H-Bot

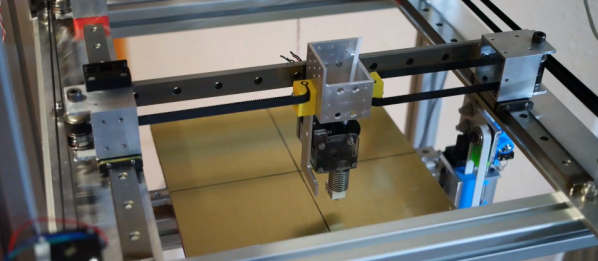
Hackaday writer [Joshua Vasquez] wrote about the mechanical difference between the Core-XY and H-Bot movements commonly used in 3D printers on his personal website. There are so many things a beginning mechanical designer can overlook when setting out to make a movement. Sometimes,in the case of these movements, they aren’t readily apparent, and like finding a troublesome pattern in code; have to be shown before the mind picks them up in future designs.

[Joshua] starts by describing how each movement works. At first glance, the H-Bot movement seems simpler and more effective than the Core-XY.  The Core-XY uses more belting, and some of the pulleys are out of plane with each other. However, this is done to eliminate a moment put on the frame in the H-Bot design. This moment can throw off the accuracy of the movement in unpredictable ways.

The Core-XY movement is one of our favorites. It keeps the motors stationary. It’s compact, precise, repeatable, and linear. It’s good to understand the mechanical reasons for this. Just like learning the SQL database calls a library has been obfuscating for you lets you write better code.

CoreXY For A Dry Erase Plotter

After years of playing DnD, it’s finally [Mike]’s turn to be a DM. Of course he can’t draw maps with his hands, so that means building a tabletop plotter.

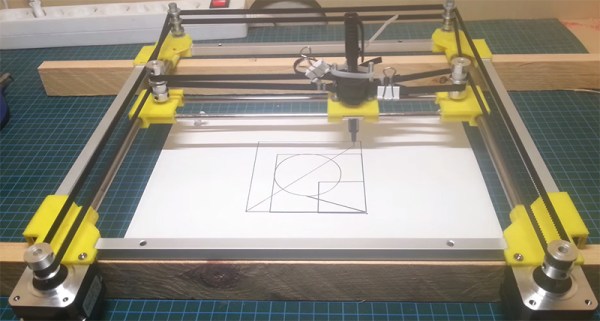
[Mike] is basing his tabletop game plotter on the Makelangelo, a polar plotter that draws images on a vertical platform with the help of two motors in the corner. This is a tabletop plotter, so the usual vertical arrangement wouldn’t work, but there are some projects out there that use the CoreXY system for a similar horizontal build.

The tabletop CoreXY system is built from rigid aluminum yard sticks, 3D printed parts, two very cheap stepper motors, an Arduino, and a whole lot of string. It’s a very inexpensive build and because [Mike] is using metal rulers for the frame, it’s also very low profile – a nice advantage for table top sessions.

So far, [Mike] has the axes of the plotter moving, with a servo and pen mechanism next on the build plan. He has a few neat ideas for how to plot these dungeon maps by vectoring bitmap images and sending them to the Arduino, something we’ll probably see in a an upcoming build log.

You can check out a video of [Mike]’s build below.

Continue reading “CoreXY For A Dry Erase Plotter”