There was a time, not so very long ago, that buying a reliable 3D printer was a fairly expensive proposition. Many chose to build their own printer instead, and for a few years, we were flooded with very impressive custom designs. But as you might expect, with the prices on decent 3D printers now having hit rock bottom, the custom builds have largely dried up.
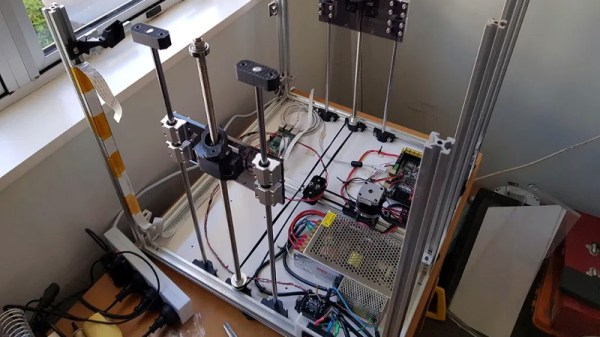
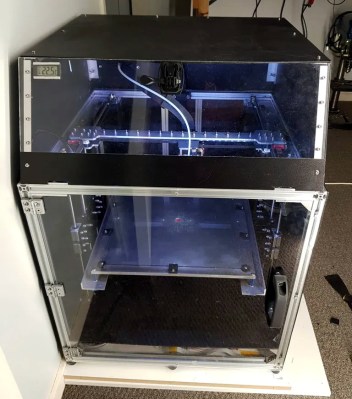
Arguably, the only reason you’d build rather than buy in 2020 is if you want something very specific. Which is precisely how [Joshendy] ended up building the Big F… Printer or BFP. No doubt the F stands for Fun, or Friendly. Either way, it’s certainly something special. With a 300 mm³ build volume and heavy-duty Z axis, this fully enclosed CoreXY machine is ready to handle whatever he throws at it.
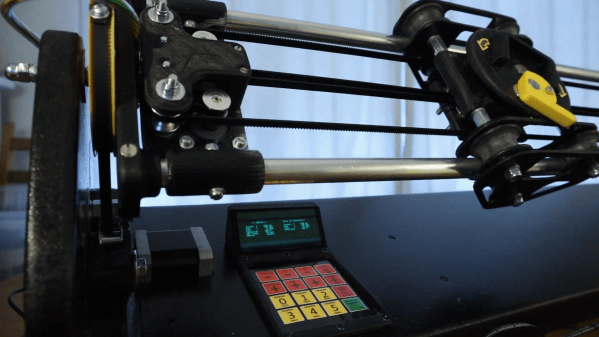
 It did take [Joshendy] a few attempts to get everything the way he wanted though. In fact, the prototype for the machine wasn’t even CoreXY, it started as an H-Bot. In his write-up he goes over the elements of the BFP did that didn’t quite live up to his expectations, and what he replaced them with. So when wobbly leadscrews and a knock-off V6 hotend both left something to be desired, they ended up getting replaced with ball screws and an authentic E3D Hemera, respectively.
To control this monster, [Joshendy] is using OctoPrint on a Raspberry Pi and a BigTreeTech SKR Pro running Klipper. OctoPrint gives him the ability to control and monitor the printer remotely, complete with a camera mounted inside the enclosure to keep an eye on things, while the Klipper firmware on the SKR board pushes all the computationally expensive aspects of 3D printing onto the vastly more powerful ARM chip in the Pi. The end result is faster and more accurate control of the steppers through the TMC2130 drivers than would be possible otherwise.
If you don’t mind tinkering, a cheap entry-level desktop 3D printer is good enough for most of hackers and makers. If you need something more capable or more reliable, there’s always higher-end options from the likes of Prusa and Ultimaker. Very few people need to build something as serious as the BFP, but when the do, we’re glad they send them our way.
Continue reading “Scratch Built 3D Printer Goes Big” →