A Power Button For Raspberry Pi, Courtesy Of Device Tree Overlays

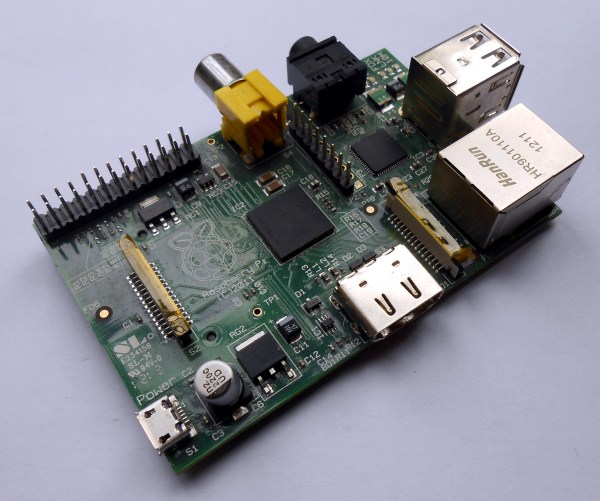
As a standard feature of the Linux kernel, device tree overlays (DTOs) allow for easy enabling and configuration of features and drivers, such as those contained within the standard firmware of a Raspberry Pi system. Using these DTOs it’s trivial to set up features like as a soft power-off button, triggering an external power supply and enable drivers for everything from an external real-time clock (RTC) to various displays, sensors and audio devices, all without modifying the operating system or using custom scripts.

It’s also possible to add your own DTOs to create a custom overlay that combines multiple DTO commands into a single one, or create a custom device tree binary (DTB) for the target hardware. Essentially this DTB is loaded by the Linux kernel on boot to let it know which devices are connected and their configuration settings, very similar to what the BIOS component with x86-based architectures handles automatically.

Ultimately, the DTB concept and the use of overlays allow for easy configuration of such optional devices and GPIO pin settings, especially when made configurable through a simple text file as on the Raspberry Pi SBC platform.

Continue reading “A Power Button For Raspberry Pi, Courtesy Of Device Tree Overlays”

PCIe Multiplier Expands Raspberry Pi 4 Possibilities

It probably goes without saying that hardware hackers were excited when the Raspberry Pi 4 was announced, but it wasn’t just because there was a new entry into everyone’s favorite line of Linux SBCs. The new Pi offered a number of compelling hardware upgrades, including an onboard PCI-Express interface. The only problem was that the PCIe interface was dedicated to the USB 3.0 controller; but that’s nothing a hot-air rework station couldn’t fix.

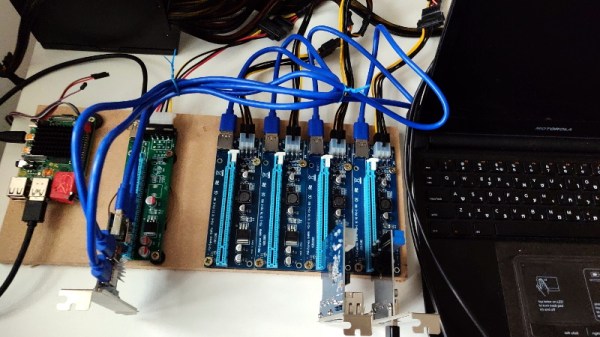
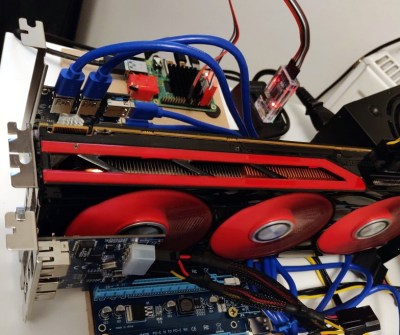
We’ve previously seen steady-handed hackers remove the USB 3.0 controller on the Pi 4 to connect various PCIe devices with somewhat mixed results, but [Colin Riley] has raised the bar by successfully getting a PCIe multiplier board working with the diminutive Linux computer. While there are still some software kinks to work out, the results are very promising and he already has  a few devices working.

Getting that first PCIe port added to the Pi 4 is already fairly well understood, so [Colin] just had to follow the example set by hackers such as [Tomasz Mloduchowski]. Sure enough, when he plugged the port multiplier board in (after a bit of what he refers to as “professional wiggling”), the appropriate entry showed up in lspci.

But there was a problem. While the port multiplier board was recognized by the kernel, nothing he plugged into it showed up. Checking the kernel logs, he found messages relating to bus conflicts, and one that seemed especially important: “devices behind bridge are unusable because [bus 02] cannot be assigned for them“. To make a long story short, it turns out that the Raspbian kernel is specifically configured to only allow a single PCI bus.

Fortunately, it’s an easy fix once you know what the problem is. Using the “Device Tree Compiler” tool, [Colin] was able to edit the Raspbian Device Tree file and change the PCI “bus-range” variable from <0x0 0x1> to <0x0 0xff>. From there, it was just a matter of plugging in different devices and seeing what works. Simple things such as USB controllers were no problem, but getting ARM Linux support for the NVIDIA GTX 1060 he tried will have to be a topic for another day.

[Thanks to Paulie for the tip.]

SPI On Embedded Linux

Are you already comfortable working with Serial Peripheral Interface (SPI) parts and looking for a challenge? We suspect many of you have cut your teeth on 8-bit through 32-bit microcontrollers but how much time have you spent playing with hardware interfaces on embedded Linux? Here a new quest, should you choose to accept it. [Matt Porter] spoke in detail about the Linux SPI Subsystem during his presentation at FOSDEM 2017. Why not grab an embedded Linux board and try your hand at connecting some extra hardware to one of the SPI buses?

The hardware side of this is exactly what you’d expect from any embedded SPI you’ve worked on: MOSI, MISO, a clock, and a slave select. [Matt] gives a succinct overview of SPI and reading datasheets. Our own [Elliot Williams] has done an excellent job of digging through the basics and most common gotchas if you need to get up to speed on all the SPI basics.

The fun details in the talk start at about 18:30 into the video when [Matt] jumps into the Linux side of SPI. You need a controller driver and a protocol driver. The controller driver is responsible for dealing with the pins (actual hardware) and the protocol driver handles the job of making sense of the SPI packets (messages containing any number of transfers) going in or out. In other words, the controller drive just want bits and pushes them in or out on hardware, the protocol driver makes those bits meaningful to the Linux system.

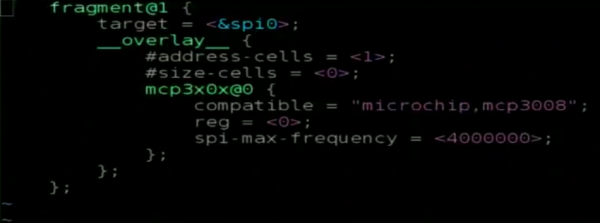
Adding SPI devices (think devices like LCDs and sensors) to your own embedded systems means telling the OS the particulars about that hardware, like max speed and SPI mode. There are three ways to handle this but the Device Tree is the preferred method for modern systems. This paves the way for the controller driver which implements an API set that the Linux SPI subsystem will use to work with your new hardware.

Protocol drivers follow the standard Linux driver model and are pretty straight forward. With these two drivers in place the new device is hooked into the OS and opens up common SPI API calls: spi_async(), spi_sync(), spi_write(), and spi_read(), and a few others.

Continue reading “SPI On Embedded Linux”