Etch PCBs With Ferric Chloride And A Sponge

F7Z9JTTFX23V5VV

Etching a printed circuit board generally takes a bit of time and uses a lot of etchant. [TechShopJim] posted a method that uses a sponge to reduce the amount of etchant used while speeding up the entire process. First, a resist is applied using either a sharpie or the toner transfer method. Using gloves to handle everything, he soaked a sponge in ferric chloride and continually wiped a copper-clad board until all the exposed copper was removed. This technique moves the etchant around more, keeping “fresh” etchant closer to the copper. If you can’t procure ferric chloride, you can also use our method that uses 2 household chemicals: hydrogen peroxide and hydrochloric acid.

Ferric Chloride Etching Chemistry

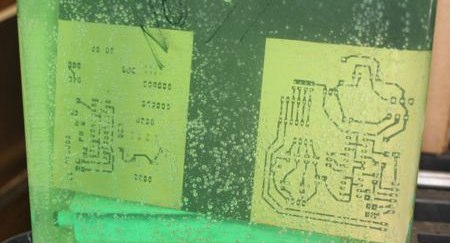
[ladyada] has republished an interesting snippet from the synthDIY mailing list. [David Dixon] discusses the actual chemistry behind ferric chloride based home circuit board etching. He concludes that ferric chloride is essentially a ‘one-shot’ oxidant. It can’t be regenerated and can be difficult to dispose of properly. The use of acidified copper chloride is a much better path and becomes more effective with each use, as long as you keep it aerated and top up the acidity from time to time. This etchant solution is actually the result of initially using hydrogen peroxide as an oxidant along with muriatic acid. You can see us using this solution in our etching how-to and while creating the board for our RGB lock. For more information on using hydrogen peroxide, check out [Adam Seychell]’s guide and this Instructable.

Aside: [ladyada] has added the receiver code to the Wattcher project page.

Uv Oven From An IKEA Cabinet

This may not be an amazingly complicated project, but it is a very elegant and fairly cheap way of building a UV oven for exposing PCBs. [aris] started with an IKEA FIRA cabinet. He basically left the framework as an empty shell and made a make shift top hinged door to enclose it. Mounted in the top is an array of 35 UV LEDs powered by an HP printer transformer.  He did not have a timer circuit, instead he just watched the clock and unplugged it at the right time. You can see from his pictures that his results were quite good.

If you don’t want that piece of furniture taking up room, and don’t mind using a little more elbow grease, you could follow our directions on how to make your own single sided PCB. If money isn’t an issue either, you can always just get your PCBs laser etched.

Laser Etching Printed Circuit Boards


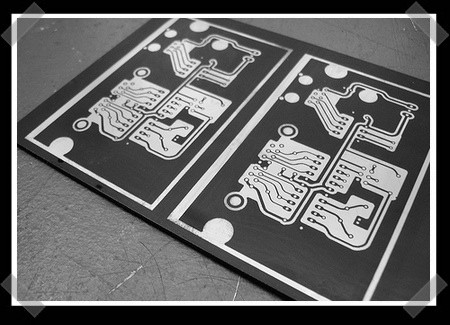
While we hope you enjoyed our How-To: Etch a printed circuit board, toner transfer certainly isn’t the only way to get the job done. [Garrett] from macetech has recently been playing around with using an Epilog laser to etch PCBs. He started by applying a thin even coat of flat black spray paint to the copper board. The laser is used to remove paint in areas that you want the copper removed. Once that’s done, you proceed with etching as usual. He eventually removed the paint mask using acetone. The result has very fine, sharp traces, but most people that have tried this agree that using spray paint is less than ideal.

How-To: Etch A Single Sided PCB

Making a PCB is very simple; it does not consume a lot of time and the results look professional. After reading this How-To and watching the step by step video, you will be able to make your own PCB in your workshop using just a few inexpensive materials.

Many people use protoboard and point-to-point wire everything, but needing multiple copies of the same circuit is the reason that forces many away from using protoboard. After making your first circuit board, you might not point-to-point wire anything again!

Continue reading “How-To: Etch A Single Sided PCB”