Etching Your Own PCBs

When [Adr1an] wrote in to share a link to his PCB etching tutorial he mentioned that he knew we had already covered a ton of these guides. He’s absolutely right, not only have we featured a great number of them, but we also wrote our own quite a while ago. But that doesn’t mean we ignore them when they come in on the tips line. In fact, we read all of them that have something to offer and are pleased to feature the ones that are well presented… like this one!

[Adr1an] went all out with his writeup. He not only covers all of the elements that go into this, but discusses where to purchase them and his thoughts on how he arrived at the choice. He’s using the toner transfer method and prefers Brother branded toner for its coverage and resistance to over-etching. He prints on HP Everday Photopaper, then uses a laminator to transfer to the copper clad board. For this guide he used 2oz copper but prefers 1oz copper as it etches faster. His etchant of choice is Ferric Chloride, which can be ordered as a dry powder. He uses the direct etch method of loading etchant into a sponge an applying that to the board.

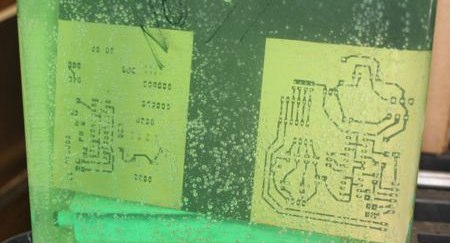
The board he makes in the guide looks great, and it only took him 28 minutes!

PCB Toner Transfer With Dowel

Pulsar Professional FX has a neat tip on their site for getting a really even toner transfer when making your own PCBs. First, the PCB is cut to size, and the paper is tacked to the board. Then, the PCB is placed paper up onto a dowel and rolled back and forth with the iron. Since the board bends slightly over the dowel the toner sticks evenly to the copper. After that, just remove the paper as usual and etch with your preferred method.

Etch PCBs With Ferric Chloride And A Sponge

F7Z9JTTFX23V5VV

Etching a printed circuit board generally takes a bit of time and uses a lot of etchant. [TechShopJim] posted a method that uses a sponge to reduce the amount of etchant used while speeding up the entire process. First, a resist is applied using either a sharpie or the toner transfer method. Using gloves to handle everything, he soaked a sponge in ferric chloride and continually wiped a copper-clad board until all the exposed copper was removed. This technique moves the etchant around more, keeping “fresh” etchant closer to the copper. If you can’t procure ferric chloride, you can also use our method that uses 2 household chemicals: hydrogen peroxide and hydrochloric acid.

Ferric Chloride Etching Chemistry

[ladyada] has republished an interesting snippet from the synthDIY mailing list. [David Dixon] discusses the actual chemistry behind ferric chloride based home circuit board etching. He concludes that ferric chloride is essentially a ‘one-shot’ oxidant. It can’t be regenerated and can be difficult to dispose of properly. The use of acidified copper chloride is a much better path and becomes more effective with each use, as long as you keep it aerated and top up the acidity from time to time. This etchant solution is actually the result of initially using hydrogen peroxide as an oxidant along with muriatic acid. You can see us using this solution in our etching how-to and while creating the board for our RGB lock. For more information on using hydrogen peroxide, check out [Adam Seychell]’s guide and this Instructable.

Aside: [ladyada] has added the receiver code to the Wattcher project page.