[Julie Wang] has created an augmented reality system on a Field Programmable Gate Array (FPGA). Augmented reality is nothing new – heck, these days even your tablet can do it. [Julie] has taken a slightly different approach though. She’s not using a processor at all. Her entire system, from capture, to image processing, to VGA signal output, is all instantiated in a FPGA.
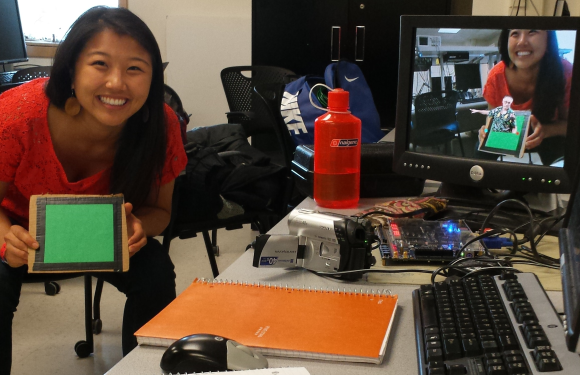
Using the system is as simple as holding up a green square of cardboard. Viewing the world through an old camcorder, [Julie’s] project detects and tracks the green square. It then adds a 3D image of Cornell’s McGraw Tower on top of the green. The tower moves with the cardboard, appearing to be there. [Julie] injected a bit of humor into the project through the option of substituting the tower for an image of her professor, [Bruce Land].
[Julie] started with an NTSC video signal. The video is captured by a DE2-115 board with an Altera Cyclone IV FPGA. Once the signal was inside the FPGA, [Julie’s] code performs a median filter. A color detector finds an area of green pixels which are passed to a corner follower and corner median filter. The tower or Bruce images are loaded from ROM and overlaid on the video stream, which is then output via VGA.
The amazing part is that there is no microprocessor involved in any of the processing. Logic and state machines control the show. Great work [Julie], we hope [Bruce] gives you an A!