Voidstar’s Vitals, Visualized For Video

Great news for fans of [Voidstar Labs] — [Zack] is going to be streaming future builds live on YouTube instead of trying to keep up with a grueling and limiting schedule of releasing a build video every week. The only problem is that the wall behind him is totally blank and boring, which matters quite a bit for pretty much any streamer that doesn’t broadcast from a hot tub. Well, not anymore! Now the wall has twenty square feet of rainbow hexagons, because blinkenlights.
But these aren’t just any blinkenlights. They’re informative. They dance to the beat of [Zack]’s bio-metrics, or in other words, they are visualizing how sweaty and anxious [Zack] may be at a given moment, and turning that information into art.

At the heart of this build is a brand-new bio-metric board called the EmotiBit which boasts sixteen sensors in a small package, including a pulse oximeter. The EmotiBit sends vitals to [Zack]’s PC, which is running an oscilloscope app to interpret the signals. Then they are sent over Open Sound Control to an ESP32, which runs the light show.

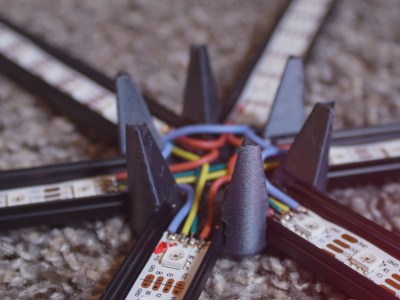
Like [Zack] says in the video after the break, this isn’t a terribly difficult project, but the construction takes time. [Zack] used aluminum extrusion meant for under-cabinet lighting and ran forty strips of fourteen DotStar LEDs each. The nodes are printed in carbon-fiber PLA and hold the lights away from the wall so it looks cooler. Worried about the current draw? It’s okay, because the brightness and number of lit LEDs at any one time is limited. Add in the fact that none of the LEDs are ever turned off — they fade by one percent each loop — and you have some really cool animations. Check them out after the break.

Want some localized blinkenlights to wear about town? Wear your heart on your sleeve and show them how hard you’re crushing the elliptical at the gym.


Continue reading “Voidstar’s Vitals, Visualized For Video”

Love Inspires CD Player Hack

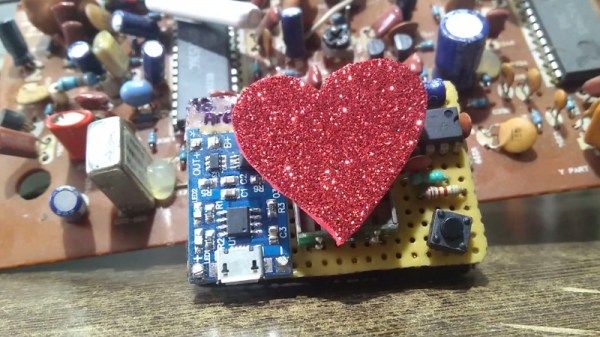
The heart is an impressive piece of hardware. It’s a rare pump that runs continuously for over 80 years in some cases. It’s also, for some reason or other, become a common human symbol of love and affection. In this vein, [Deepak Khatri] has built a beating electronic heart out of basic, readily available components.

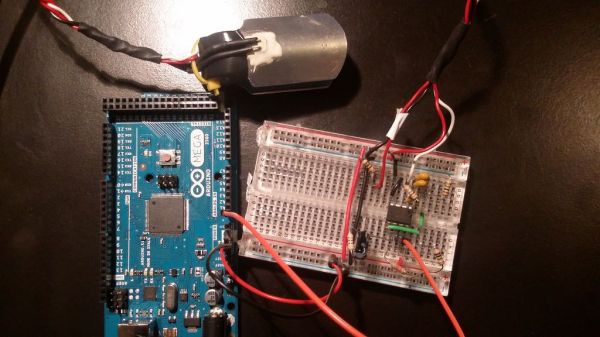
The heart of the build (pun intended) is a lens assembly salvaged from a CD player, which uses a coil and permanent magnet to move the lens in order to read across a disc. In this case, the coil is instead fed pulses from an astable multivibrator circuit built with a hacker favourite, the 555 timer IC. It’s all assembled on a breadboard, which is a great way to build such projects that rely on experimentation through the swapping of component values.

The end result is rather satisfying. [Deepak] has also experimented with an Arduino driven version with a slightly different rhythm.

We haven’t seen too many projects using optical drive lens assemblies, but we’re sure there must be other applications. If you end up using one to agitate biological samples or build an awesome laser projector, be sure to hit up the tips line. Video after the break.

Continue reading “Love Inspires CD Player Hack”

Beating Life-Force Amulet

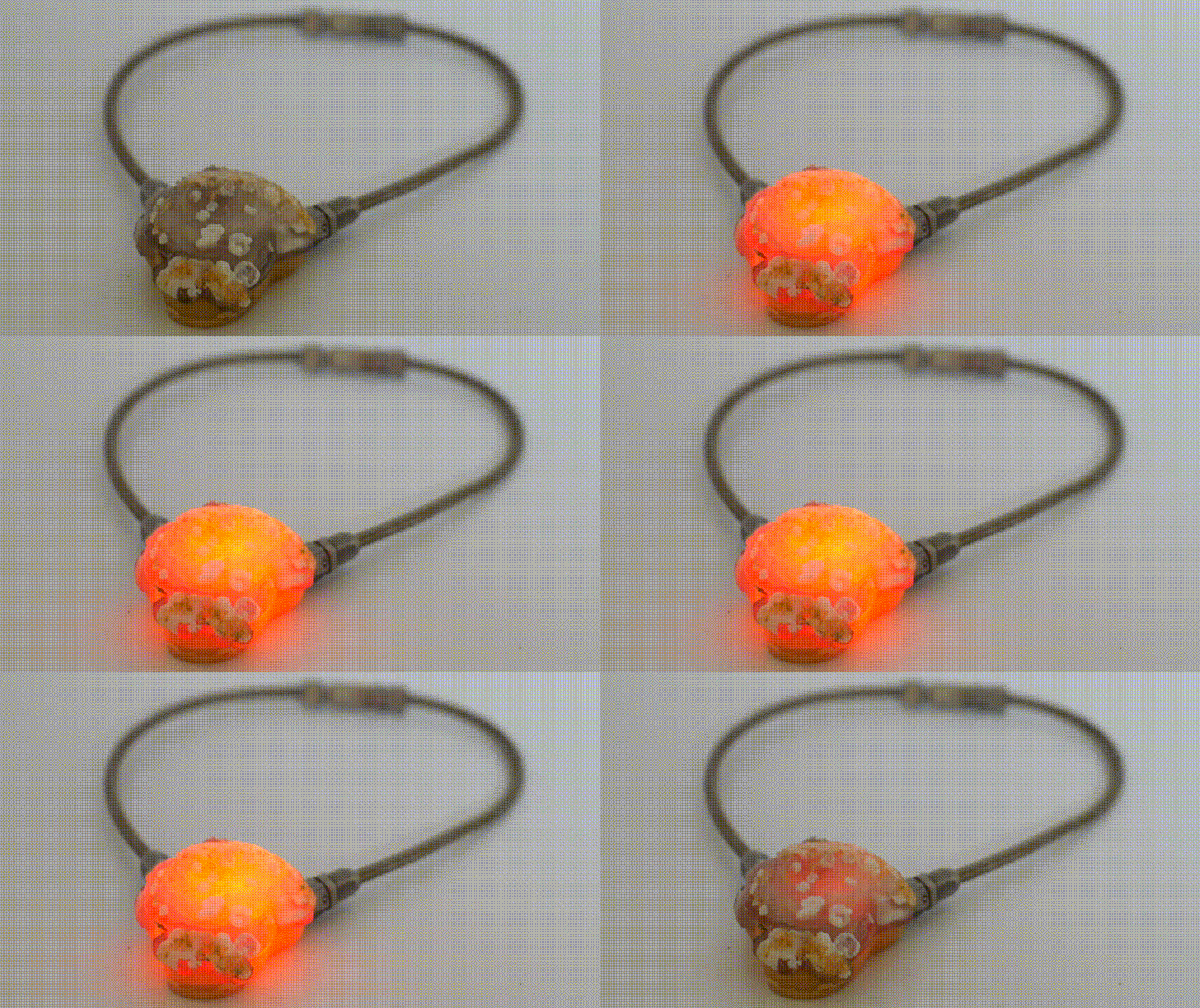
It’s one thing to see science-fiction slowly become reality, but quite another to take that process into your own hands. Inspired by a movie prop, [Eric Strebel] decided to build himself a 21st science-fiction artifact: a pulsing, life-force amulet.

At the — aheam — heart of this amulet is a blinking LED circuit which [Strebel] modified into a slow pulse with the help of his friends. To add to the surreal quality of the amulet, he sourced a stone from a local gem show, bringing his circuit along to get an idea of what the final product would look like. Once [Strebel] had shaped the stone to a more manageable size, he took a polyester filler mold of its rear face to use as a base from which to cast a durable resin housing for the circuit.

[Strebel] is using a pair of coin cell batteries which fit snugly behind the glowing LED, and in case he ever needs to get inside the amulet, he’s attached the stone to the rear with sew-on straps — super-gluing them to each piece. He went for a bit of an industrial look for the necklace — a braided oil line with a modified quick-release clasp that works like a charm.

How does this amulet stack up to one from the 23rd century? You be the judge!

Hackaday Prize Entry: Thingspeak IoT Heart Rate Monitor

[Naman Chauhan]’s 2017 Hackaday Prize entry consists of a heartbeat detection and monitoring system that centers around everyone’s favorite WiFi board, the ESP8266. The monitor is hooked up to the patient’s finger, keeping track of his or her vitals and publishing the data on the cloud.

By using Thingspeak to manage the data, [Naman] leverages the platform’s data visualization and analytical features. Also, by making the data accessible on the cloud, he offers an intriguing opportunity to help friends and relatives to monitor the data. If you think about it, if you had a loved one in the hospital, wouldn’t having all of his or her chart available on your phone be great?

heartbeat sensor

Simple And Inexpensive Heartbeat Detector

There are many ways to detect a heartbeat electronically. One of the simpler ways is to take [Orlando’s] approach. He’s built a finger-mounted pulse detector using a few simple components and an Arduino.

This circuit uses a method known as photoplethysmography. As blood is pumped through your body, the volume of blood in your extremities increases and decreases with each heartbeat. This method uses a light source and a detector to determine changes in the amount of blood in your extremities. In this case, [Orlando] is using the finger.

[Orlando] built a finger cuff containing an infrared LED and a photodiode. These components reside on opposite sides of the finger. The IR LED shines light through the finger while the photodiode detects it on the other side. The photodiode detects changes in the amount of light as blood pumps in and out of the finger.

The sensor is hooked up to an op amp circuit in order to convert the varying current into a varying voltage. The signal is then filtered and amplified. An Arduino detects the voltage changes and transmits the information to a computer via serial. [Orlando] has written both a LabVIEW program as well as a Processing program to plot the data as a waveform. If you’d rather ditch the PC altogether, you might want to check out this standalone heartbeat sensor instead.