JBC soldering station sitting atop a custom switch box next to a selection of hot ends.

A 3-tool Selector Box For A JBC Soldering Station

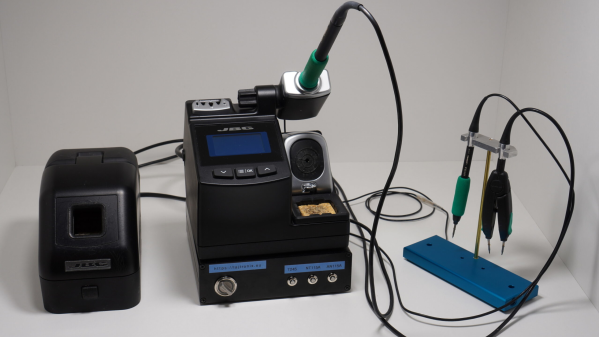
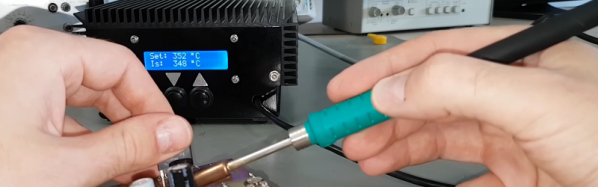
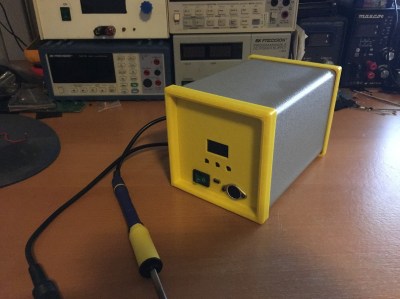
Soldering is one of those jobs that are conceptually simple enough, but there’s quite a bit of devil in the detail and having precisely the right tool for the job in hand is essential for speed and quality of results. The higher-quality soldering stations have many options for the hot end, but switching from a simple pencil to hot tweezers often means unplugging one and reattaching the other, and hoping the station recognises the change and does the right thing. [Lajt] had three soldering options and a single output station. Their solution was a custom-built three-way frontend box that provides a push-button selection of the tool to be connected to the station sitting atop.

[Lajt] shows in the blog post how each of their target hot ends is wired and the connectivity the control station expects to determine what is plugged in. Failing to recognise a connected 50 W heating element as if the smaller 25 W unit was still connected would suck, with a huge amount of lag as the temperature of the hot end would fail to keep up with the thermal load during use. When connections are made, it is important to ensure the unit has sufficient time to detect the change in output and configure itself appropriately. An Arduino Pro mini handles the selection between outputs by driving a selection of relays with appropriate timing. An interesting detail here is what [Lajt] calls a ‘sacrificial relay’ in the common ground path, which has a greater contact rating than the others and acts as a secondary switch to save wear on the other relay contacts that would otherwise be hot-switched. All in all, a nicely executed project, which should offer years of service.

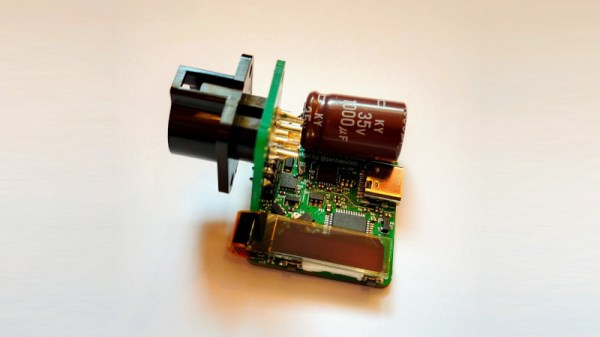
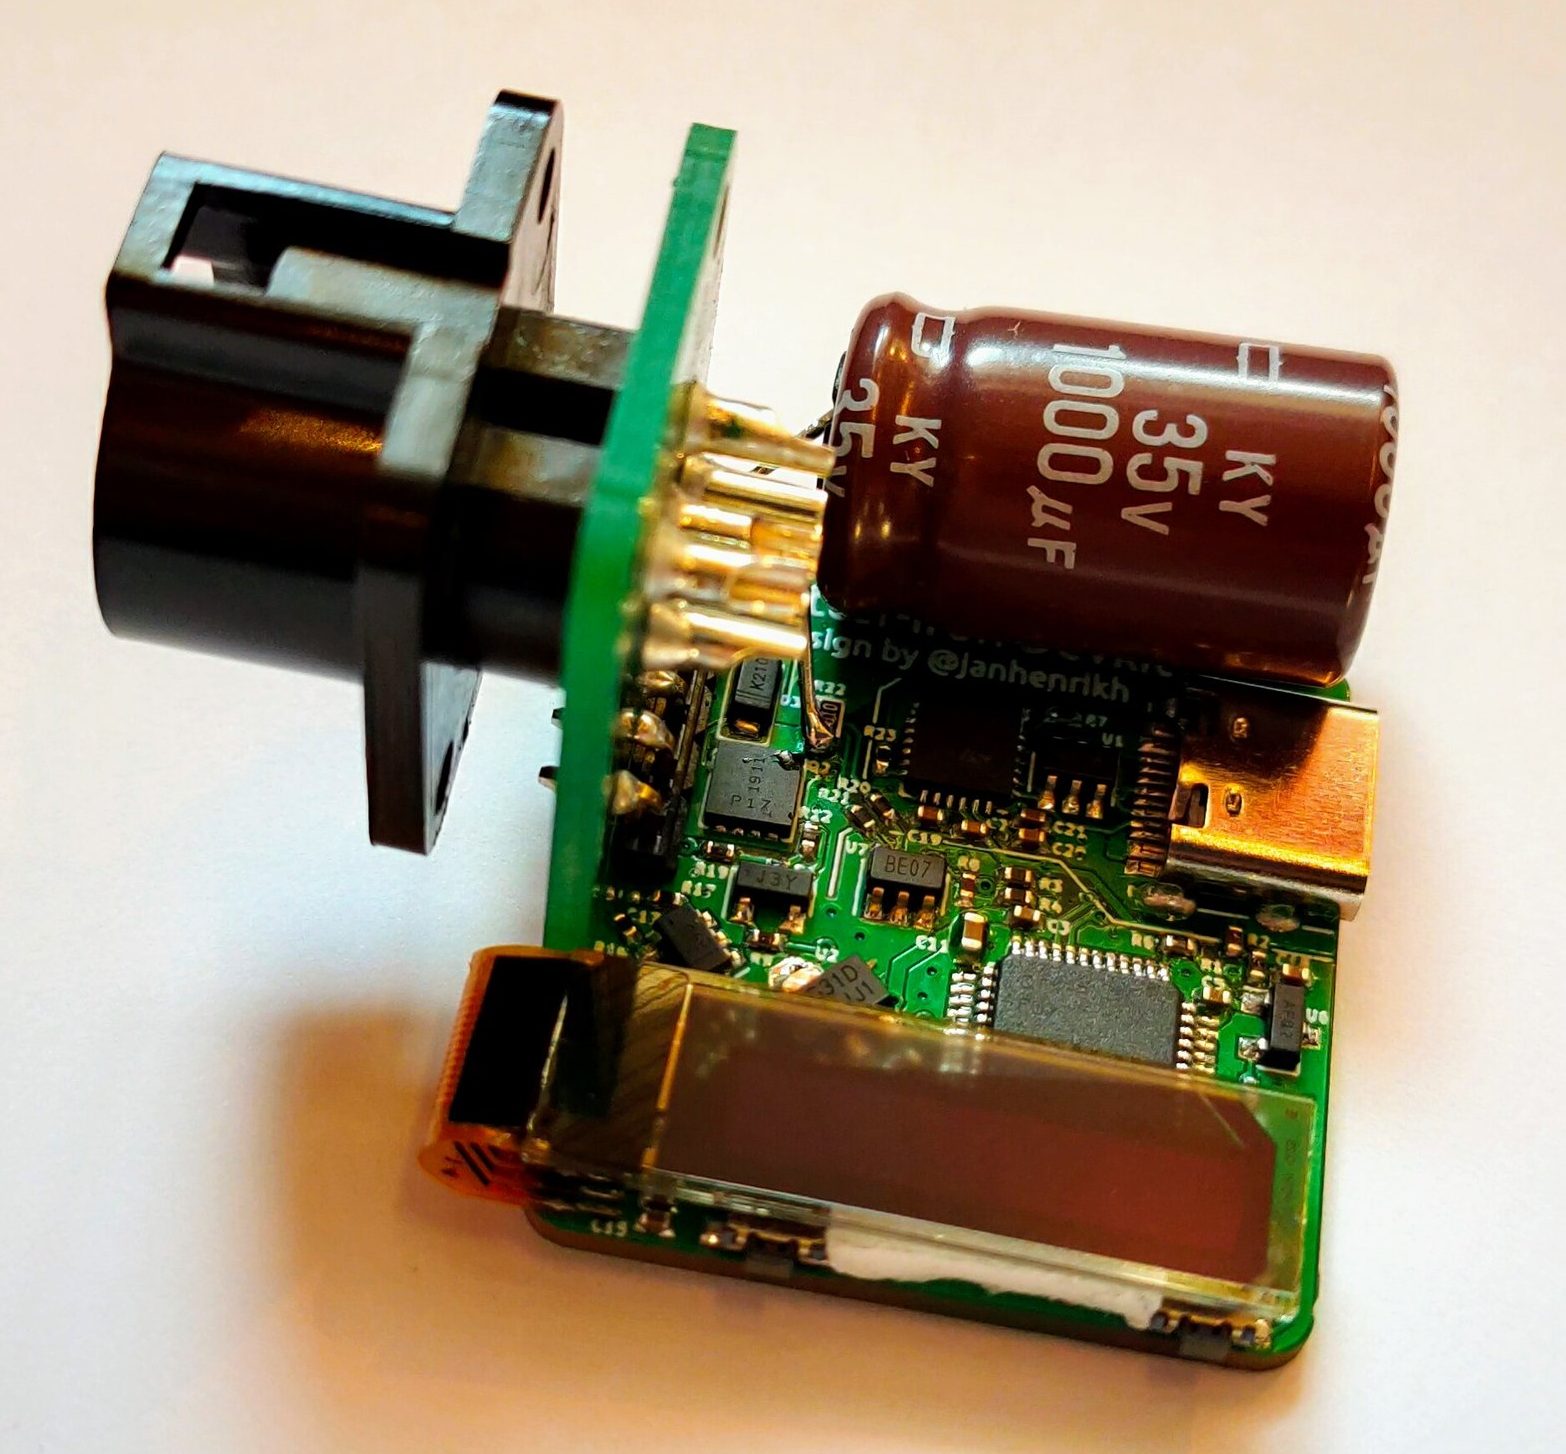
We like DIY tools and tool-related hacks. Here’s a DIY Hakko station, a Weller clone unit, and a peek inside TS1C portable unit.

Continue reading “A 3-tool Selector Box For A JBC Soldering Station”

Have JBC Soldering Handle, Will USB-C Power Deliver

Frequent converter-of-tools-to-USB-C [Jana Marie Hemsing] is at it again, this time with a board to facilitate using USB Power Delivery to fuel JBC soldering iron handles. Last time we saw [Jana] work her USB-C magic was with the Otter-Iron, which brought Power Delivery to the trusty TS100 with a purpose built replacement PCBA. This time he’s taking a different approach by replacing the “station” of a conventional soldering station completely with one tiny board and one giant capacitor.

If you’ve been exposed to the “AC fire starter” grade of soldering iron the name JBC might be unfamiliar. They make tools most commonly found with Metcal’s and high end HAKKOs and Wellers on the benches of rework technicians and factory floors. Like any tool in this class each soldering station comes apart and each constituent piece (tips, handles, base stations, stands, etc) are available separately from the manufacturer and on the used market at often reasonable prices, which is where [Jana] comes in.

The Otter-Iron PRO is a diminutive PCBA which accepts a USB-C cable on one side and the connector from a standard JBC T245-A handle on the other. JBC uses a fairly typical thermistor embedded in the very end of the iron tip, which the Otter-Iron PRO senses to provide closed loop temperature control. [Jana] says it can reach its temperature setpoint from a cold start in 5 seconds, which roughly matches the performance of an original JBC base station! We’re especially excited because this doesn’t require any modification to the handle or station itself, making it a great option for JBC users with a need for mobility.

Want to make an Otter-Iron PRO of your own? Sources are at the link at the top. It sounds like v3 of the design is coming soon, which will include its own elegant PCB case. Check out the CAD render after the break. Still wondering how all this USB-PD stuff works? Check out [Jason Cerudolo’s] excellent walkthrough we wrote up last year.

Continue reading “Have JBC Soldering Handle, Will USB-C Power Deliver”

Roll Your Own JBC Soldering Station

[Marco Reps] was soldering some boards with a lot of thermal mass and found his usual soldering iron was not up to the task. He noticed some professional JBC soldering stations that he liked, but he didn’t like the price. Even an entry-level JBC station is about $500 and they go up from there. He decided to build his own, but it did take awhile to complete. You can see two videos about the project, below.

How can you build your own soldering station and still claim it is a JBC? [Marco] noticed that the real performance of the iron came from the tip — what JBC calls a cartridge. In addition, the handle provides good ergonomics. You can buy the tips and handles from JBC for considerably less than a complete station. You just have to add the electronics to make it all work.

Continue reading “Roll Your Own JBC Soldering Station”

One Soldering Controller To Rule Them All

If your favourite programming language is solder, they you’ve surely worked your way through a bunch of irons and controllers over your hacker existence. It’s also likely you couldn’t pick one single favourite and ended up with a bunch of them crowding your desk. It would be handy to have one controller to rule them all. That’s just what [sparkybg] set out to do by building his Really Universal Soldering Controller. His intent was to design a controller capable of driving any kind of low voltage soldering iron which used either an in-line or separate temperature sensor (either thermocouple or resistive PTC).

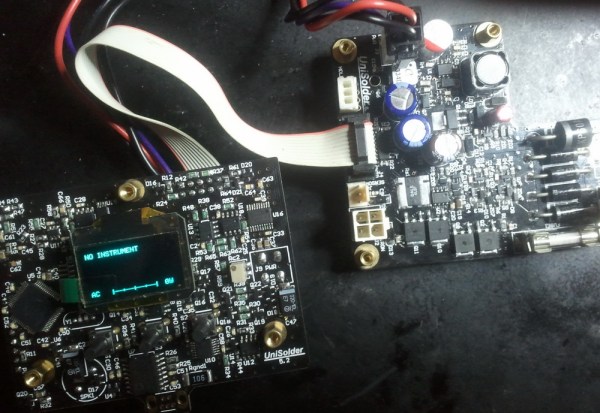
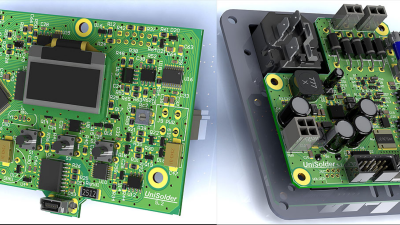
This project has really caught on. [sparkybg] announced his build about two years back and since then many others have started posting details of their own Unisolder 5.2 builds. [zed65] built the version seen to the right and [SZ64] assembled the boards shown at the top of this article.

The controller has been proven to work successfully with Iron handles from Hakko, Pace, JBC, Weller, Ersa, as well as several Chinese makes. Getting the controller to identify one of the supported 625 types of iron profiles consists of connecting two close tolerance resistors across the relevant pins on the 9-pin shell connector. This is a brilliant solution to help identify a large variety of different types of irons with simple hardware. In the unlikely situation where you have a really vague, unsupported model, then creating your own custom profile is quite straightforward. The design is highly discrete with an all analog front end and a PIC32 doing all the digital heavy lifting.

To get an idea of the complexity of his task, here is what [sparkybg] needs to do:

“I have around 200 microseconds to stop the power, wait for the TC voltage to come to its real value, connect the amplifier to this voltage, wait for the amplifier to set its output to what I want to read, take the measurement from the ADC, disconnect the amplifier from the TC, run the PID, and eventually turn the power back on. The millivolts to temperature calculation is done using polynomial with 10 members. It does this calculation using 32bit mantissa floating point numbers and completes it in around 20 microseconds. The whole wave shaping, temperature calculation, PID and so on is completed in around 50-60 microseconds. RMS current, voltage and power calculations are done in around 100 microseconds. All this is done between the half periods of the mains voltage, where the voltage is less than around 3 volts.”

The forum is already over 800 posts deep, but you can start by grabbing the all important schematic PDF’s, Gerbers, BoM and firmware files conveniently linked in the first post to build your own Unisolder5.2 controller. This Universal Controller is a follow up to his earlier project for a Hakko T12/T15 specific controller which gave him a lot of insight in to designing the universal version.

[sparkybg] has posted several videos showing the UniSolder5.2 controlling several types of Irons. In the video after the break, he demonstrates it controlling a Weller WSP80.

Continue reading “One Soldering Controller To Rule Them All”