[Editor’s note: The hacker requested that we remove the image for legal reasons, so it’s blurry now. We hope all’s well!]
Lithium technology has ushered in a new era of batteries with exceptionally high energy density for a reasonably low cost. This has made a lot possible that would have been unheard of even 20 years ago such as electric cars, or laptops that can run all day on a single charge. But like anything there are tradeoffs to using these batteries. They are much more complex to use than something like a lead acid battery, generally requiring a battery management system (BMS) to keep the cells in tip-top shape. Generally these are standalone systems but [CallMeC] integrated this one into the buswork for a battery pack instead.
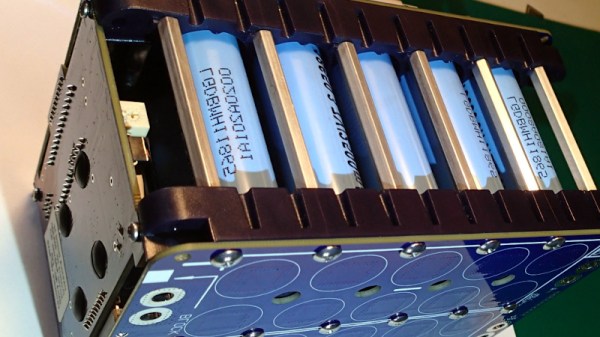
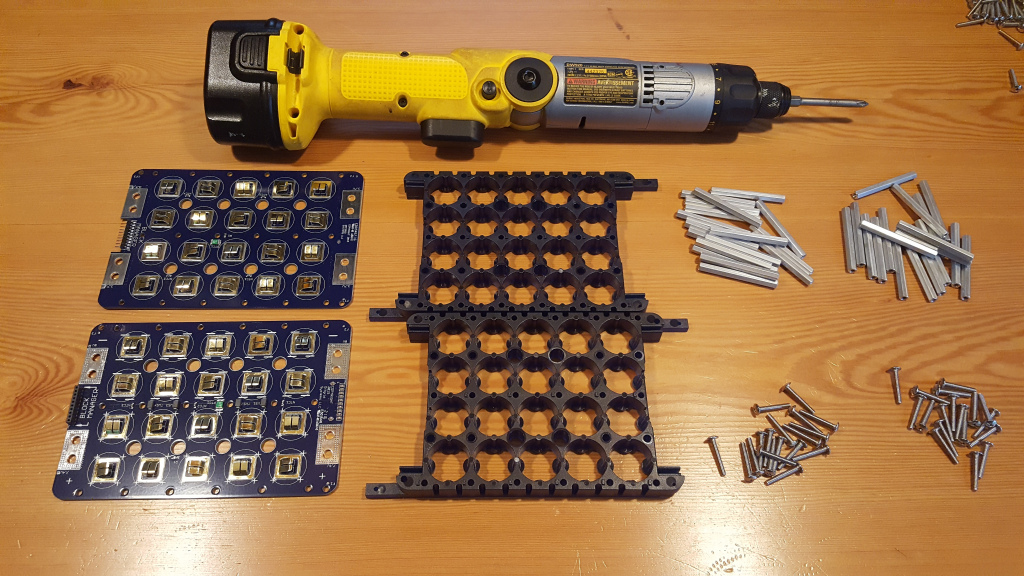
The BMS is generally intended to make sure that slight chemical imbalances in the battery cells don’t cause the pack to wear out prematurely. They do this by maintaining an electrical connection to each cell in the battery so they can charge them individually when needed, making sure that they are all balanced with each other. This BMS has all of these connections printed onto a PCB, but also included with the PCB is the high-power bus that would normally be taken care of by bus bar or nickel strips. This reduces the complexity of assembling the battery and ensures that any time it’s hooked up to a number of cells, the BMS is instantly ready to go.
Although this specific build is meant for fairly large lithium iron phosphate batteries, this type of design could go a long way towards making quick battery packs out of cells of any type of battery chemistry that typically need a BMS system, from larger 18650 packs or perhaps even larger cells like those out of a Nissan Leaf.