[Dorkyducks] is a bit of a jeweler, a bit of a carpenter, and a bit of a hacker. They’ve taken some time to document their technique for making bentwood rings. Bentwood is technique of wetting or steaming wood, then bending or forming it into new shapes. While the technique is centuries old, this version gets a bit of help from a modern heat source: The microwave oven. [Dorkyducks] starts with strips of veneer, either 1/36″ or 1/42″ thick. The veneer is cut into strips 1/2″ wide by about 12″ long, wrapped in a wet paper towel, and microwaved. The microwave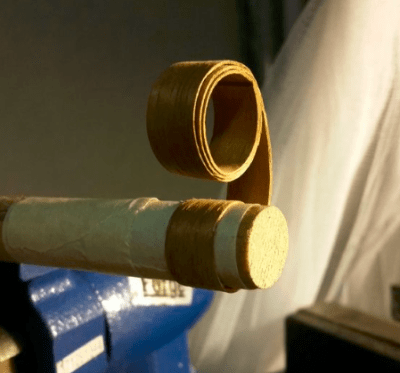 heats the water in the towel, steaming it into the wood. This softens the wood fibers, making the entire strip flexible. The softened wood is then wrapped around a wooden preform dowel and allowed to dry for a day or two.
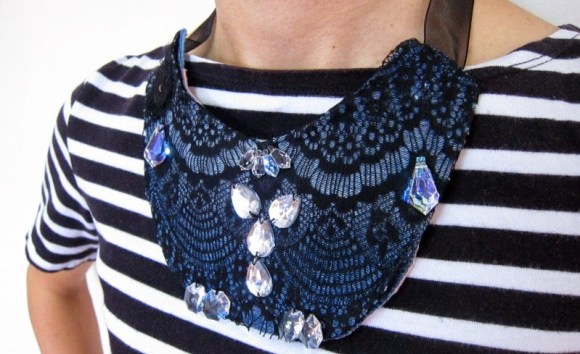
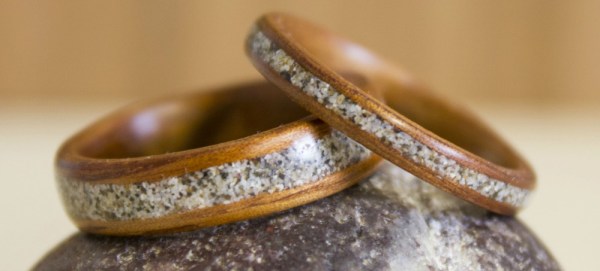
Once dry, the wood will hold the circular shape of the dowel. [Dorkyducks] then uses masking tape to tack the wood down to a new dowel which is the proper ring size for the wearer. Then it’s a superglue and wrapping game. The glue holds the laminated veneer together, and gives the ring it’s strength. From there it’s sanding, sanding, sanding. At this point, the ring can be shaped, and inlays added. [Dorkyducks] shows how to carve a ring and insert a gemstone in this gallery. The final finish is beeswax and walnut oil, though we’d probably go for something a bit longer lasting – like polyurethane.


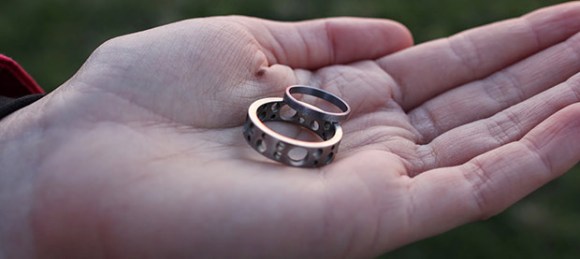
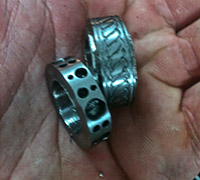 Making a ring on a lathe is a relatively simple ordeal, but the two larger rings [Patrick] made (one was for a friend) featured some interesting patterns that aren’t easy to make without a good CNC setup. Luckily, this friend has