Triple monitor workstations are pretty common these days, particularly for those wishing to maximise screen space for greater productivity. [Will It Work?] has put together a sillier take on this concept, however, hooking the diminutive iPod Nano up to three monitors instead.
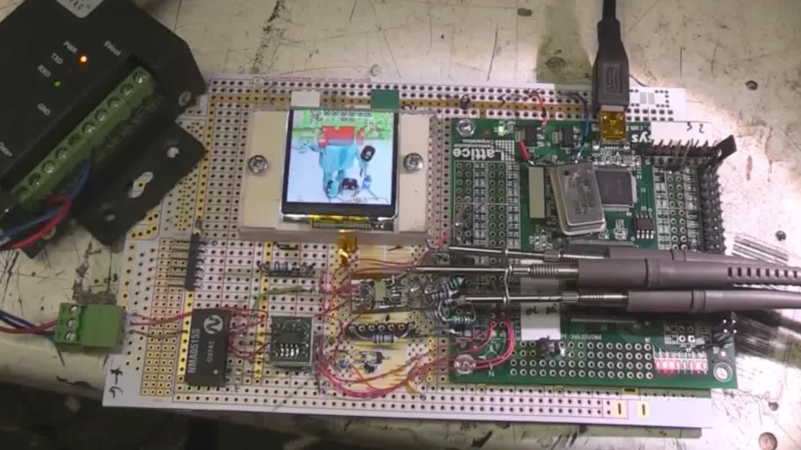
The 6th-generation iPod nano brought forth a new form factor – it’s the postage stamp-sized one that you could clip to your workout gear. It’s not typically what you’d call a productivity device, but there is a way to get more out of it. The trick is to grab a 30-pin Keyboard Dock, which allows access to the composite video signal from the iPod. It was originally designed for the iPad, but it works with the iPad nano too with a 30-pin spacer adapter – just don’t expect the keys to do anything. This setup also allows access to the 3.5mm four-pole jack, which handles audio input and output. With a bunch of additional cables and adapters, the iPod was able to be hooked up to three screens, a set of Apple Pro speakers, and three Sharp LCD monitors.
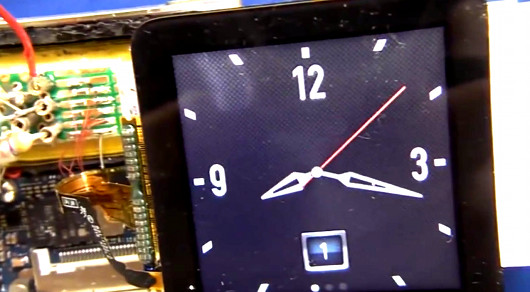
What can you do with this setup? Fundamentally, not a whole lot. You can’t use the keyboard with the iPod Nano, so you’re limited to interacting with the tiny touchscreen. There also aren’t exactly a lot of apps to run on the platform, either. You can basically listen to music, watch a slide show, or record voice memos, while looking at the iPod’s display spread identically across three TVs. Still, it’s a fun joke build, because at a glance it genuinely looks like you’ve set up a triple-monitor workstation running off a tiny iPod from over a decade ago.
If you want to blow the mind of your next podcast guest, consider recording your next episode on this rig. Alternatively, explore some of the other hacks we’ve seen for the platform. Video after the break.