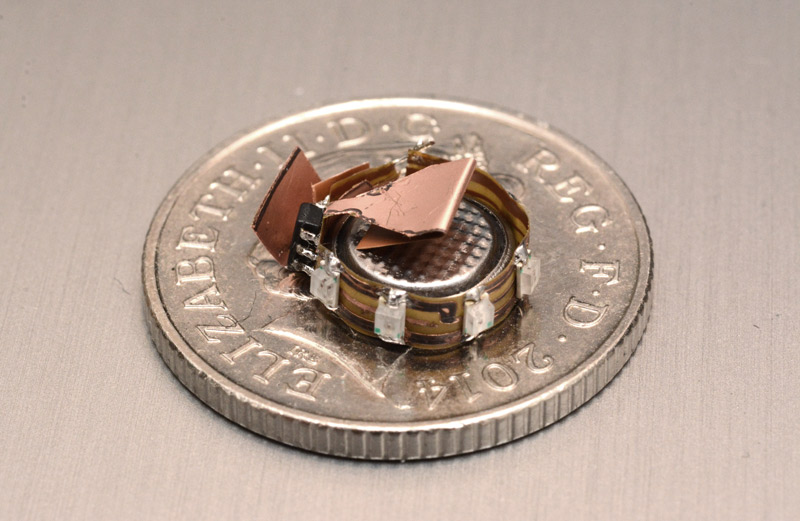
With the size of electronic parts and batteries these days, very small items are obviously becoming more and more viable. [Yann Guidon] has made some awesome pieces of LED jewelry using a minimal number of surface mount parts and a small lithium-ion battery. To make the jewelry stand out a bit, other than just blinking on and off, these LEDs blink a short message in Morse code.
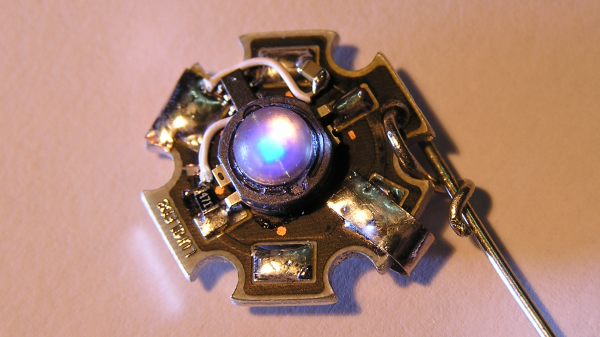
This is an update and open sourcing of some work that [Yann] did a few years ago, and the iterations have resulted in a smaller design. But the main part of the latest version is the addition of the Morse code blinking using a small microcontroller. The microcontroller [Yann] used is the SMD version of the PIC10F200, a small, 8 pin PIC microcontroller. This, a resistor and a metal clip are soldered to pads on a Luxeon Star LED. The LEDs are undervolted so they’re not too bright, so the heat sink isn’t really needed, but it’s a good size for the components. Because the LEDs don’t generation much heat, the back of the aluminum frame that the LED is on is carved out a bit so that the small lithium-ion battery can go there.
The final component is the code itself, and [Yann] has released it as an assembly file. An associated text file contains the text of the message that you want the earrings to blink. The text file can contain up to 190 bytes. A shell script converts the text to a file that can be included in the asm file. After that script is run, assemble the code and flash it to the PIC and you’re done!
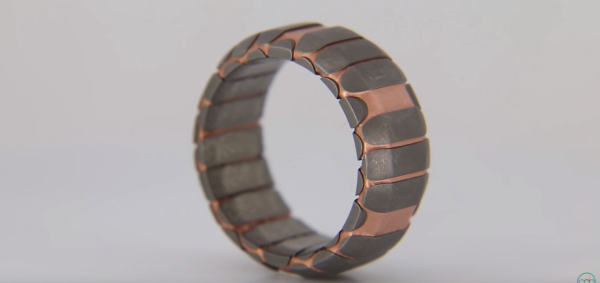
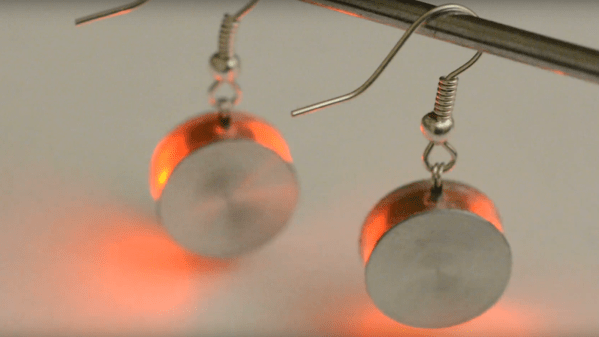
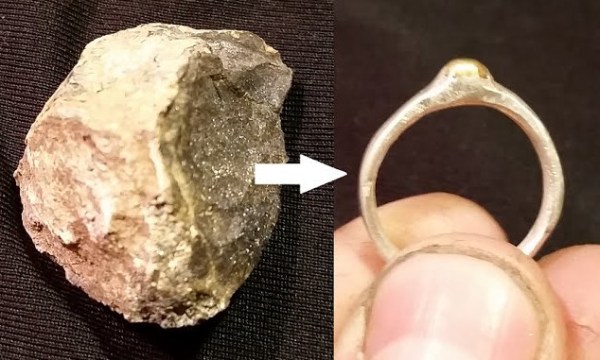
We’ve seen a couple of other LED jewelry projects done, including this LED engagement ring, and these tiny light-up earrings. You can see video of [Yann]’s project in the video below:
Continue reading “Morse Code Blinking Jewelry”


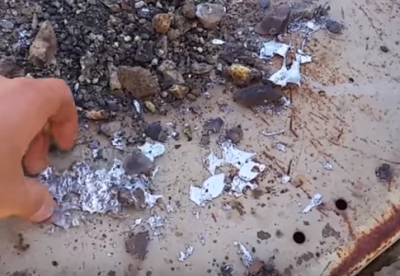 First, [Cody] crushed the rock down to marble size using his homemade rock crusher. Then he roasted the rock in a tire rim furnace. The ore was so rich in lead and silver that the some of the metal just dropped right out, forming splatters on the ground beneath the furnace. [Cody] then ball milled the remaining rock to a fine powder and panned out the rest of the lead. At this point the lead and silver were mixed together. [Cody] employed


