FPSLIC Powered LED Matrix

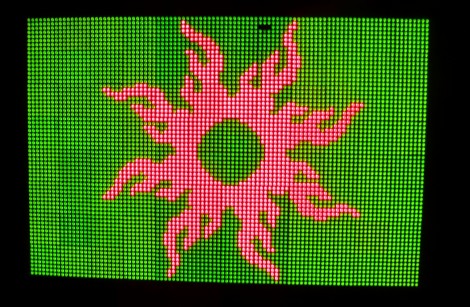
[Mathieu] built this display in hopes that he can play pong on it. You can imagine the headache that awaits when trying to figure out how to drive the 6144 bi-color LEDs. I must have worked out because the thing looks great in the video after the break. The solution he chose was a bit unfamiliar to us though. He used a Field Programmable System Level Integrated Circuit produced by Atmel, or FPSLIC. This is a kind of mash-up of components we’re more accustomed to.

The AT94K is a single chip that houses an 8-bit AVR microcontroller, and FPGA, and SRAM. This project uses that FPGA to handle the multiplexing of the display via code written in VHDL. The AVR core receives data via a USB port, stores two images in the SRAM (one for each LED color), and then outputs it to be drawn on the display. On second thought, this project sounds like fun and it’s a great way to get start learning that VHDL you’ve been putting off. Continue reading “FPSLIC Powered LED Matrix”

LED Matrix With A Gross Of Pixels

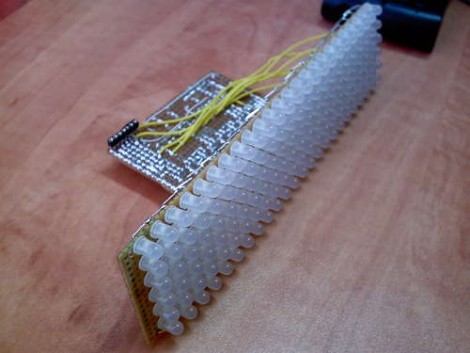
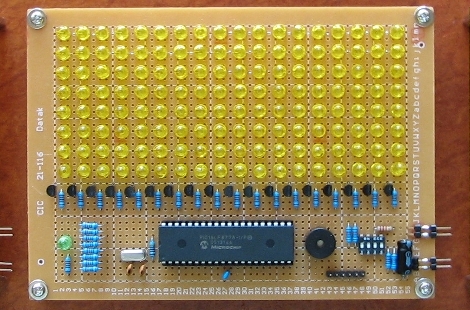
This LED matrix is arranged in a 24×6 pattern for message scrolling. There’s no etched boards here, making us wonder where [Syst3mX] found protoboard this long. He’s using an Arduino to drive the demonstration (clip after the break) but you can use any microcontroller with this setup. That’s because he’s using three shift registers for column data and a decade counter for row scanning, requiring just five control pins.

While you’re going to the trouble of ordering components, maybe you should try your hand at building a touch sensitive LED matrix too.

Continue reading “LED Matrix With A Gross Of Pixels”

16-pixel Handheld Gaming

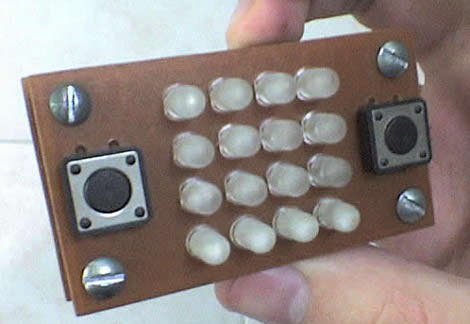
What we need in today’s handhelds is LESS resolution. Take a look at the video after the break to see the exciting action that [Bruno Pasquini] 4×4 LED matrix handheld game delivers. The device is made up of 16 bi-color LEDs, four buttons, and a PIC 16F628. There’s no schematic yet but it looks like there’s no need for shift registers, just some transistors to handle the current load for the rows of each color. We’ve seen a 64-pixel handheld that plays Super Mario Brothers, but this portable brings a top scrolling racing game with just 25% of that display size.

Continue reading “16-pixel Handheld Gaming”

Physical Tone Matrix

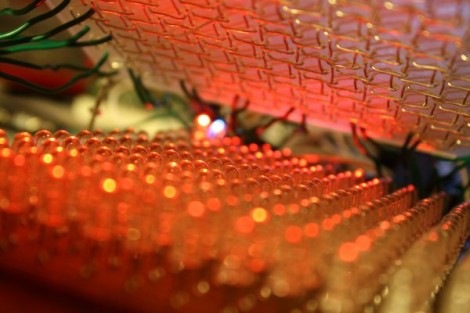
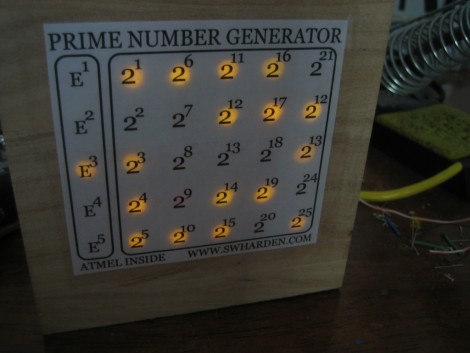
[Andrew Jenner] pulled off something amazing with this Physical Tone Matrix. He wanted to build a physical version of a flash applet he had seen. Two layers make up the main user interface. The top layer is a sheet of acrylic that acts as a touch interface and below there’s an LED matrix. [Andrew’s] touch interface uses wires running throughout the acrylic as contacts which are polled via transistor pairs. As you can see in the video after the break it works well and we like the fact that there’s a tactile component (due to the bumpy wires) you don’t get when working with a touchscreen.

The 16×16 grid of LEDs on the bottom layer correspond to each ‘button’ on the touch matrix hand have some extra functions such as playing Conway’s Game of Life. This fantastic build still has a couple of kinks to work out, most notably the interference in the audio circuit, but we’re quite impressed at what he’s achieved quickly. Plus, this is more economical than a monome and larger than some of the monome clones we’ve seen.

Continue reading “Physical Tone Matrix”

Links Expanded: Snake On LED Matrix

[Yosh] came through with a link to the Snake playing LED matrix that he read about in our links post from yesterday. It seems that [Arty Fart] actually built three of these in green, yellow, and red. You can see him throw one together (an 8-10 hour job) in the video after the break. In addition to playing Snake the PIC 16F877A can also scroll messages, play a mean game of Tetris, and show a Pong screen saver on the 144 LED display. We love the clean build and the urge to make another LED matrix is becoming irresistible.

Now off to eBay for a good deal on a bulk LED order. Continue reading “Links Expanded: Snake On LED Matrix”

Printed Circuit Board Minus The Printed Traces

Reader [Osgeld] is a board-layout ninja. He populated this 4×4 LED matrix board without having a layout plan to start with. Watch it develop in slideshow format to see the art work he performs. The display is driven by a shift-register and he’s included all the proper parts like resistors and transistors, yet he makes everything fit. Why is this amazing? He’s using uninsulated wire and not a single one of them crosses another wire. He’s physically designing a printed circuit board, routing the traces as he solders away. He’s built this to use with an Arduino shift register tutorial and our only question is where is the header to hook this board to a microcontroller?

Getting Your Message Across At Commencement

[Yomagaocho] is graduation from Northwestern University on June 18th (wow that’s late in the year… they must be on quarters). He decided to spice up his mortarboard for the commencement ceremony. A normal message wasn’t good enough, and even a solar-powered diorama wasn’t going to suit him. Instead he added 256 addressable LEDs to the top so that he can get his message across without being limited to a couple of words. See it demonstrated after the break.

He was nice enough to give us the technical details. The matrix is a 16×16 grid mounted in some laser-cut black acrylic. We immediately wondered about the display working in sunlight (a June graduation will probably be outside). He didn’t use any current limiting resistors with the LEDs, dangerous to the longevity but this should provide maximum brightness. It’s certainly a geeky concept, but having the ribbon cable that controls it trailing down into your robe might make those graduation photos a bit embarrassing a few years down the road. Continue reading “Getting Your Message Across At Commencement”