Physical Tone Matrix

[Andrew Jenner] pulled off something amazing with this Physical Tone Matrix. He wanted to build a physical version of a flash applet he had seen. Two layers make up the main user interface. The top layer is a sheet of acrylic that acts as a touch interface and below there’s an LED matrix. [Andrew’s] touch interface uses wires running throughout the acrylic as contacts which are polled via transistor pairs. As you can see in the video after the break it works well and we like the fact that there’s a tactile component (due to the bumpy wires) you don’t get when working with a touchscreen.

The 16×16 grid of LEDs on the bottom layer correspond to each ‘button’ on the touch matrix hand have some extra functions such as playing Conway’s Game of Life. This fantastic build still has a couple of kinks to work out, most notably the interference in the audio circuit, but we’re quite impressed at what he’s achieved quickly. Plus, this is more economical than a monome and larger than some of the monome clones we’ve seen.

Continue reading “Physical Tone Matrix”

DIDJ Composite Video Out

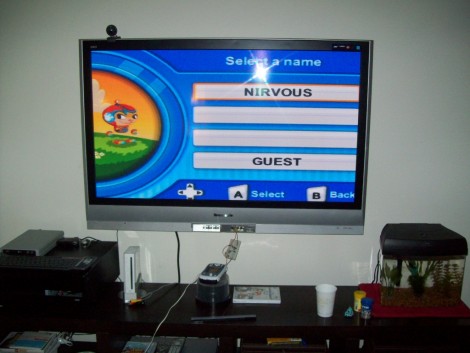
[Nirvous] managed to get composite video out working on the DIDJ. He knew that the CPU had the ability to generate the signal, and that similar devices already had this capability. After studying some DIDJ teardowns he figured out which connection on the processor should provide the appropriate signal. Next was the firmware side of things and after sifting through a lot of code he was pleased to find a flag that looked like it would enable video out. Some cross-compiling, soldering, and a low-pass filter got it to work.

If you’ve been hacking around on the device you might try this. The CPU uses a ball grid array so soldering is a bit difficult. We covered a BGA soldering trick that might be just the thing so check it out before you retreat into your soldering-fortress of solitude.

NES Controller To USB Gamepad

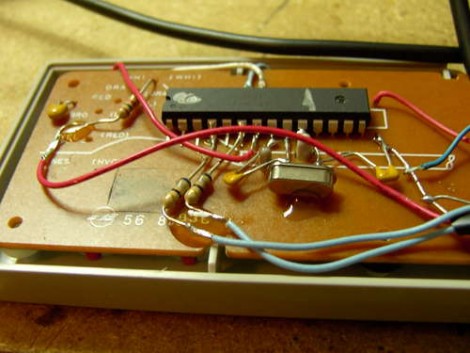
Regular Hackaday reader [Osgeld] is at it again with this USB conversionĀ for an NES controller. This is a ubiquitous hack that we started seeing very early on, sometimes involving an adapter kit, and other times including things like a thumb drive and USB hub. But this time around is truly a bare-bones version. He’s using an Arduino but it’s really just an AVR ATmega168 running the bootloader. We’d wager this can be done with an ATmega8 just as easily. Grab a couple of diodes (we never seem to have the 3.6v zener diodes around when we need them), a couple caps and resistors, a crystal and you’re in business. The hack wires each button to a pin and implements a keyboard HID that can be mapped for any purpose you desire.

Holy Robin Trap Batman!

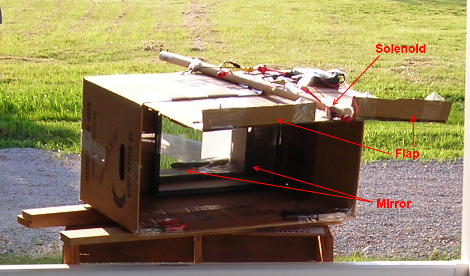
[Matt Meerian] introduced us to his kludge of cardboard, tape, mirrors, and electronics in the form of a clever non lethal robin trap. Whenever a pesky robin would enter the box, a sensor is triggered, the solenoid drops a lid, and the bird is contained (and we assume taken far away after that).

Of course the plan backfired; we wont spoil what happened, but you can click the link above to find out.

Related: Arduino Mouse Trap

How To Design Your Gears

[Dustyn Roberts] takes us through the process of designing gears for a specific application. Using Inkscape and Ponoko.com [Dustyn] takes us from equation to physical gear. While there is a plugin for Inkscape that allows you to basically drag and drop gears, this writeup will take you through the math to get exactly what you need. Those laser cut wooden gears are pretty cool looking too.