[Nils Pipenbrinck] has been working on a very interesting problem. The SIM card in your cellphone talks to the contactless near-field communication (NFC) chip through a cool protocol that we’d never hear of until reading his blog: single wire protocol (SWP).
The SIM card in your cellphone has only a limited number of physical connections — and by the time NFC technology came on the scene all but one of them was in use. But the NFC controller and the SIM need full-duplex communications. So the SWP works bi-directionally on just one wire; one device modulates the voltage on the line, while the other modulates the current, essentially by switching a load in and out.
This signalling protocol makes snooping on this data line tricky. So to start off his explorations with SWP, [Nils] built his own transceiver. That lead [Nils] to some very sensitive analog sniffer circuit design that he’s just come up with.
If you get interested in SWP, you’ll find the slides from this fantastic presentation (PDF) helpful, and they propose a solution very similar to the one that [Nils] ended up implementing. That’s not taking anything away from [Nils]’s amazing work: with tricky high-speed analog circuitry like this, the implementation can be more than half of the battle! And we’ll surely be following [Nils]’s blog to see where he takes this.
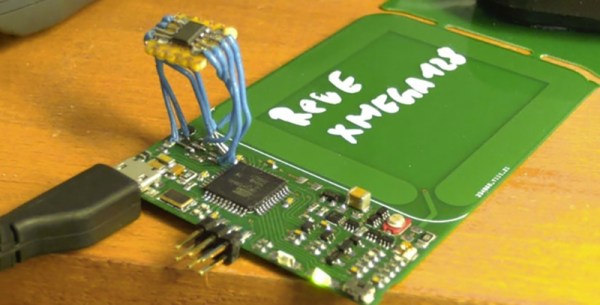
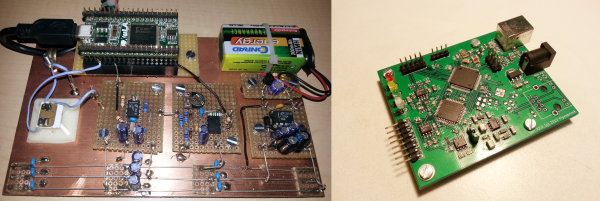
Banner image: An old version and a new version of the transceiver prototype.
Thanks to [Tim Riemann] for the tip!