A quick brush over the part with some sand paper and it quickly transforms from obviously plastic to metallic.

Learn Resin Casting Techniques: Cold Casting

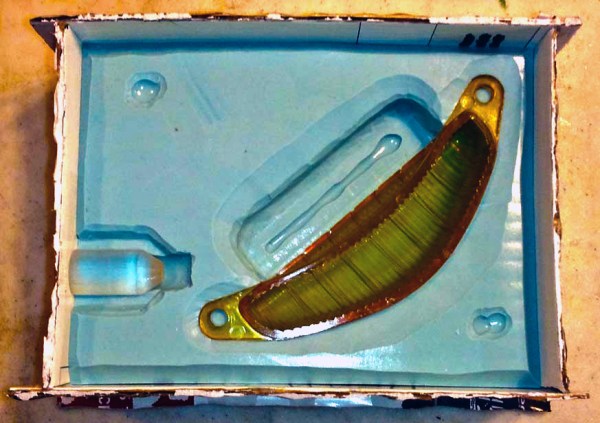
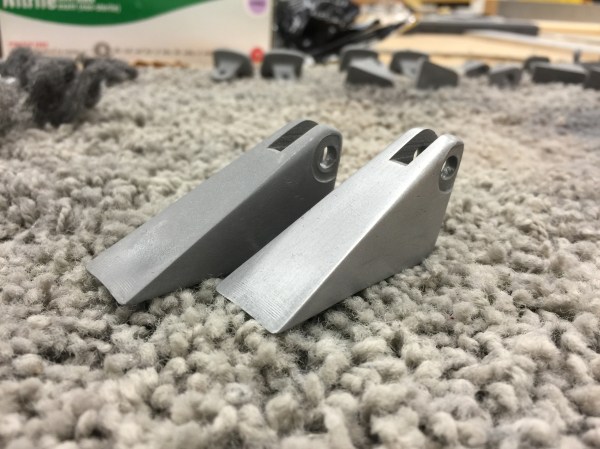
Sometimes we need the look, feel, and weight of a metal part in a project, but not the metal itself. Maybe you’re going for that retro look. Maybe you’re restoring an old radio and you have one brass piece but not another. It’s possible to get a very metal like part without all of the expense and heat required in casting or the long hours in the metal fabrication shop.

Before investing in the materials for cold casting, it’s best to have practical expectations. A cold cast part will not take a high polish very well, but for brushed and satin it can be nearly indistinguishable from a cast part. The cold cast part will have a metal weight to it, but it clinks like ceramic. It will feel cool and transfers heat fairly well, but I don’t have numbers for you. Parts made with brass, copper, and iron dust will patina accordingly. If you want them to hold a bright shine they will need to be treated with shellac or an equivalent coating afterward; luckily the thermoset resins are usually pretty inert so any coating used on metal for the same purpose will do.

It is best to think of the material as behaving more or less like a glass filled nylon such as the kind used for the casing of a power tool. It will be stiff. It will flex a relatively short distance before crazing and then cracking at the stress points. It will be significantly stronger than a 3D printed part, weaker than a pure resin part, and depending on the metal; weaker than the metal it is meant to imitate.

Continue reading “Learn Resin Casting Techniques: Cold Casting”

How A Professional Resin Caster Duplicates Parts

[Gregg Eshelman] reproduces plastic parts for antique car restorations for a living; likewise, he’s very good at it. Greg always chimes in with helpful hints whenever we post about resin casting. Shown above is a lens for a car turn signal. Manufactured in 1941, having [Gregg] cast a few copies is an easy option for replacing the rare part.

[Gregg] uses a similar method to us, but it is easy to see that he has done it more and his process has been refined by lots of experience. We really liked how he avoids using expensive foam core by wrapping cardboard in packing tape, or using the kind that has a plastic coating on it; the kind most retail packaging is made out of. He also has better techniques for keying the part to be manufactured, and prepping difficult geometry between different mold halves. It also never would have occurred to us to use Dremel cutting disks to cut the sprues and air vents in the silicone, a surprisingly tricky material to cut precisely with a knife.

It’s always nice when a professional takes time to write about their processes for the hobbyist trying to emulate it. We hope [Gregg] writes more tutorials, and continues to contribute in the comment section. If you have your own fabrication techniques to share we’d love to hear about it on the tips line.

Learn Resin Casting Techniques: Duplicating Plastic Parts

Resin casting lets you produce parts that would be otherwise impossible to make without a full CNC and injection molding set-up. It costs about as much as a 3d printer, 300 to 600 US dollars, to get a good set-up going. This is for raw material, resin, dye, pressure chamber, and an optional vacuum degassing set-up. A good resin casting set-up will let you produce parts which are stronger than injection molding, and with phenomenal accuracy, temperature resistance, and strength. I will be covering various techniques from the simple to advanced for using resin casting from a hacker’s perspective.

Continue reading “Learn Resin Casting Techniques: Duplicating Plastic Parts”

Bubble Free Resin Casting With A Modified Paint Tank

[thelostspore] was experimenting with resin casting, and discovered that he needed a pressure casting chamber in order to get clear casts. There are commercial solutions for sale, and they are really nice. However, many hackers are on a budget, and if you’re only casting every now and then you don’t need such a fancy set-up.

Re-purposing equipment like this is pretty common in the replica prop making community. Professional painters use a pressurized pot filled with paint to deliver to their spray guns. These pots can take 60-80 PSI and are built to live on a job site. By re-arranging some of the parts you can easily get a chamber that can hold 60 PSI for enough hours to successfully cast a part. Many import stores sell a cheap version, usually a bit smaller and with a sub-par gasket for around 80 US Dollars. [thelostspore] purchased one of these, removed the feed tube from lid and plugged the outlet. He then attached a quick release fitting to the inlet of the regulator.

Alternative pressure casting set-up.

We used this guide to build our own pressure casting set-up. Rather than plug up the outlet on ours, we put a ball valve with a muffler in its place to quickly and safely vent the chamber when the casting has set. We recommend putting a female quick connect coupling or another ball valve in combination with the male fitting (if your hose end is female). It is not super dangerous to do it the way the guide recommends, but this is safer, and you can disconnect the compressor from the tank without losing pressure.

All that was left was to test it. He poured an identical mold and it came out clear!