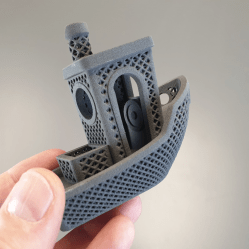
We touched on the open source SLS4All DIY SLS 3D printer a year or two ago when the project was in the early stages. Finally, version one is complete, with a parts kit ready to ship and all design data ready for download if a DIY build or derivative is your style. As some already mentioned, this is not going to be cheap: with the full parts kit running at an eye-watering $7K before tax. But it’s possible to build or source almost all of it a bit at a time for those on a budget.
It’s important to note that to access the detailed information, you’ll need to create an account, which is a bit inconvenient for an open source design. However, all the essential components seem to be available, so it’s forgivable. In terms of electronics, there are two custom PCBs: the GATE1 (GAlvo and Temperature Control) and the ZERO1 (Zero-crossing dimming) controller. Other than that, all the electronics seem to be standard off-the-shelf components. Both of these PCBs are designed using EasyEDA.
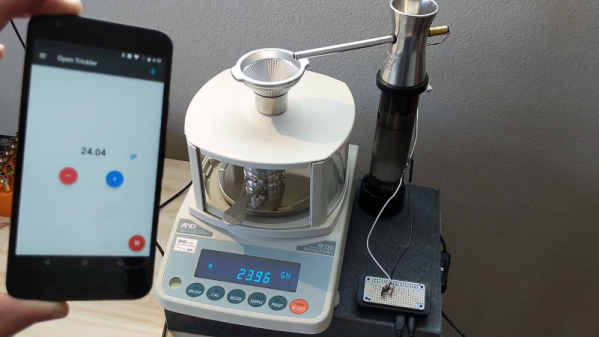
Unfortunately we couldn’t find access to the PCB Gerbers, nor does there appear to be a link to their respective EasyEDA projects, just the reference schematics. This is a bit of a drawback, but it’s something that could easily be reproduced with enough motivation. Control is courtesy of a Radxa Rock Pi, as there were ‘problems’ with a Raspberry Pi. This is paired with a 7-inch touchscreen to complete the UI. This is running a highly modified version of the Klipper together with their own control software, which is still undergoing testing before release.
The laser head is built around a 10 W 450 nm laser module from China and a high-end galvanometer set. Two 200 W halogen tube heaters heat the print bed, and 200 W silicone heating pads heat both the powder bed and the print bed.
Continue reading “Long-Awaited SLS4All 3D Printer Now Shipping”