Blown plastic from a plastics blow oven

Blowing Arcylic Canopies Using Stuff From Around The Shop

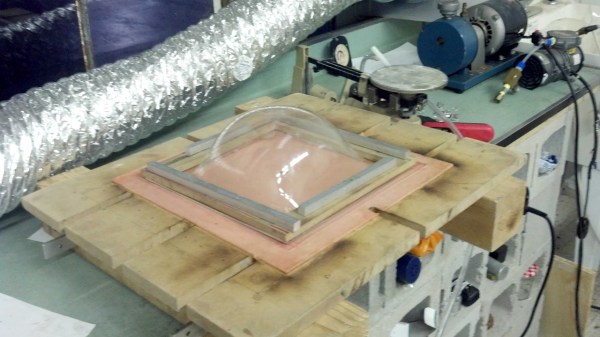
Blowing an acrylic sheet after heating it is an easy way to make a smooth and transparent canopy or bubble for anything from clams to light fixtures. [Michael Barton-Sweeney] does it using plastic blow ovens he made cheaply, mainly from stuff which most of us already have in our workshops.
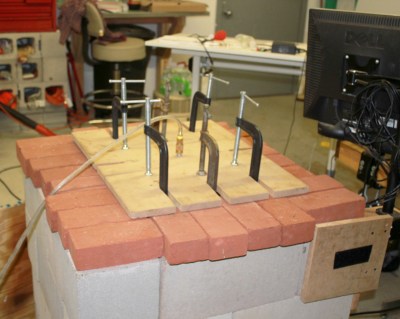
Plastics blow ovenAll you need is a way to heat the plastic, to then clamp it down around the edges, and finally to blow air into it as you would when blowing up a balloon. Of course, there are things to watch out for such as making sure the plastic is heated evenly and letting it cool slowly afterward but he covers all that on his hackaday.io page.

He’s also on his second plastics blow oven. The first one worked very well and is perhaps the easiest to make, building up an enclosure of CMUs (cinder blocks) and brick. He had success heating it with both propane and with electric current run through Kanthal wire. But the CMUs absorbed a lot of heat, slowing down the process. So for his second one he made a cast concrete enclosure with aluminum reflectors inside to focus the heat more to where needed.

We’re not sure of everything he’s blown acrylic bubbles for but we first learned of his ovens from the transparent clams in his underwater distributed sensor network. In fact, he was inspired to do plastics blowing from a childhood memory of the Air Force museum in Dayton, Ohio, where they visited the restoration hanger and watched the restorers blowing bubbles for a B-17 ball turret.

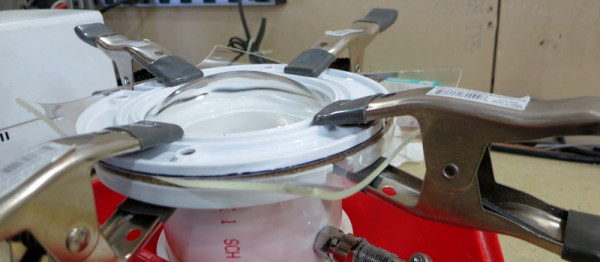
Though if you want to go smaller and simpler for something like a light fixture then you can get away with using a toaster oven, a PVC pipe, and a toilet flange.

Pressure-formed Parabolic Mirror From A Mylar Blanket

Parabolic reflectors are pretty handy devices. Whether you’re building a microwave antenna or a long-distance directional microphone, suitable commercial dishes aren’t that hard to come by. But a big, shiny mirror for your solar death-ray needs is another matter, which is where this pressure-formed space blanket mirror might come in handy.

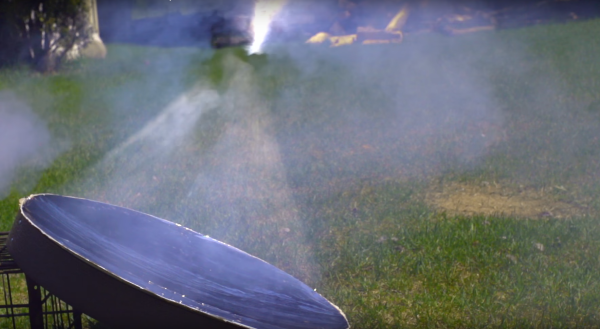
Pressure-forming was a great choice for [NighthawkInLight]’s mirror. We’ve covered pressure-formed plastic domes before, and this process is similar. A sheet of PVC with a recessed air fitting forms the platen. The metallized Mylar space blanket, stretched across a wooden frame to pull out the wrinkles and folds, is applied to a circle of epoxy on the platen. After curing, a few puffs with a bicycle tire pump forms the curve and stretches the film even smoother. [NighthawkInLight]’s first attempt at supporting the film with spray foam insulation was a bust, but the later attempt with fiberglass mesh worked great. A little edge support for the resulting shiny taco shell and the mirror was capable of the required degree of destructive potential.

We doubt this process can be optimized enough to produce astronomy-grade mirrors for visible light, but it still has a lot of potential applications. Maybe a fiberglass radio astronomy dish could be pressure-formed directly with a rig like this?

Quick And Easy Pressure Forming Makes Plexiglas Domes

Thermoplastics are amazingly versatile materials. Apply some heat, add a little force, and within seconds you’ve got a part. It’s not always quite that simple, but as [maxelrad] discovered, sometimes thermoforming can be as easy as blowing up a balloon.

In need of a cowling for an exterior light fixture on an experimental aircraft, [maxelrad] turned to pressure forming of Plexiglas for the hemispherical shape he needed. His DIY forming rig was a plumbing-aisle special: PVC pipe and caps, some air hose and fittings, and a toilet flange for the pressure chamber. The Plexiglas was softened in a toaster oven, clamped over the business end of the chamber, and a few puffs of air inflated the plastic to form a dome. [maxelrad] points out that a template could be applied over the plastic sheet to create the streamlined teardrop shape he needs, and he notes that the rig would likely work just as well for vacuum forming. Of course, a mold could be substituted for the template to make this a true blow-molding outfit, but that would take away from the simplicity of this solution.

There have been a fair number of thermoforming projects featured on Hackaday before, from this DIY vacuum former to a scratch-built blow molder. And while we really like the simplicity of [maxelrad]’s technique, what we’d really love to see is some details on that airplane build.

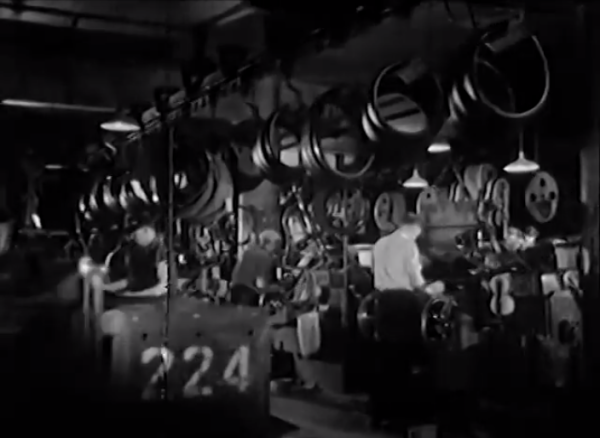
Tire assembly room of the Brunswick Tire Corporation

Retrotechtacular: Brunswick Shows A Bias For Tires

Somewhere between the early tires forged by wheelwrights and the modern steel-belted radial, everyone’s horseless carriage rode atop bias-ply tires. This week’s film is a dizzying tour of the Brunswick Tire Company’s factory circa 1934, where tires were built and tested by hand under what appear to be fairly dangerous conditions.

It opens on a scene that looks like something out of Brazil: the cords that form the ply stock are drawn from thousands of individual spools poking out from poles at jaunty angles. Some 1800 of these cords will converge and be coated with a rubber compound with high anti-friction properties. The resulting sheet is bias-cut into plies, each of which is placed on a drum to be whisked away to the tire room.

Continue reading “Retrotechtacular: Brunswick Shows A Bias For Tires”