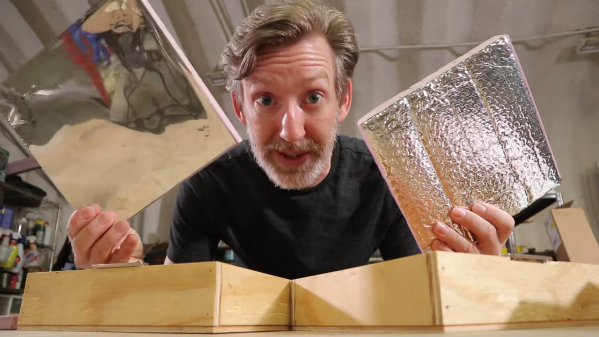
Metalized Mylar “space blankets” are sold as a survivalist’s accessory, primarily due to their propensity for reflecting heat. They’re pretty cheap, and [HamJazz] has performed some experiments on their RF properties. Do they reflect radio waves as well as they reflect heat? As it turns out, yes they do.
Any antenna system that’s more than a simple radiator relies on using conductive components as reflectors. These can either be antenna elements, or the surrounding ground acting as an approximation to a conductor. Radio amateurs will often use wires laid on the ground or buried within it to improve its RF conductivity, and it’s in this function that he’s using the Mylar sheet. Connection to the metalized layer is made with a magnet and some aluminium tape, and the sheet is strung up from a line at an angle. It’s a solution for higher frequencies only due to the restricted size of the thing, but it’s certainly interesting enough to merit further experimentation.
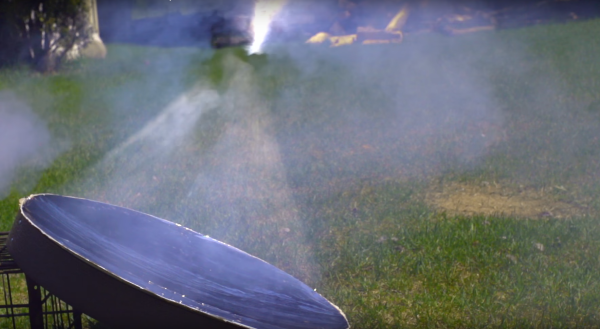
As you can see in the video below, his results are derived in a rough and ready manner with a field strength meter. But they certainly show a much stronger field on one side resulting from the Mylar, and also in an antenna that tunes well. We would be interested to conduct a received signal strength test over a much greater distance rather than a high-level field strength test so close to the antenna, but it’s interesting to have a use for a space blanket that’s more than just keeping the sun away from your tent at a hacker camp. Perhaps it could even form a parabolic antenna.