A problem faced by all collaborative working spaces as they grow is that of access control. How can you give your membership secure access to the space without the cost and inconvenience of having a keyholder on site at all times.
[Torehc] is working on solving this problem with his CarontePass RFID access system, at the Kreitek Makerspace (Spanish, Google Translate link) in Tenerife, Canary Islands.
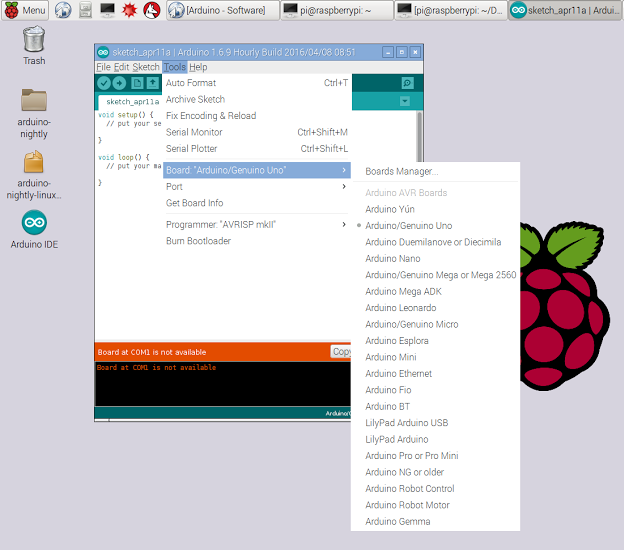
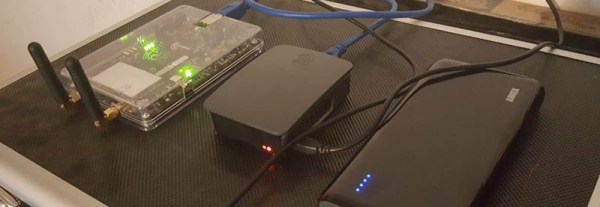
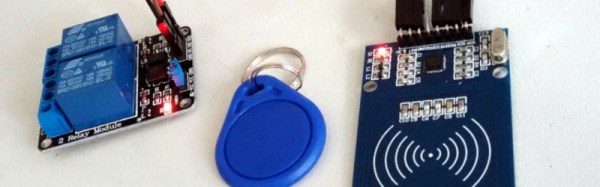
Each door has a client with RFID readers, either a Raspberry Pi or an ESP8266, which connects via WiFi to a Raspberry Pi 2 server running a Django-based REST API. This server has access to a database of paid-up members and their RFID keys, so can issue the command to the client to unlock the door. The system also supports the Telegram messaging service, and so can be queried as to whether the space is open and how many members are in at a particular time.
All the project’s resources are available on its GitHub repository, and there is a project blog (Spanish, Google Translate link) with more details.
This is a project that is still in active development, and [Torehc] admits that its security needs more work so is busy implementing HTTPS and better access security. As far as we can see through the fog of machine translation at the moment it relies on the security of its own encrypted WiFi network, so we’d be inclined to agree with him.
This isn’t the first hackerspace access system we’ve featured here. The MakerBarn in Texas has one using the Particle Photon, while the Lansing Makers Network in Michigan have an ingenious mechanism for their door, and the Nesit hackerspace in Connecticut has a very fancy system with video feedback. How does your space solve this problem?