What’s going on at the Hackerspace? If you can’t answer that, maybe your ‘space needs a HackerSpace Monitor. [Tayken] over at the Tokyo Hackerspace has come up with a way to remotely monitor all the stuff you’d want to know about the ‘space.
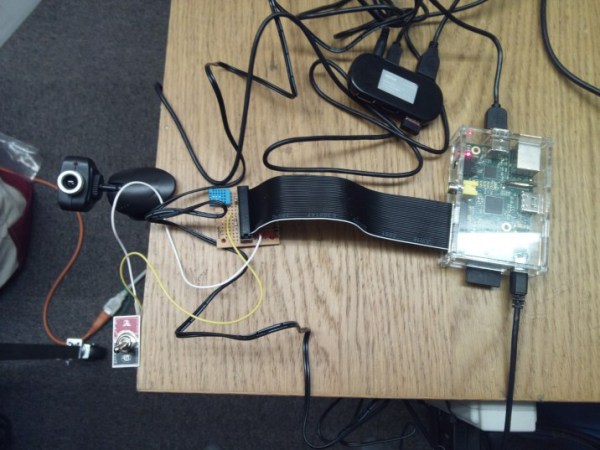
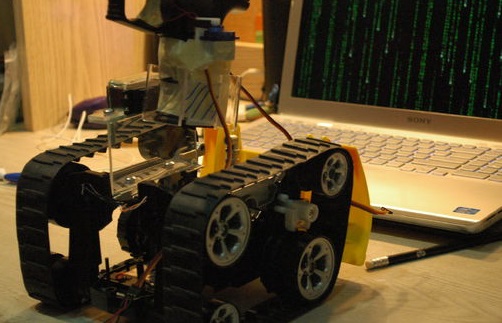
His project is based on a Raspberry Pi with a webcam connected to the Pi’s USB port by way of a hub. The webcam is set up to stream 2 frames per second, which is plenty to be able to judge the activity at the ‘space. A WiFi dongle is also plugged into the USB hub in order to gain internet access, send out the video and allow the ability to SSH into the Pi.
What if you’re on the fence about heading over to work on your favorite project but the current weather leaves you wondering what the temperature is going to be like at the hackerspace? Well, this project has that covered too. An off the shelf temperature and humidity sensor plugs directly into the Pi’s GPIO pins. [Tayken] used the Python-based package, RPi.GPIO, to manage the temperature and humidity sensor readings as well as a toggle switch that monitors if the main door is open or closed.
To get everything all the above information to be displayed on a webpage, [Tayken] had to do some fancy programming. Luckily for us, he has made all his code available for download. Not only is this a great convenience for members, but it can also show non-members when it is or isn’t a good time to show up to check the ‘space out.
 The project featured in this post is
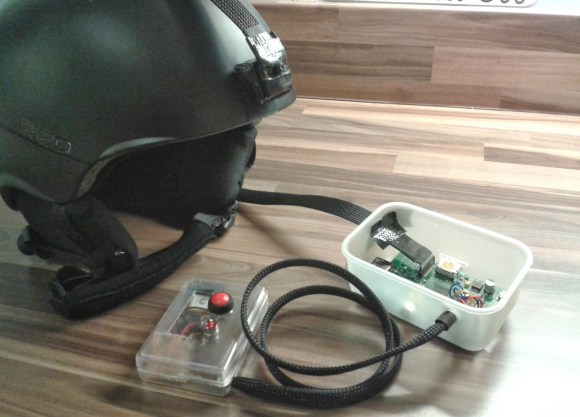 Over the last 20 years, [Martin] has been recording snowboarding runs with a standard helmet cam. It was good but he felt like he could improve upon the design by


