Moving Forth With Mecrisp-Stellaris And Embello

In the last episode, I advocated a little bit for Forth on microcontrollers being a still-viable development platform, not just for industry where it’s usually seen these days, but also for hackers. I maybe even tricked you into buying a couple pieces of cheap hardware. This time around, we’re going to get the Forth system set up on that hardware, and run the compulsory “hello world” and LED blinky. But then we’ll also take a dip into one of the features that make Forth very neat on microcontrollers: easy multitasking.

To work!

Hardware

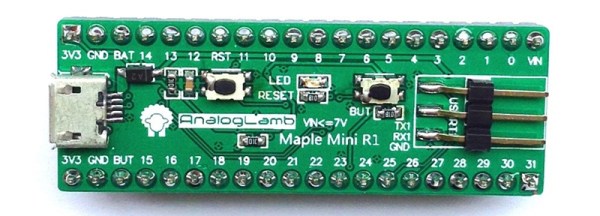
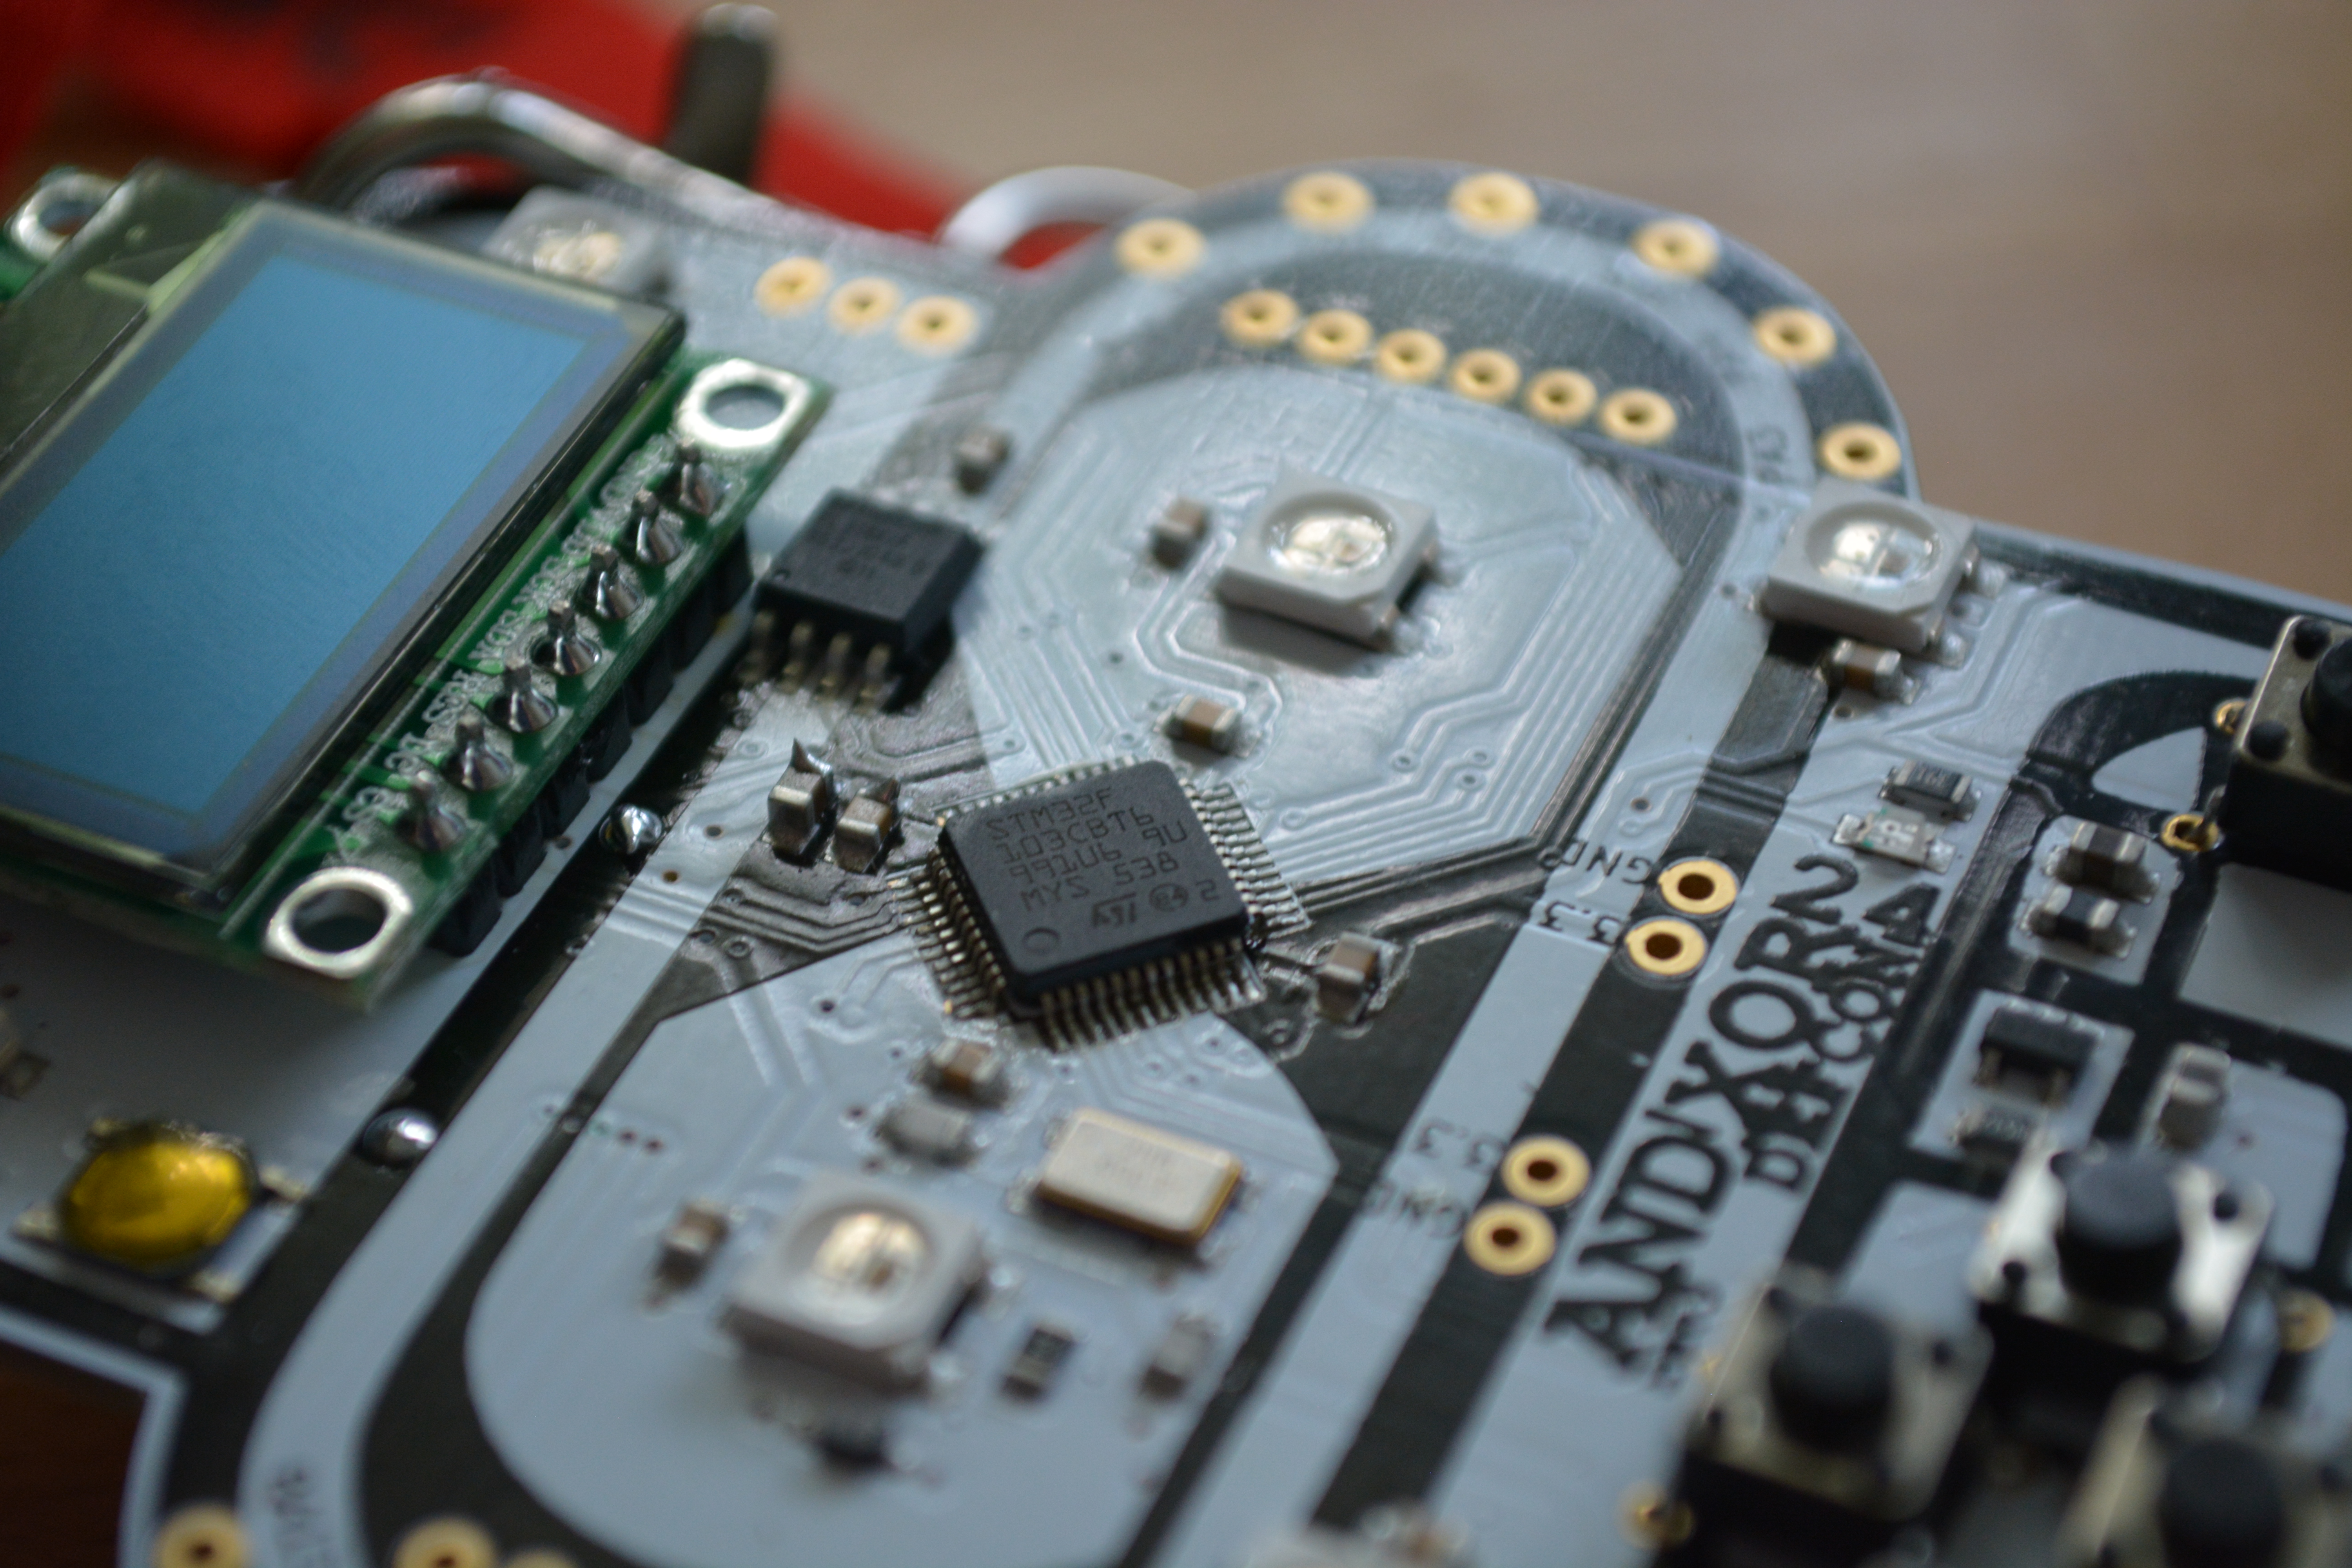
Mecrisp-Stellaris Forth runs on a great number of ARM microcontrollers, but I’ll focus here on the STM32F103 chips that are available for incredibly little money in the form of a generic copy of the Maple Mini, often called a “STM32F103 Minimum System Board” or “Blue Pill” because of the form-factor, and the fact that there used to be red ones for sale. The microcontroller on board can run at 72 MHz, has 20 kB of RAM and either 64 or 128 kB of flash. It has plenty of pins, the digital-only ones are 5 V tolerant, and it has all the usual microcontroller peripherals. It’s not the most power-efficient, and it doesn’t have a floating-point unit or a DAC, but it’s a rugged old design that’s available for much less money than it should be.

Programmer Connected, Power over USB

Similar wonders of mass production work for the programmer that you’ll need to initially flash the chip. Any of the clones of the ST-Link v2 will work just fine. (Ironically enough, the hardware inside the programmer is almost identical to the target.) Finally, since Forth runs as in interactive shell, you’re going to need a serial connection to the STM32 board. That probably means a USB/serial adapter.

This whole setup isn’t going to cost much more than a fast food meal, and the programmer and USB/serial adapter are things that you’ll want to have in your kit anyway, if you don’t already.

You can power the board directly through the various 3.3 and GND pins scattered around the board, or through the micro USB port or the 5V pins on the target board. The latter two options pass through a 3.3 V regulator before joining up with the 3.3 pins. All of the pins are interconnected, so it’s best if you only use one power supply at a time.

Continue reading “Moving Forth With Mecrisp-Stellaris And Embello”

Hackaday Prize Entry: A Cheap STM32 Dev Board

Dev boards sporting a powerful ARM microcontroller are the future, despite what a gaggle of Arduino clones from China will tell you. Being the future doesn’t mean there’s not plenty of these boards around, though. The LeafLabs Maple has been around since 2009, and is a fine board if you want all that Processing/Wiring/Arduino goodies in a in an ARM dev board. The Maple has been EOL’d, and that means it’s time for a few new boards that build on what LeafLabs left behind.

This Hackaday Prize entry is for an almost-clone of the Leaflabs Maple Mini. It sports a newer microcontroller, but still has the same bootloader and pinout. The best part? It costs less than four dollars.

The microcontroller inside this Maple Mini clone is the STM32F103, a 32-bit ARM Cortex-M3 running at 72 MHz with 128K of Flash and 20K of SRAM. That’s enough for just about everything you would want to throw at it. It also follows the pinout of the original Maple Mini, and the team also has a version that’s a slight improvement of the original Maple.

The big deal is, of course, the price of the board. It’s four bucks, or about the same price as an Arduino clone from the usual online retailers. Now, finally, there’s a reason for you to wash your hands of the Arduino too.

Hands-on The AND!XOR Unofficial DEF CON Badge

DEF CON 24 is still about two weeks away but we managed to get our hands on a hardware badge early. This is not the official hardware — there’s no way they’d let us leak that early. Although it may be unofficial in the sense that it won’t get you into the con, I’m declaring the AND!XOR badge to be officially awesome. I’ll walk you through it. There’s also a video below.

Over the past several years, building your own electronic badge has become an impromptu event. People who met at DEF CON and have been returning year after year spend the time in between coming up with great ideas and building as many badges as they can leading up to the event. This is how I met the trio who built this badge — AND!XORAndrew Riley, and Jorge Lacoste — last year they invited me up to their room where they were assembling the last of the Crypto Badges. Go check out my guide to 2015 Unofficial DEF CON badges for more on that story (and a video of the AM transmissions that badge was capable of).

The outline is this year’s badge is of course Bender from Futurama. Both eyes are RGB LEDs, with another half dozen located at different points around his head. The microcontroller, an STM32F103 ARM Cortex-M0 Cortex-M3, sits in a diamond pattern between his eyes. Above the eyes you’ll find 16 Mbit of flash, a 128×64 OLED screen, and a reset button. The user inputs are five switches and the badge is powered by three AA batteries found on the flip side.

bender's-nose-closeup

That alone makes an interesting piece of hardware, but the RFM69W module makes all of the badges interactive. The spring coming off the top of Bender’s dome is a coil antenna for the 433 MHz communications. I only have the one badge on hand so I couldn’t delve too deeply what interactive tricks a large pool of badges will perform, but the menu hints at a structure in place for some very fun and interesting applications.

Continue reading “Hands-on The AND!XOR Unofficial DEF CON Badge”

800 X 600 VGA With The STM32F4

Generating VGA is a perennial favorite on the Hackaday tips line, and it’s not hard to see why. Low-res video games, of course, but sending all those pixels out to a screen is actually a pretty challenging feat of coding. The best most project have attained is the original VGA standard, 640×480. Now that we have fast ARMs sitting around, we can bump that up to 800×600, like [Karl] did with an STM32F4 Discovery board.

The problem with generating VGA on a microcontroller is the pixel frequency – the speed at which pixels are shoved out of the microcontroller and onto the screen. For an 800×600 display, that’s 36 MHz; faster than what the 8-bit micros can do, but a piece of cake for the STM32F4 [Karl] is using.

[Karl] started his build by looking at the VGA project Artekit put together. It too uses an STM32, but a 36-pin F103 part. Still, it was fast enough to generate a line-doubled 800×600 display. [Karl] took this code and ported it over to the F4 part on the Discovery board that has enough space for a full 800×600 frame buffer.

With all that RAM on board the F4 part, [Karl] was able to expand the frame buffer and create a relatively high-resolution display with DMA and about a dozen lines of code. It looks great, and now we just need a proper application for high-resolution VGA displays. Retrocomputing? A high-resolution terminal emulator? Who knows, but it’s a great use for the STM32.

If circles and some text aren’t your thing, Artekit also has Space Invaders running on the 36-pin STM32.

Down The Rabbit Hole Of STM32 Clock Options

Once you venture beyond the tame, comfortable walls of the 8-bit microcontroller world it can feel like you’re stuck in the jungle with a lot of unknown and oft scary hazards jut waiting to pounce. But the truth is that your horizons have expanded exponentially with the acceptable trade-off of increased complexity. That’s a pretty nice problem to have; the limitation becomes how much can you learn.

Here’s a great chance to expand your knowledge of the STM32 by learning more about the system clock options available. We’ve been working with STM32 chips for a few years now and still managed to find some interesting tidbits — like the fact that the High Speed External clock source accepts not just square waves but sine and triangle waves as well, and an interesting ‘gotcha’ about avoiding accidental overclocking. [Shawon M. Shahryiar] even covers one of our favorite subjects: watchdog timers (of which there are two different varieties on this chip). Even if this is not your go-to 32-bit chip family, most chips have similar clock source features so this reading will help give you a foothold when reading other datasheets.

There is a clock diagram at the top of that post which is small enough to be unreadable. You can get a better look at the diagram on page 12 of this datasheet. Oh, and just to save you the hassle of commenting on it, the chip shown above is not an f103… but it just happened to be sitting on our desk when we started writing.

Internet-Connected TI-84

Just before the days where every high school student had a cell phone, everyone in class had a TI graphing calculator. In some ways this was better than a cell phone: If you wanted to play BlockDude instead of doing trig identities, this was much more discrete. The only downside is that the TI calculators can’t easily communicate to each other like cell phones can. [Christopher] has solved this problem with his latest project which provides Wi-Fi functionality to a TI graphing calculator, and has much greater aspirations than helping teenagers waste time in pre-calculus classes.

The boards are based around a Spark Core Wi-Fi development board which is (appropriately) built around a TI CC3000 chip and a STM32F103 microcontroller. The goal of the project is to connect the calculators directly to the Global CALCnet network without needing a separate computer as a go-between. These boards made it easy to get the original Arduino-based code modified and running on the new hardware.

After a TI-BASIC program is loaded on the graphing calculator, it is able to input the credentials for the LAN and access the internet where all kinds of great calculator resources are available through the Global CALCnet. This is a great project to make the math workhorse of the classroom even more useful to students. Or, if you’re bored with trig identities again, you can also run a port of DOOM.