Up Your FPGA Game By Learning From This LCD Control Prototype

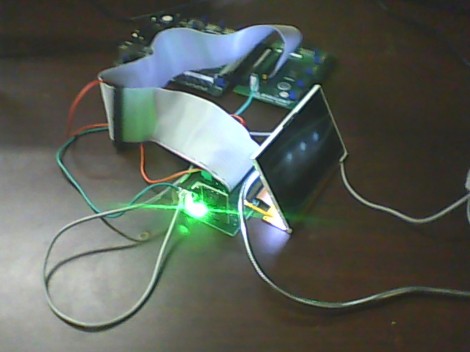
[Cesar] recently got a PSP display up and running with his FPGA development board. That’s a nice project, but what we really like is that he set aside a lot of time to show how it’s done every step of the way. This isn’t just a tutorial on that particular screen, but an overview of the skill set needed to get any piece of hardware working.

The screen itself is a Sharp LQ043T3DX02; a 480×272 TFT display with 16 million colors. Not bad for your project but when you start looking into the control scheme this isn’t going to be like using a Nokia screen with an Arduino. It takes twenty pins to control it; Red, green, and blue take sixteen pins, four pins are used for control, the rest are CK, DISP, Hsync, Vsync.

Wisely, [Cesar] designs his own interface board which includes the connector for the ribbon cable. It also has drivers for the screen’s backlight and supplies power to the device. With hardware setup complete he digs into the datasheets. We just love it that he details how to get the information you’re looking for out of this document, and shows his method of turning that first into a flow chart and then into code for the FPGA.

Klout Klok Tracks Your Popularity, Time

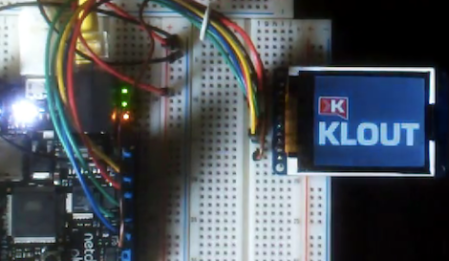
[Fabien Royer] has been playing around with Netduinos and he just came up with a really awesome project that will display the time and social media popularity. It’s a very nice build, and we’d guess that his social media influence is going to go up very shortly.

Klout is a service that connects to your Facebook or Twitter profile and tells you how much influence you have on a scale of 1 to 100 (possibly 10 to 100. see this). To build the Klout Klock [Fabian] used a Netduino Plus, a good choice because of the integrated ethernet port. The Netduino connects to the Klout API to either satiate vanity or admit prestige. The display is an adafruit TFT screen.

Continue reading “Klout Klok Tracks Your Popularity, Time”

Interfacing An Arduino With A TFT LCD

tft_lcd

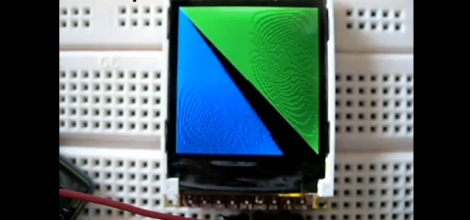
Seven-segment displays and monochrome LCDs are fine for most projects, but some things simply look better in color. [John] over at the Little Bird Electronics blog recently wrote up a tutorial demonstrating the use of a TFT LCD panel with an Arduino. The specific panel he chose was a 4D Systems 1.44” TFT LCD that happened to feature a dedicated graphics processor, which should allow for some fantastic visuals when used to its fullest potential.

The LCD takes its commands over a serial interface, making it a simple five-wire display solution for your projects. The display can be programmed manually by sending hex commands over the serial interface, but there are also some user-developed libraries available that will allow you to use the majority of the most popular functions without the learning curve. One thing to note is that the LCD must be flashed with a particular flavor of firmware before it can communicate over the serial interface, a process for which [John] provides a walk through.

The LCD panel can be used with any Arduino-compatible board, so it can be useful in a whole host of projects.

Stick around to see a simple demo of the board in use.

Continue reading “Interfacing An Arduino With A TFT LCD”

SmartLCD Makes Video For Microcontrollers Easy

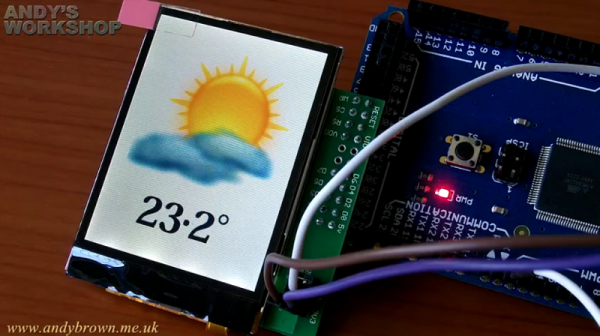
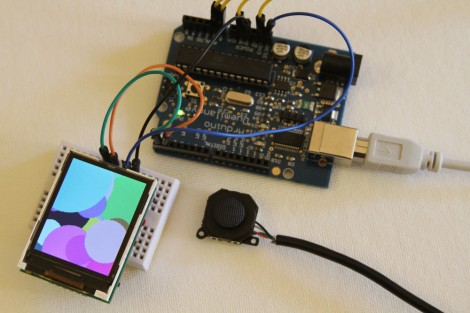
[Rossum] developed a host board that makes it easy to drive a TFT screen using an inexpensive microcontroller. He’s looked around at a bunch of LCD’s that are easy to get your hands on and decided that the iPod Nano 2G screens are the right balance of performance (176×132 TFT) and low cost ($1-$5). They’re not particularly difficult to talk to, but with 22 pins they’re a bit hardware hungry.

He takes us through the signal sniffing he used to figure out the communications process. From there he harness the power of an ARM Cortex M0 processor, which he’s worked with in the past, to drive the screen. His implementation results in a driver board called the SmartLCD that takes care of the screen’s parallel protocol, power, and backlight. From there it’s just four connections and you can use a small microcontroller like the Arduino seen above with ease. See what it can do after the break.

Continue reading “SmartLCD Makes Video For Microcontrollers Easy”