Electronic Die Rolls Up To 100

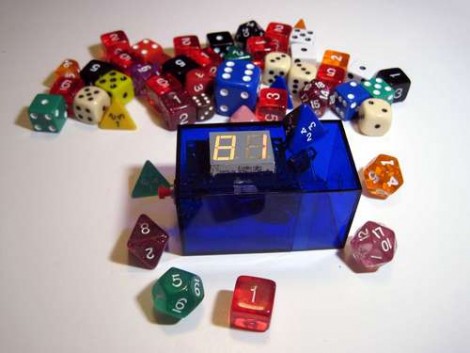
If you’re gaming on the road, or just don’t have a die with the right number of sides on hand, an electronic polyhedral die will be quite handy. [Marcus] built this using a printed circuit board of his own design, and we think an electronically simple project like this is a great way to get your feet wet with PCB fab house techniques. He suggests Seeed Studios’ service, or the DorkBotPDX group PCB order. But this would not be a hard project to build on perfboard as well.

The concept is simple. A two-digit 7-segment display shows the value of the top face of your die. when it’s time to roll, just pick up the box and tip it over. A tilt switch senses this action and rolls the die by displaying the next pseudo-random number. The single button, seen here with a pyramid die glued to it, lets you select between die with different number of sides; from 2 (like a coin flip) all the way up to 100.

We like [Marcus’] projects. He’s the same guy that built a scoring system in a game storage box.

POV Keychain From Prototype To SMD Board

[Augusto] wrote in to tell us about his keychain-sized persistence of vision project. He built the original prototype on some protoboard, using a PIC 16F627 to drive eight LEDs. Synchronization is managed by a tilt sensor on the board that starts the strobing to match the direction the board is traveling. This is a similar setup as the POV device that used an accelerometer, but it should be quite a bit easier to code for the tilt switch.

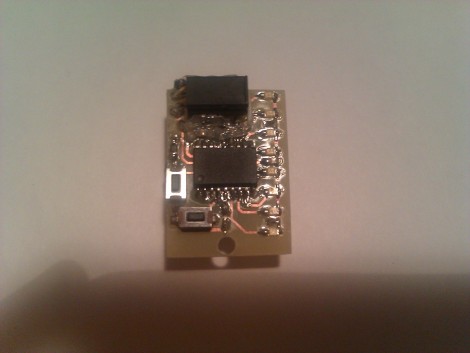
Once [Augusto] had the hardware dialed in he set to work laying out a surface mount design. The two AAA batteries were traded for a single 3V coin cell, which is on the back side of the board you see above. This is his first attempt at working with surface mount components and we think he did a great job. Check out the POV in action in the video after the break.

Continue reading “POV Keychain From Prototype To SMD Board”

Easter Egg Hacking

ateam_easter_egg

Spring is upon us and Instructables user [Mischka] decided it was a good idea to combine two flavors we never considered putting together: The Easter Bunny and the A-Team.

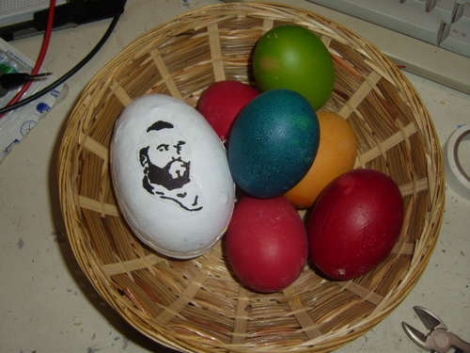
He decided to build the egg as an Easter gift for his brother, who is a huge fan of the A-Team. He found a slightly larger than normal plastic egg, and proceeded to paint the shell white, adding a printed picture of Mr. T once the paint had dried.

The guts of the egg are made up of a Picaxe 08M micro controller mounted on a Picaxe protoboard. Rather fond of buzzing, beeping audio, he decided to forgo a normal speaker and opted to use a piezo instead. To activate the music when the egg is shaken, a tilt switch was added to the board as well. He uploaded his software to the Picaxe, sealed up the egg, and called it a day.

We can imagine his brother will be pretty pleased with the creation – who wouldn’t be? We only wish that there was video of the egg in action.