
Cut And Fold Your 3D Printer’s Next Cover

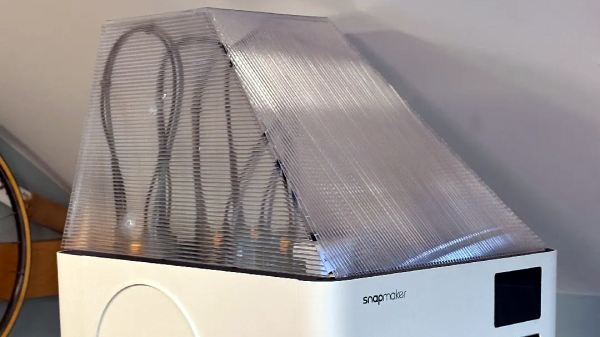
[cmh]’s ultra-simple top cover for the Snapmaker U1 3D printer has a 3D model, but don’t let that fool you. There’s no 3D printing at all involved in this project. Rather, the model is a reference shape for making an effective top cover out of cardboard or corrugated plastic sheet (also known as Coroplast) which is what [cmh] used.
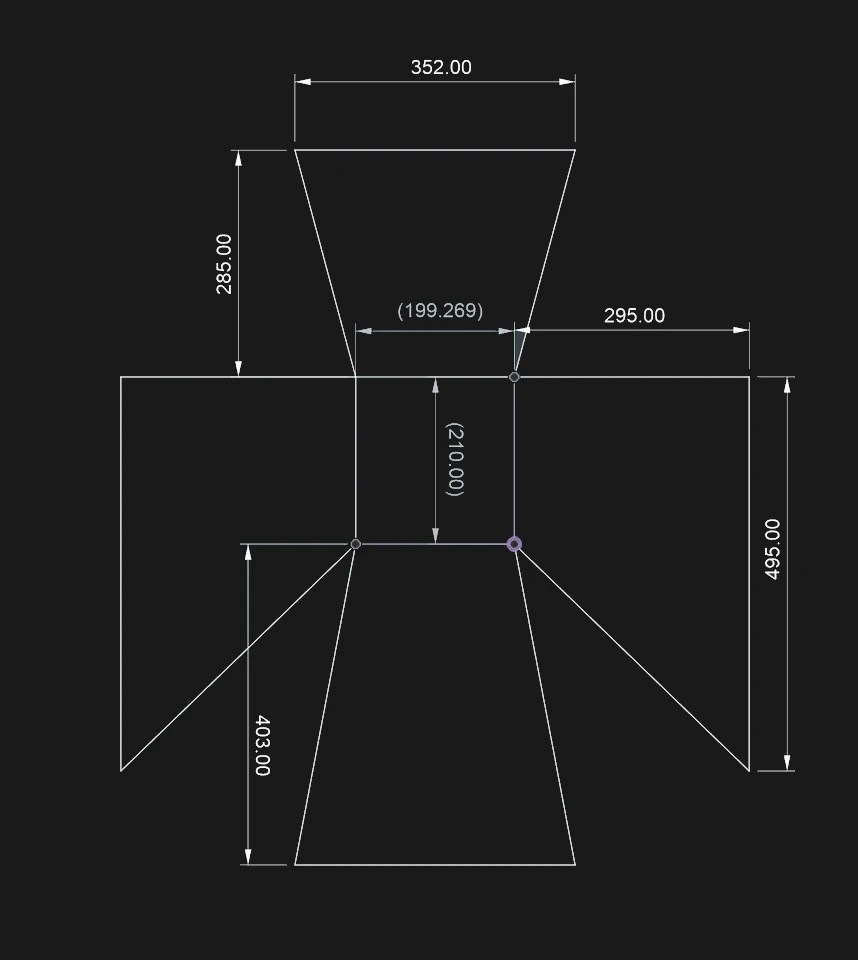
The pattern can be cut from a single sheet, or from multiple pieces taped together.

Corrugated plastic is a versatile option for things like printer enclosures. It’s cheap, a good insulator, easy to cut, and available from just about any plastics supplier. We’ve made the case that they’re a good alternative to acrylic sheets for printer enclosures, but [cmh] goes even further with a design that requires no additional hardware whatsoever. Assembly doesn’t even require more than tape, really.

He provides a cutout diagram for pieces that, when assembled, make a sort of hat that is just right to cover the top of the Snapmaker U1 without obstructing the extruders. One can even lift the front panel to access the inside without removing the cover, which is a nice touch. Should one wish to add a viewing window anywhere, just cut out a square and tape a sheet of clear plastic over the hole.

For a 3D printer, an enclosure and top cover helps retain heat, block drafts, and keep dust (or curious fingers) away from the printer’s build area. The cover doesn’t need to be completely sealed to deliver those benefits, but if you do prefer your covers completely enclosed, a carefully-chosen IKEA storage box makes a conveniently great cover for the U1.
IKEA Storage Box Just Happens To Make Great Printer Cover

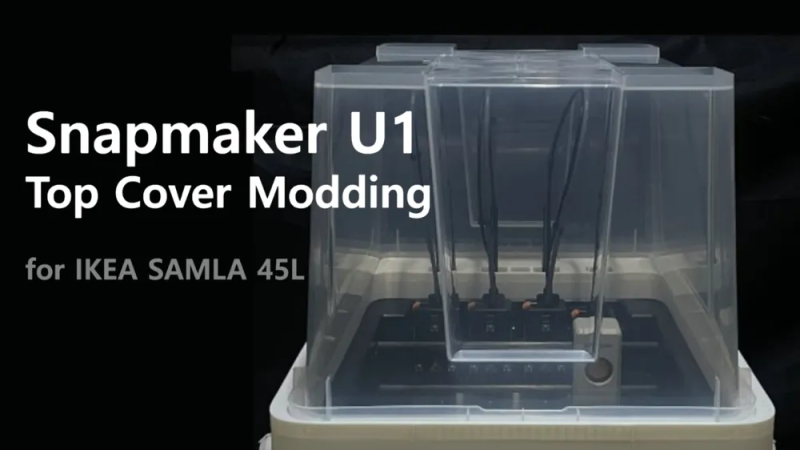
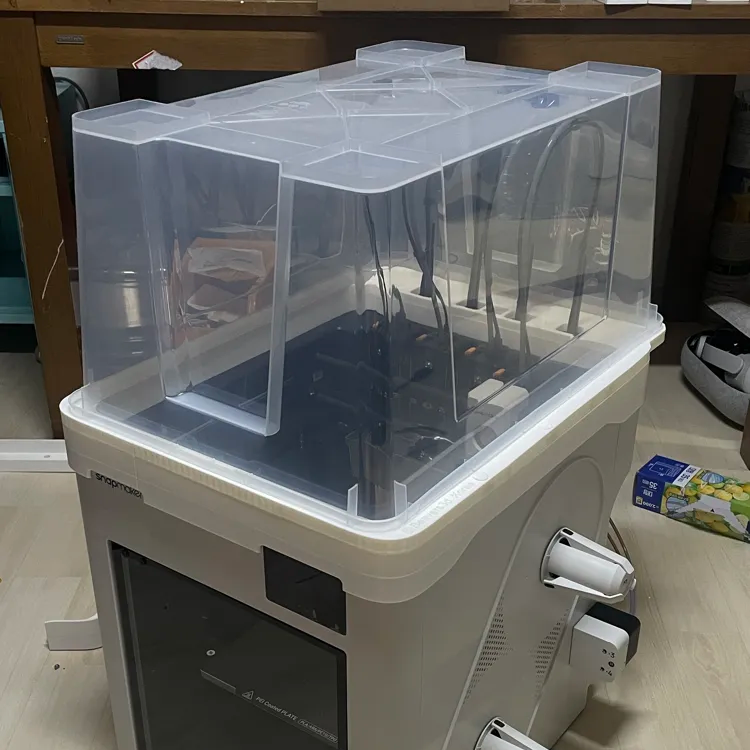
The Snapmaker U1 3D printer is an impressive machine for the price, but [Beaver Works] found the optional factory-offered top cover a wee bit expensive for his tastes. The solution? 3D print a fixture and use a clear 45 L Samla storage box from IKEA as an effective and affordable cover for the machine.

Why a cover?  A cover helps retain heat and block drafts, which can help improve print quality. A cover also keeps the machine’s insides dust and debris-free, not to mention serving as a decent barrier to curious fingers or paws.

This is a great use of an off-the-shelf product that performs at least as well as any bespoke solution. The nature of printer enclosures makes them trickier than one might think, with the size and weight of materials often driving costs up for something that seems relatively simple in concept. Getting one by 3D printing the fixtures and purchasing the bulky part locally and affordably is a great alternative. IKEA even sells the box’s lid separately, so one can buy just the box and isn’t stuck with an unused lid afterward.

Integrating off-the-shelf components into a design is often risky because much of it is outside the designer’s control. Availability can change, and a manufacturer might alter dimensions or design elements without any notice. But IKEA’s storage products are pretty well standardized and work really well for this purpose.

On the off chance you need a design tweak, [Beaver Works] has provided STEP files for the 3D-printed parts, something we always love to see.









