
If you don’t live in northern Europe, Alaska, or the extreme southern part of South America, there’s a 400-ton, $150 Billion space station flying over your head several times a day. It’s the International Space Station, and it’s the most complex and expensive construction project of all time. Look up at the right time, and you can see a point of light rising in the sky, brighter than any star, darting across to the opposite horizon.
ISS-Above is a simple tool that will tell you when you’ll be able to see the ISS passing overhead next, and the creator of the project, [Liam Kennedy] has a new crowdfunding project to turn this space station notifier into a wearable. It’s called the Pulsar, and with the help of an RFduino and a real time clock, it will alert you to an upcoming station pass with a bit of wearable electronics.
The ISS-Above is a great device to keep tabs on the six astronauts currently orbiting our globe, but if you want to see the space station rise over the horizon… well, lugging a Raspi and an HDMI monitor outside isn’t the best solution. The Pulsar is a tiny wearable board with a ring of LEDs programmed with 50 future passes of the space station. When the station is overhead, the LEDs light up, and a bright object appears over the western horizon.
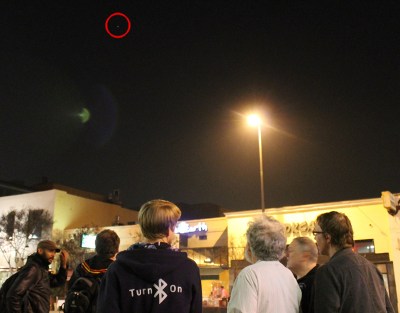
[Liam] brought his Pulsar to the most recent Hackaday Pasadena meetup, and as his wearable LEDs lit up, the ISS appeared right on cue. The evening was only tainted by a crazy lady who decided to argue the existence of the International Space Station.
Video below.