In a world of sensory overload, sometimes it’s nice to get the information you need without a bunch of clutter. [Savage] has created an attractive and minimalist system to display the current wait times for specific trains in his San Francisco neighborhood.
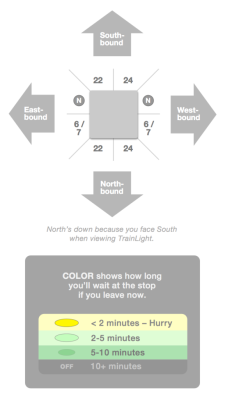 It’s basically a Spark Core and a 60 LED-per-meter strip of WS2812Bs. A 1000µF cap filters the power coming in from a switching adapter and a resistor limits the level-shifted logic going to the LEDs. Eight barriers made from card stock keep the light zones from bleeding together. The sides of the square canvas panel indicate cardinal directions and are oriented to [Savage]’s southern-facing house.
The server gets prediction data every 30 seconds using the RESTbus JSON API. [Savage] added in a bit of time for walking down the stairs, putting shoes on, and walking to each stop. TrainLight receives these times over WiFi and lights the LEDs accordingly. If a section isn’t lit at all, the wait time for that line is greater than 10 minutes. Dark green means you have 5-10 minutes to get there, and pale green means 2-5 minutes. If the LEDs are yellow, you’d better put on your running shoes.
This is a fairly simple build with a focus on subtlety. Even before guests in his house understand what they’re looking at, [Savage]’s TrainLight makes for an interesting conversational piece of blinkenlights and doubles as illumination for the stairs. There’s a slightly sped-up demo after the break.
Want to make your own? [Savage] has a tutorial page and his code is up on the gits. Blinky lights are also good for telling you whether the trains are running at all.

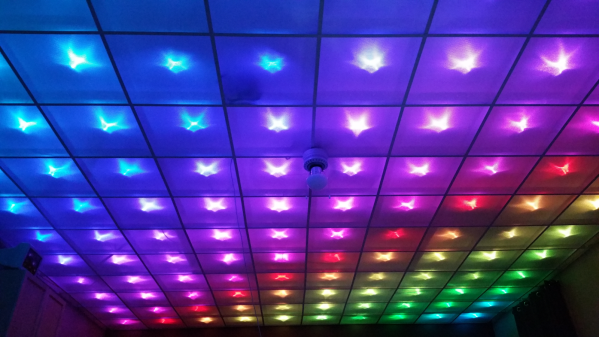
 Disco Floor’s are passé. [dennis1a4] turned them upside down and built an awesome
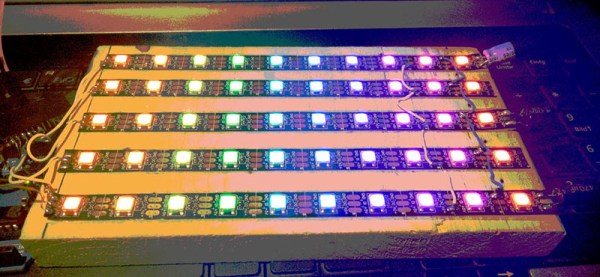
  The hard part was wiring up all of the 160 LED pixels. Instead of mounting the 5050 SMD LED’s on PCBs, [dennis1a4] wired them all up “dead bug” style. Each pixel has one LED, a 100nF decoupling capacitor, and 91 ohm resistors in series with the Data In and Data Out pins – these apparently help prevent ‘ringing’ on the data bus. Check the video for his radical soldering method. Each SMD LED was clamped in a machine shop vice, and the other three parts with their leads preformed were soldered directly to the LED pins.